
Look your best with a little retouching
Do you have a self portrait that you consider pretty good – but know could be made great with a few tiny touchups? Turning your just-ok selfies into share-worthy pics can be easily achieved with a photo editor that has selective editing capabilities and makeover tools.
Turn your not-so-bad portrait into a flawless profile pic. Follow the steps below in PaintShop Pro to smooth out skin imperfections and brighten a smile.
Want to learn more about PaintShop Pro’s makeover tools? Check out this full-length tutorial for more details.
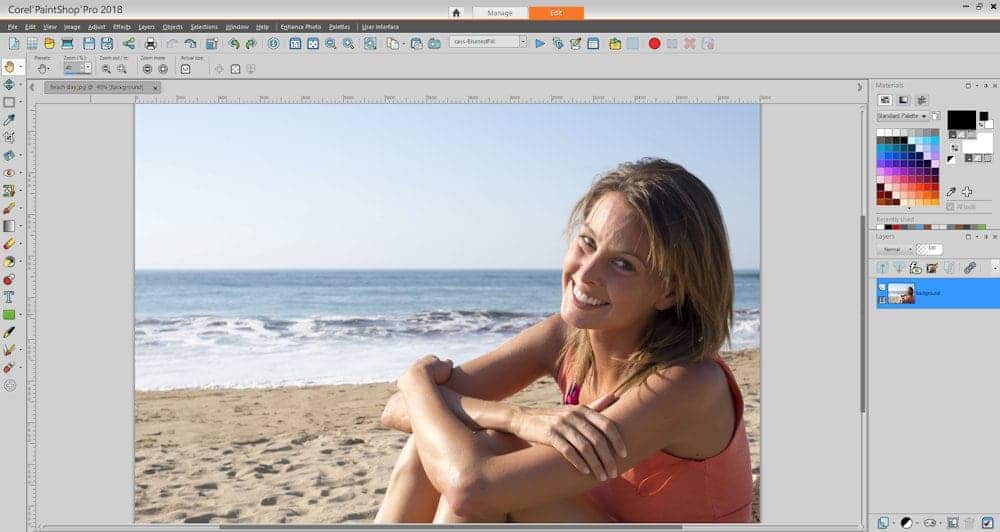
STEP 1: Open up your image in PaintShop Pro
Open up the photo of yourself by either dragging it into PaintShop Pro’s Edit tab, or by going to File > Open.
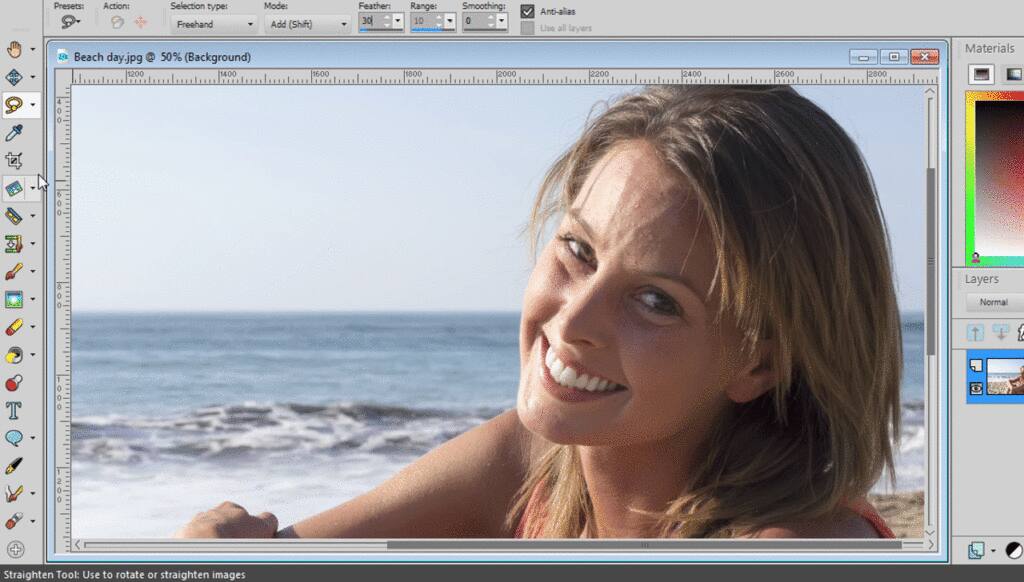
Step 2: Select the area you want to smooth out
Select the area around the imperfection you want to apply a skin smoothing effect to, by choosing the Freehand Selection tool from your Tools toolbar and holding down your cursor while dragging to create a closed loop around the area.
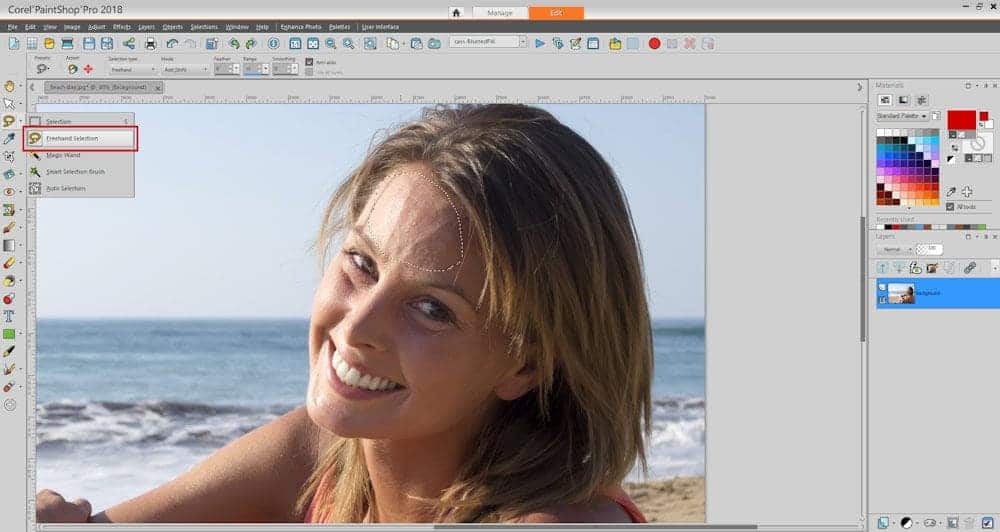
STEP 3: Feather the selection
In the Tool Options palette, use your judgement to adjust the Feather control. Feathering softens the area between the selection and the rest of the image. In the example shown, a value of 30 pixels was used.

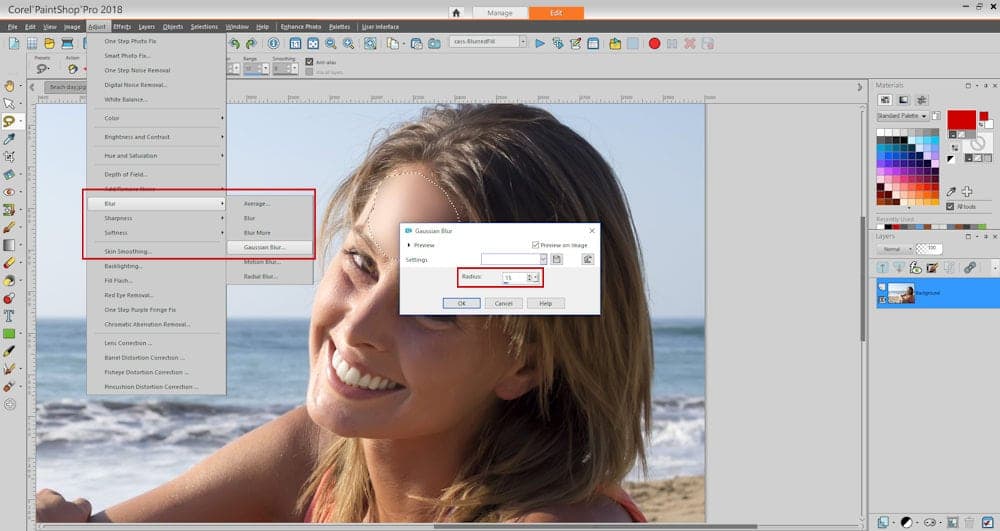
STEP 4: Blur the selection
From the Adjust menu, choose Blur > Gaussian Blur. In the Gaussian Blur dialog box, slide the Radius control back and forth until you have the right amount of blur to soften lines or imperfections. In the example shown, a value of 15 pixels was used. Deselect with Ctrl+D.
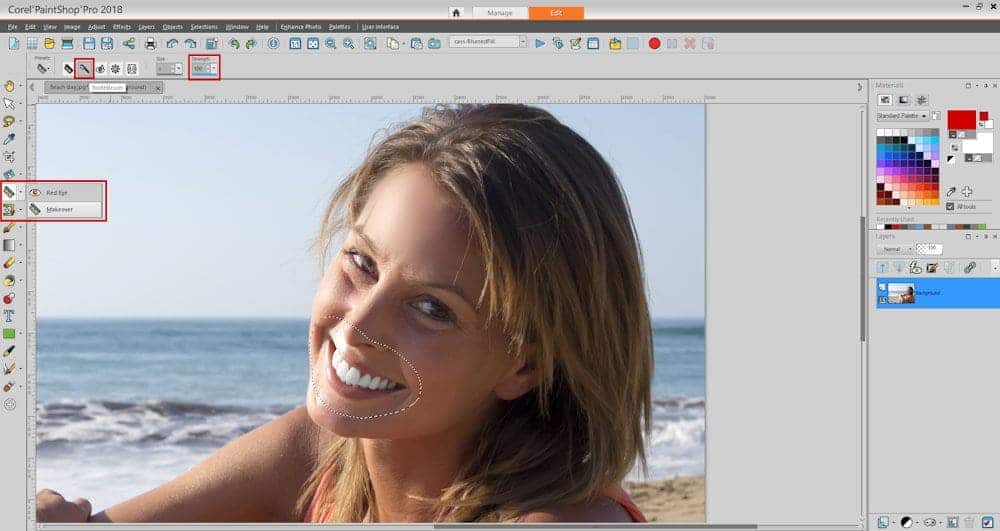
STEP 5: Select the area around the teeth
If you want to whiten your teeth in your photo, use the Freehand Selection tool to create a closed loop around the smile.

STEP 6: Whiten teeth
On the Tools toolbar, choose the Makeover tool (found beneath the Red Eye tool). On the Tool Options palette, choose the Toothbrush mode, and adjust the Strength control as desired. Higher settings produce more intense whitening but may also produce an unnatural appearance. Click directly over the teeth to apply the whitening effect. Deselect with Ctrl+D when you are finished.
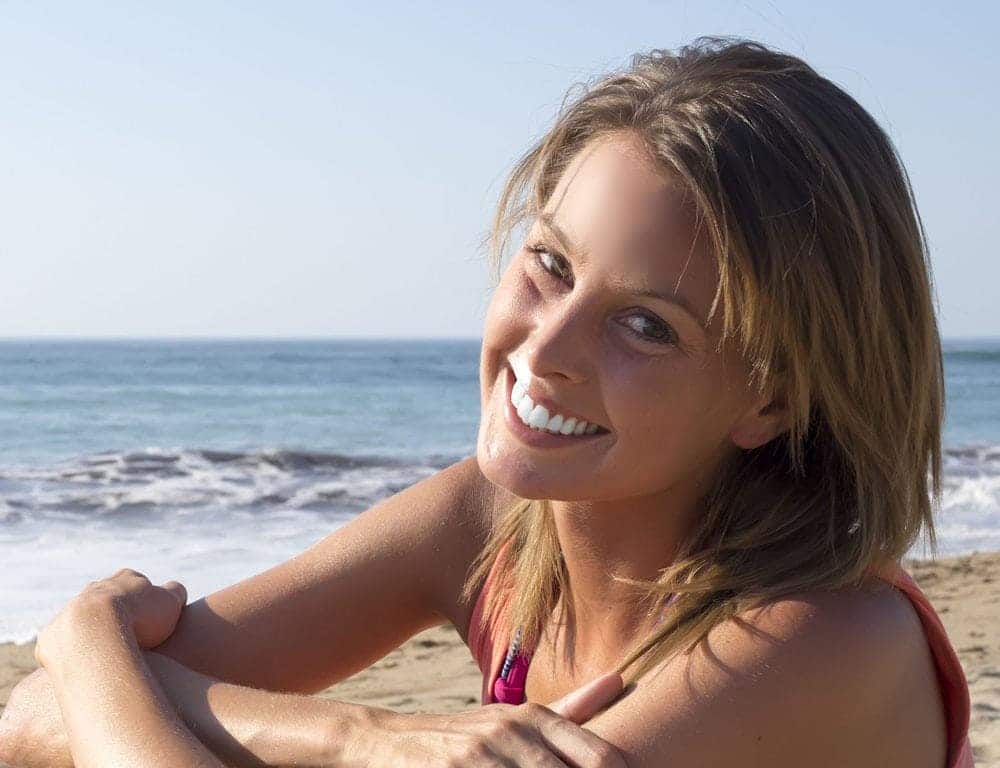
Voila! You’ve improved your portrait in six easy steps. Why not give some of the other makeover tools a try, like Blemish Fixer, Eye Drop, Suntan and Thinify? All these tools can be found on the Tool Options palette when the Makeover tool is activated.
Don’t yet own PaintShop Pro?
Follow along with a 30-day free trial of PaintShop Pro, or buy it now to receive a special 25% discount


0 Comments