
Perfect your photos by making unwanted elements disappear
Whether you want to get rid of an ex from a photo, remove a nosy photobomber, or cut out something unsightly, PaintShop Pro can make it happen with selection and clone tools.
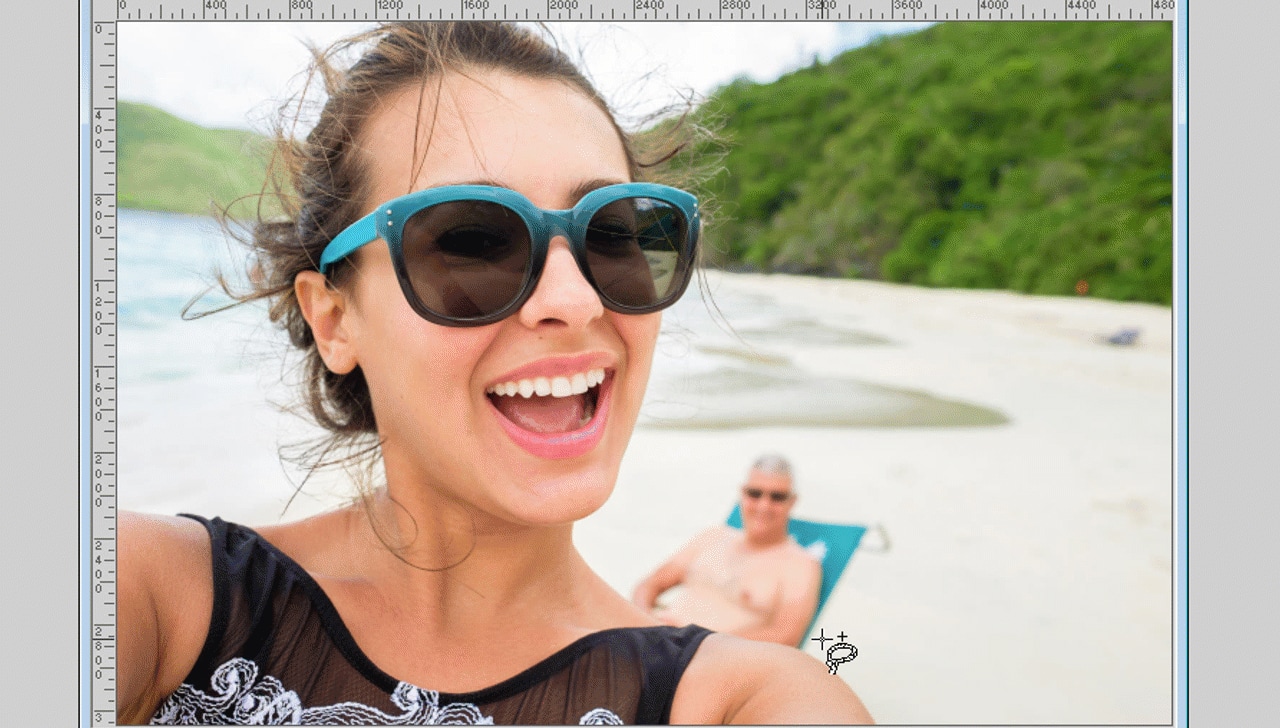
Everyone has an image that would be made a whole lot better by removing an imperfection, so why not open up your image library, find that photo, and follow along in five simple steps?
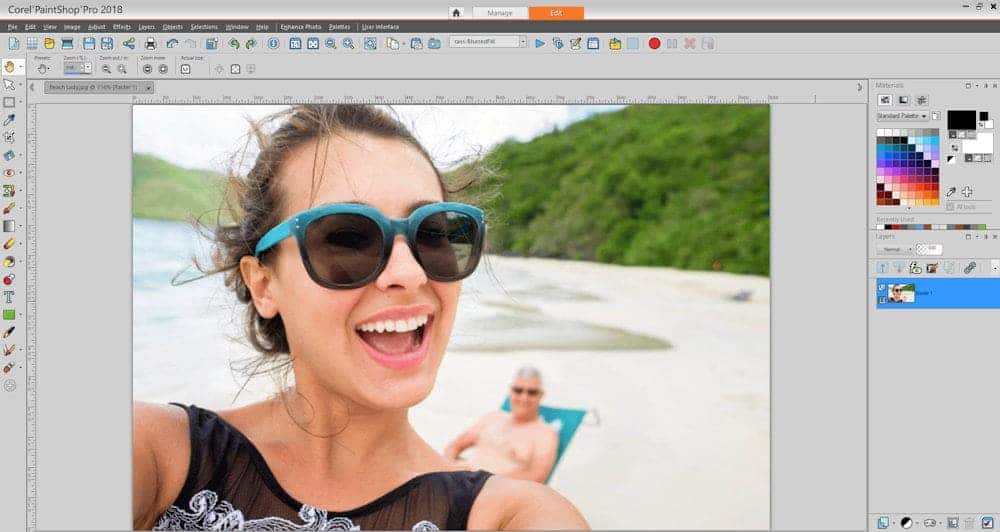
STEP 1: Open up your image in PaintShop Pro
Open up the photo you want to clean up by either dragging it into PaintShop Pro’s Edit tab, or by going to File > Open.
Step 2: Use the Freehand Selection tool to isolate the subject you want to remove
From the Tools toolbar, select the Freehand Selection tool in the Selection tools flyout. Roughly draw around the subject you want to remove by holding down your cursor and dragging.

STEP 3: Feather the selection
In your Tool Options palette, use your judgement to adjust the Feathering control. Feathering helps blend the selection into the surrounding area so that the image appears more natural. The higher the feathering value is, the softer the edges are.

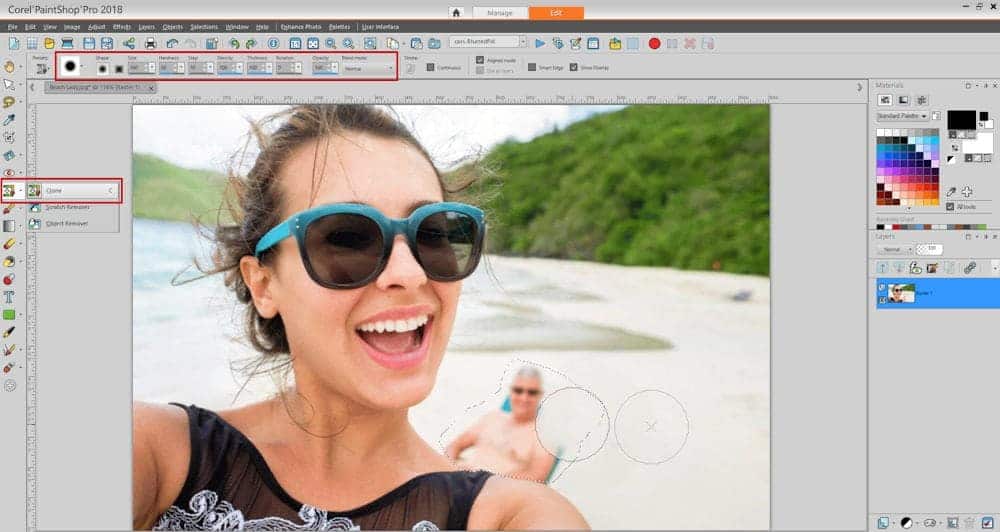
STEP 4: Clone over your selection
Select the Clone Brush tool from the Tools toolbar. The Clone Brush lets you remove flaws and objects by painting over them with another part of the image. On the Tool Options palette, choose the brush tip, size, opacity, and other settings. When you are ready, right-click to choose a source area of the image that you would like to copy over top of your selection with. Hold down your cursor and drag to clone over the area you wish to remove. Choosing a new source is as easy as another right-click.
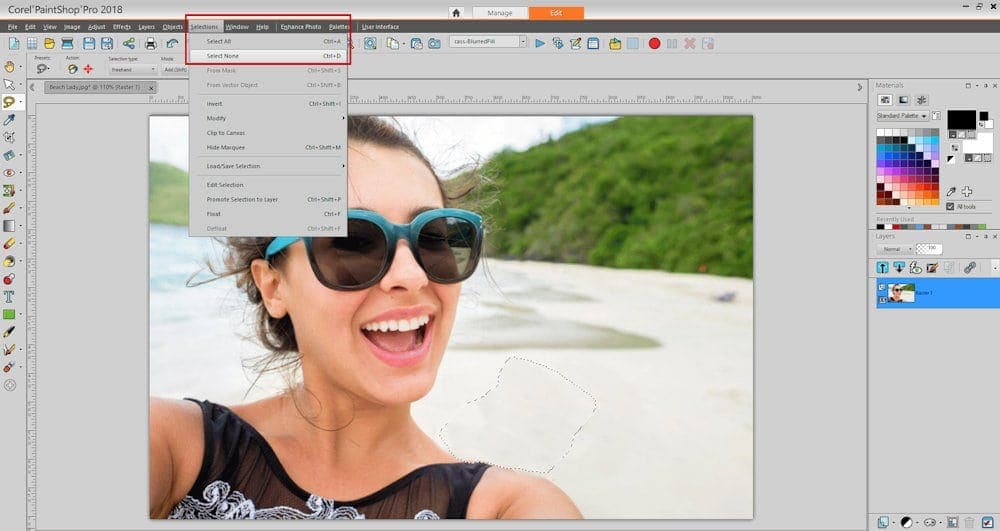
STEP 5: Deselect
When you have completed covering the selected area you wanted to remove, go to the Selections menu and choose Select None (Ctrl+D).
There you have it – five steps is all it takes to remove unwanted elements in an image! PaintShop Pro has other tools that can be used to remove imperfections in a photo, such as the Object Remover, Magic Move, and Magic Fill. Depending on the image, one tool may produce superior results, so it’s a good idea to experiment with them all.
For more details on removing unwanted objects from your photos, check out this full-length video tutorial.

Don’t yet own PaintShop Pro?
Follow along with a 30-day free trial of PaintShop Pro, or buy it now to receive a special 25% discount


3 Comments