In this tutorial we’ll show you how to create and customize titles for your movies and slideshow projects in Pinnacle Studio. You can choose from a variety of pre-made title styles available in the Library, and easily modify them to suit your video project. We’ll start with simple adjustments to font style, size and color, then move on to other customization options for effects and motion. You will learn:
- How to add text using title templates
- How to customize text settings for font style, size, color fill and border, shadow and more
- How to save your customized title style to use in future projects
- How to add motion to your titles
Thanks for watching! You will find a written version of this tutorial below, and a printable PDF copy to download on the Download resources tab above.
Download a FREE 15-day trial and discover all the essential and advanced video editing features that Pinnacle Studio delivers to make your videos look their best.
Download these free resources:
Written tutorial (PDF, 696 KB)
What’s new in Pinnacle Studio
Beginner video editing techniques
Text and titles
Featured products
 Pinnacle Studio 26 Ultimate
 Studio Backlot Membership
 Pinnacle Studio 26
 Vision FX
Adding titles in Pinnacle Studio
With Pinnacle Studio, you can easily create custom titles for your videos or for your picture slideshows. In this tutorial, you’ll learn how to create titles from Pinnacle Studio’s pre-made Looks Library and how to customize your own titles exactly how you want them! You’ll also learn how to add Motion to your titles to help bring your slideshow to life.
How to add text using pre-made title templates
Make sure that your pictures or videos are placed on A/V Track 2 as we will need to place the titles on A/V Track 1. In this tutorial, we are using 3 photos.

- If your pictures or videos are on Track 1, click and drag your mouse to highlight all the media on Track 1.
- Then click and drag the media to Track 2.
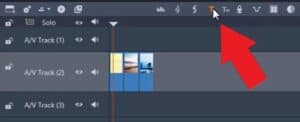
Drag the playhead to where you want to place your text and click on the Create Title icon. A large dialog box will appear and this is the Title Editor.
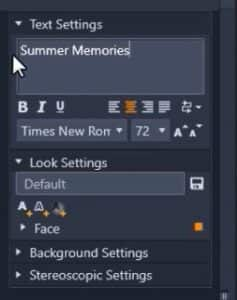
Go to Text Settings on the right of the dialog box and type in your chosen title.
Click on Standard and hover your mouse over the various text options to preview how they’ll look. You can also click on Shadow, Beveled or Outline to browse and preview more premade looks.

Select your desired look. For this tutorial, I’ve selected number #12 Pink Shadow Looks. To make a quick customization to the font, go back to the Text Settings.
Click on the Font dropdown menu and select your preferred font type. I’ve selected Bebas.
Click on the title and drag it to your desired placement. Then click OK.

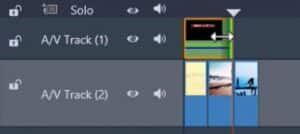
To adjust the duration length of the title, click on the title on the timeline. Then hover your mouse over the title and click and drag to adjust the length of the title and release to set a trim point.
How to create customized titles from scratch
Drag the playhead over the third image and click on the Create Title icon again. Under Text Settings, type in your title.
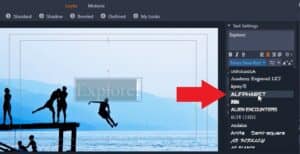
Change the font type. I’ve selected Alfphabet. Change the font size if desired.
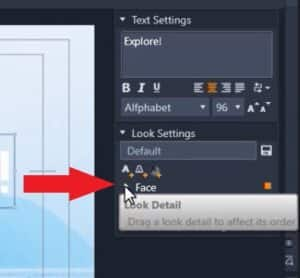
Under Look Settings, click on the arrow beside Face.
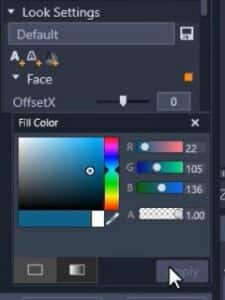
Change the font color by clicking on the Fill box. Choose your desired color and then click Apply.
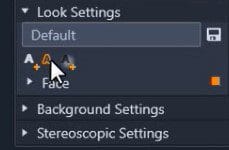
To add a border to your title, click on the Add outline details icon.
Click on the Fill box again to change the border color and click apply. Increase the size of the border by dragging the Size tab.

To add a shadow, click on Add shadow details.
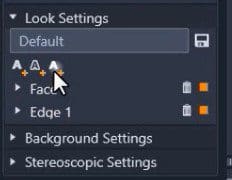
You can change the shadow color by clicking on the Fill box, and you can adjust the opacity by moving the tab.
To save this Look to use later, type in a name for the Look under Look Settings and then click on the Save Look icon. This will now be saved in your Looks Library to use in future projects.
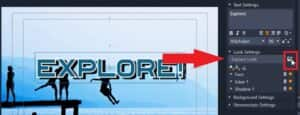
Click on the text to move it to your desired placement. Click on the small circle above the text to rotate it, then click OK.

How to add motion to your titles
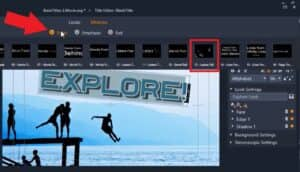
To go back to the title editor, double-click on the title on the timeline. Click on Motions to view the Motions library. Here, you can add a motion entrance, emphasis or exit.
For this title, I want to add an Emphasis motion, so I’ll click on Emphasis and choose #5 Line Pulse. Then I will click on the Play button to preview my effect and click OK to apply the changes.
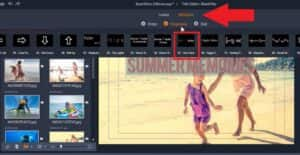
Double-click on your second title to add an Entrance motion. Go to Motions again and this time click on Enter. I’ve selected #13 Leaves Fall. Press Play to preview the added motion, then click OK to apply these changes.
Pinnacle Studio makes it easy to create great customized titles that bring life to your videos and slideshows!

Download a FREE 15-day trial and discover all the essential and advanced video editing features that Pinnacle Studio delivers to make your videos look their best.

