
In this tutorial, we’ll take you through the steps to create a digital scrapbook page with a three dimensional look. Learn how to add a pattern background, import images and graphics, add text, and work with layers.
Download your FREE 30-day trial and make every shot your best shot with PaintShop Pro 2023, your all-in-one photo editing and design software.
What’s New in PaintShop Pro
Digital Scrapbooking
Artistic Tools and Projects
Featured products
 PaintShop Pro 2023 Ultimate
 AI HDR Studio 3.0
 PaintShop Pro 2023
 Vision FX
How to Create Scrapbook Pages
Creating scrapbook pages with pockets to hold travel mementos is very popular. In this example we’ll go over how you can create a digital pocket page with a three dimensional look.
What you will learn:
- How to create a custom file with a pattern background
- How to duplicate layers
- Working with Layer Styles
- Importing images and graphics into a project
- Inserting text and filling that text with a gradient
- Saving and exporting a multi-layer project
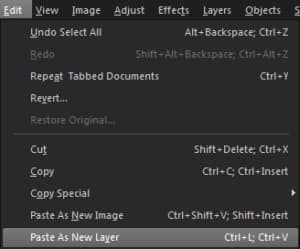
1. Open PaintShop Pro and make sure that the Edit tab is active.

2. From the File menu, select New Image.
3. Make a standard sized page by selecting 8.5 by 11 inches in the image dimensions.
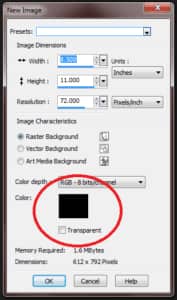
4. To select a background, click inside the Color swatch.
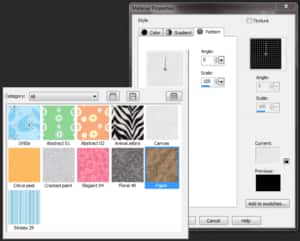
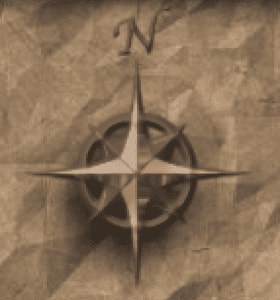
5. In this example, use a pattern fill that resembles artisan paper.
6. Click OK to select the background and then OK again to continue.
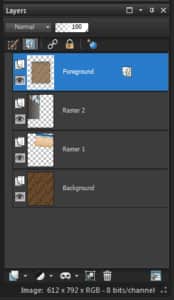
For the remainder of the project you will need to have the layers palette open. To do this, click on View > Palettes > Layers or press the F8 key on your keyboard.
7. Right-click on the layer and rename it “”Background””.
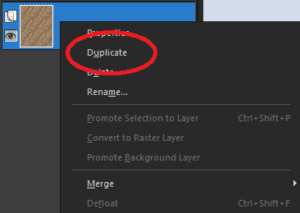
8. Right-click again and select Duplicate.
9. Rename the new layer to “”Foreground””.
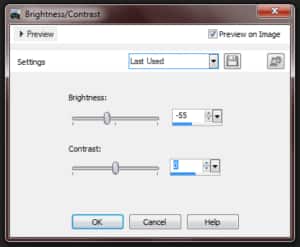
10. Select the background layer. You can make this layer darker by going to Adjust > Brightness and Contrast > Brightness/Contrast and then lower the brightness.
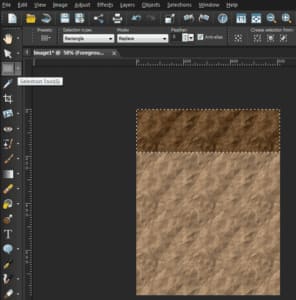
11. Click on the Foreground layer and then the Selection tool. Drag a rectangular selection across the top of the page and then hit the delete key.
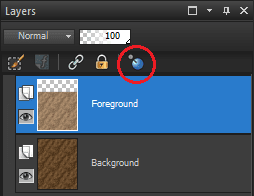
12. Click on the Layer Properties icon and the Layer Properties window will appear.
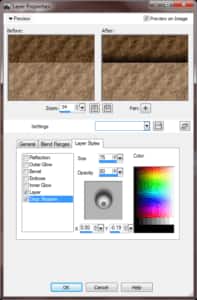
13. Select Preview On Image and then put a check mark in Drop Shadow. You can move the drop shadow position around using the ball guide in the center. When you have the shadow positioned where you would like, you can adjust the size and opacity to determine how far the shadow will spread and how dark it will appear. When you have it the way you like, click OK to continue.
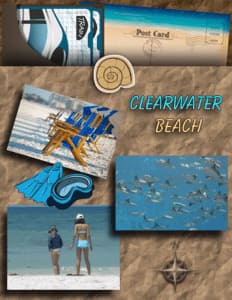
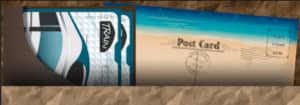
This is a great way to make part of your image appear as a three dimensional envelope page. Now all you need to do is put some travel mementos into that sleeve. This is great if you have tickets, postcards or tags that you can scan. In this example, we have a postcard and train tickets in a sleeve and those images will be tucked in-between these two layers of paper.
14. To do this, open the first image. Go to Selections and choose Select All or use the key combination Ctrl A on your keyboard. Use Ctrl C to copy.

15. Click on your project and then from the Edit menu select Paste As New Layer.
16. In the Layers palette you can drag the layer with the image in-between the foreground and the background and then position it with the Pick tool.
Now it looks like the postcard is inside the sleeve. The same process can be done for as many items as you want to appear in-between those two layers.
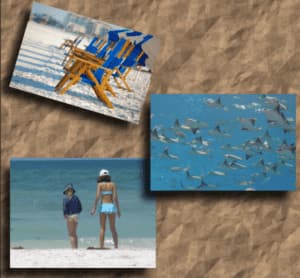
17. Adding photos works the same way, but these images will simply be placed above the foreground layer.
To make the images appear 3D, use the Layer Properties and apply a Drop Shadow.
18. You can also import graphics that have a transparent background; just like how you would apply stickers or cut-outs to a physical scrap book, digital stickers can be a lot of fun.
19. To add text, click on the Text icon in the Standard toolbar and then click anywhere on the screen and start typing. Click in the center of the text book to move it into position.
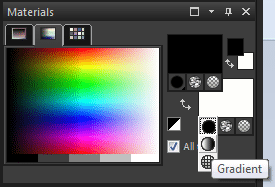
20. To re-color highlighted text, make sure that the Materials Palette is open. If you do not see it, click the F6 key on your keyboard. Left-click to change the outline color and right-click to change the fill color. To fill text with a gradient, click the color icon below fill color and select Gradient.
21. You will be able to specify direction of the Gradient.
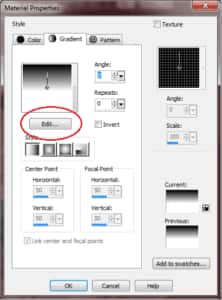
22. Click the Edit button to change the colors.

23. Click OK and save the Gradient.
24. You can also add a Drop Shadow to the text in the Layer Properties.
25. When you have finished your project save it is as PSPIMAGE file, that way your layers will remain intact. You can also save as a Jpeg file to upload to the Internet or send via e-mail. You will get a warning and this is because a Jpeg can only maintain 1 layer. Since you have a PSPIMAGE file as a backup, you can click Yes to this message to continue.

Download your FREE 30-day trial and make every shot your best shot with PaintShop Pro 2023, your all-in-one photo editing and design software.

Reader Interactions