
Take your design skills to the next level and impress your friends and family by creating a trendy piece of artwork with PaintShop Pro. In this tutorial you will learn how to make a multi-layered artistic poster design by blending together components such as photos, text and graphics.
You will learn how to:
- Collect all of your images into a tray.
- Blend layers.
- Add a caption.
- Save your project.
Download your FREE 30-day trial and make every shot your best shot with PaintShop Pro 2023, your all-in-one photo editing and design software.
What’s New in PaintShop Pro
Digital Scrapbooking
Artistic Tools and Projects
Featured products
 PaintShop Pro 2023 Ultimate
 AI HDR Studio 3.0
 PaintShop Pro 2023
 Vision FX
Welcome to this video on how to create an artistic poster in Corel PaintShop Pro.
In this tutorial I will show you how to make a multi-layered poster design by blending together various components, such as photos, text, and graphics. Let’s get started!
1) First, launch PaintShop Pro in the Manage workspace.

2) Choose the images that you want to work with. I’ve used a tray to collect all the images in one place. The tray is a like a virtual folder, so the images aren’t duplicated on my computer.
3) Now let’s go to the Edit workspace.

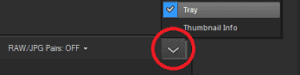
4) If you don’t see the tray in the Organizer palette, click the Show/Hide Toolbar Buttons arrow and enable Tray.
5) Choose the background image.
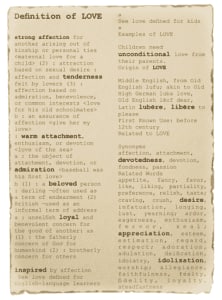
In this example I have an artistic graphic of text written on parchment paper.
6) Since the theme of the poster pertains to love, I’ll be adding a picture of a heart, but for a unique touch, the image will be of an anatomical heart.

7) Drag the heart image from the Organizer palette to the Layers palette to add the image as a new layer.
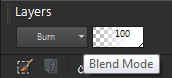
8) Next, I’ll blend the heart into the background. From the Layers palette, change the Blend mode of the layer to Burn. This will make the image appear as if it has been burned into the paper.
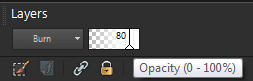
9) To further blend the heart into the background, lower the layer transparency slightly. In this example I’ll lower it to 80%.
10) Now, let’s add the text “”Follow Your Heart””.
First, set the colors in the Materials palette for the fill and for the outline. To do this, left-click the first color swatch and select the color you want to use; in this example, I’ll use a dark red.
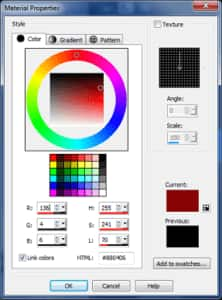
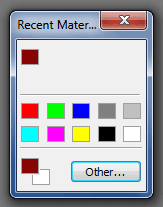
Next, right-click the second color swatch and it will launch the Recent Materials dialog box – this lets you to quickly and easily select the same color.
11) From the Tools toolbar, select the Text Tool and then click the screen. Next, I’ll type in the words “”Follow””, “”Your”” and “”Heart”” separately. The words can be sized and positioned with the Pick tool. When you type the text, a new vector layer is created automatically.
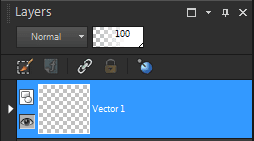
12) To blend the text into the background, reduce the text layer transparency by adjusting the opacity setting until it looks right to you.

13) When the project is complete, it is important to save a version as a PaintShop Pro Image file – this way your layers will remain intact. From the File menu click Save As and select the PSPImage file type.
14) Next, save a version that can be printed or shared online by going to File > Export and selecting JPEG or PNG Optimizer. In this example, since PNG files support transparency, we will use that file type – this way it will preserve those nice burned edges of the parchment paper background.
Download your FREE 30-day trial and make every shot your best shot with PaintShop Pro 2023, your all-in-one photo editing and design software.

Reader Interactions