
Start your FREE 15-day trial and embark on a design journey with powerful tools for vector illustration, layout, photo editing, typography, and collaboration.
What’s New in CorelDRAW Graphics Suite
This tutorial shows you how to make a puzzle out of any image in your library. In a few simple steps, you can break up an image in CorelDRAW to create a ‘puzzle’ effect.
For the first example, the ‘puzzle’ pieces will be regular, rectangular shapes.
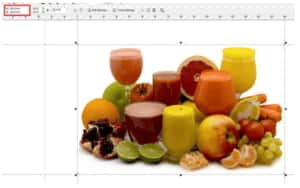
In CorelDRAW, open or import the image to be fragmented. Then, on the property bar, use the Object size boxes to adjust the final size of image.
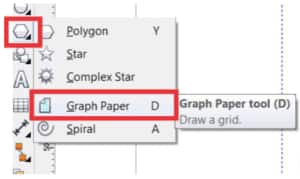
In the toolbox, click the flyout arrow on the Polygon tool and choose Graph Paper from the flyout menu (or pressD).
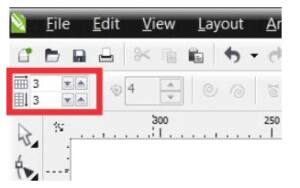
On the property bar, use the Rows and columns boxes to specify how to fragment the image.
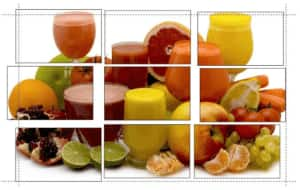
In this example, I used 9 total pieces, or 3 rows3 columns.
Note: Be careful not to overdo it when determining the number of ‘puzzle’ pieces. With bitmap images, the final size of your file may increase dramatically. This simulation does not ‘break’ the image into pieces. It creates copies of the original image, parts of which will be ‘hidden’ by the PowerClip function. So, in this example, the photo was duplicated 9 times. If you are using a vector image, however, the difference to the final file size will be minimal.
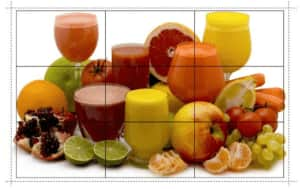
With the Graph Paper tool selected, drag to create a grid. Try to make the grid the exact size of the photo, or even a bit smaller, so that the image ‘bleeds’ out of the grid’s boundaries.
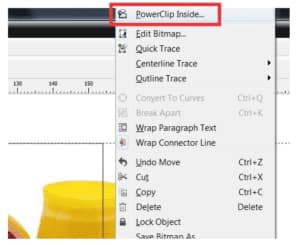
Next, drag the photo out of the grid, right-click the photo and choose PowerClip Inside.
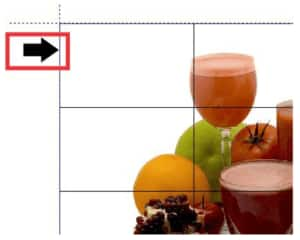
Note that the cursor has changed to a large black arrow. Click on the edge of the grid to place the photo inside the grid.
Click on the image and then click the Edit PowerClip button.
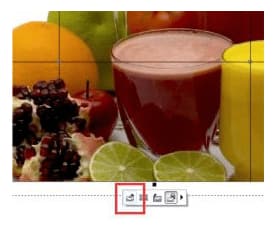
Now click the photo and drag to place it into the grid. Note that parts of the image that are outside of grid will not appear on any ‘puzzle’ pieces.
When finished, click the Stop Editing Contents button.
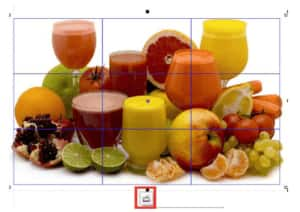
Next, select all objects (Ctrl+A) and then click Ungroup All to separate the 9 pieces of the ‘puzzle’.

Click on each image fragment and drag and separate them as you wish.
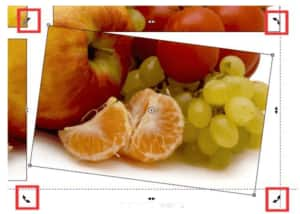
If you want to highlight a certain piece, double-click the chosen fragment and rotate it by using one of little rotation handles to determine the desired angle.
Optionally, you can also apply drop shadowing to a fragment to give it a special emphasis. First, select the desired fragment. Then, in the toolbox, click the flyout arrow on the Blend tool and choose Drop Shadow from the flyout menu.
Now click the fragment and drag to apply the drop shadow effect. On the property bar, adjust the intensity of Opacity and Feathering. To order the fragment above all other fragments, select it and press Shift+Page Up.

Using an irregular shape
For the second example, we’ll use an irregular shape to simulate the ‘puzzle’ effect. The steps are very similar to those from the first example, changing only how to build the grid of the ‘puzzle’.
In the toolbox, click the Freehand tool (or the Smart Drawing tool) and draw a heart shape. Then, use the Graph Paper tool to apply a 22 grid just as you did for the previous example’s 33 grid.

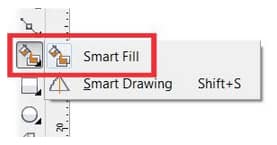
In the toolbox, click the Smart Fill tool.
Click inside a piece of the fragmented heart and then click a color swatch on the Color palette. For this example, I filled each piece of the heart with different colors.

With the Pick tool selected, hold down Shift and then click each colored piece of the heart. Then press Ctrl+G to group them. Click the grid and press Delete.

Import a photo.

Right-click the photo and choose PowerClip Inside. Click on the heart to place the photo inside the shape. Hover over the photo and click the Edit PowerClip button. Drag to arrange the photo inside the shape and then click the Stop Editing Contents button. Press Ctrl+A to select all objects and then click Ungroup All. Then click each fragment and drag, rearrange, rotate, apply effects as you wish.
And finally, here’s the completed heart-shaped ‘puzzle’.

 CorelDRAW Graphics Suite
 Ultimate Vector Bundle Vol. 1
 CorelDRAW Standard 2021
 Ultimate Vector Bundle Vol. 2
 Corel Vector
Start your FREE 15-day trial and embark on a design journey with powerful tools for vector illustration, layout, photo editing, typography, and collaboration.

Reader Interactions