
Understanding how to use the Golden Mean (also called the Golden Ratio) and the Rule of Thirds is essential to composing great photographs. This tutorial will introduce you to these two foundational concepts.
You will learn:
- The Golden Ratio is about 1:1.6.
- The Rule of Thirds is a simple way to achieve balance and harmony in your photos.
- Place the horizon at the 2/3 or 1/3 line in your photo.
- Place focal points at the intersection of the vertical and horizontal grid line.
For examples of these principles in action, take a look at the photos below.
Thanks for watching! We hope you found this tutorial helpful and we would love to hear your feedback in the Comments section below. And don’t forget to visit our social media pages and show us what you’ve learned by sharing your photos, videos and creative projects with us.
Download your FREE 30-day trial and make every shot your best shot with PaintShop Pro 2023, your all-in-one photo editing and design software.
Photography Composition Tutorials
Photography Quick Tips
Natural Lighting in Photography
 PaintShop Pro 2023 Ultimate
 Vision FX
 PaintShop Pro 2023
 AfterShot Pro 3
Using the Golden Ratio and Rule of Thirds in Photography Composition
All photos used in this tutorial © Robert Patterson
The Golden Ratio and the Rule of Thirds are arguably the strongest, most important rules of composition. They tend to provide the overall framework for an image, creating balance and allowing other compositional elements to work within your photo. At the very least they’re a good starting point when composing a shot.
The Golden Mean or Ratio
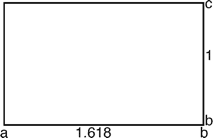
When two things are proportionate to each other in the ratio of 1:1.618 they are in the Golden Mean.
A line divided by this ratio would look like this:

A rectangle with Golden Ratio proportions:
So what is so fascinating about this ratio? In nature the Golden Ratio occurs everywhere… from the classic example of a Nautilus shell to the formation of galaxies, from the relative size and arrangement of bones in your arms and hands to the growth and shape of trees and forest. It is also used in complex economic equations and it is claimed that its even found in the very structure of your DNA.
For whatever reason that this occurs in nature, our minds seem hardwired to recognize this pattern if even just subconsciously and as a result, images that conform to this pattern are perceived of as pleasing to the eye.
So how do you apply this? In visual art this is applied by subdividing your image by this ratio. The resulting image can look like this.
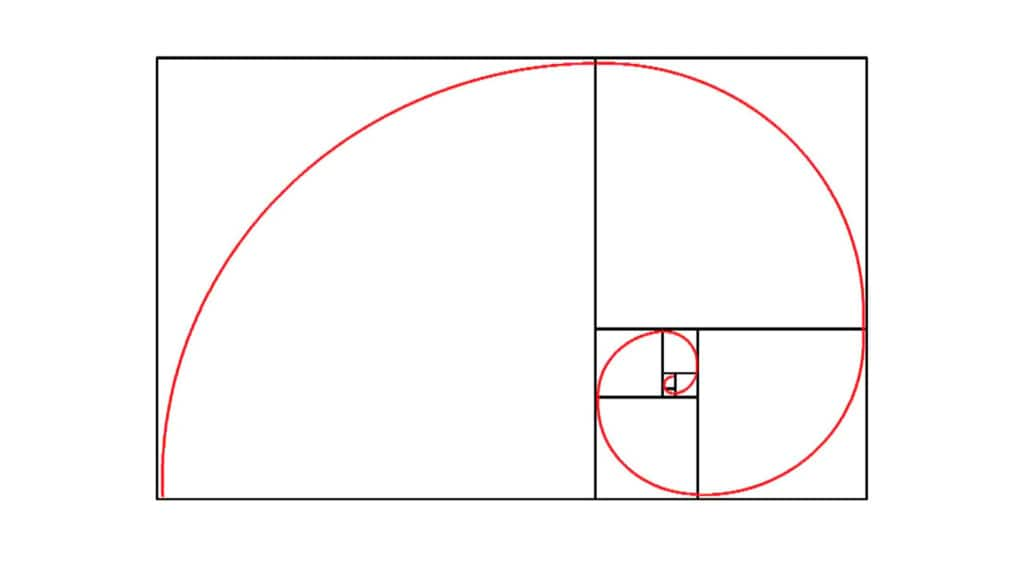
Notice that even without any subject matter the image clearly focuses the eye to the lower right section of the image creating a point of interest. You would in this instance place important subject matter around that area.
Balance comes into play here too. The larger number of smaller rectangles on the right balances out the overall larger, yet empty left side of the picture. Arranging your composition around these lines with help to give your picture better balance.
While this works great for painting or drawing, it is somewhat complicated and hard to envision through the viewfinder of your camera while you’re trying to compose your shot and deal with whatever other distractions you may face in the field.
This is where the Rule of Thirds comes in.
The Rule of Thirds is basically a simplification of the Golden Rule. While its ratio doesn’t equate to that of 1:1.618, its proper implementation in composition will give you roughly the same desired effect. And it is very easy to envision and implement compared to the Golden Ratio.
Here’s how it works:
1. Divide your image into 9 equal parts, three vertically and 3 horizontally (essentially an X and O board).
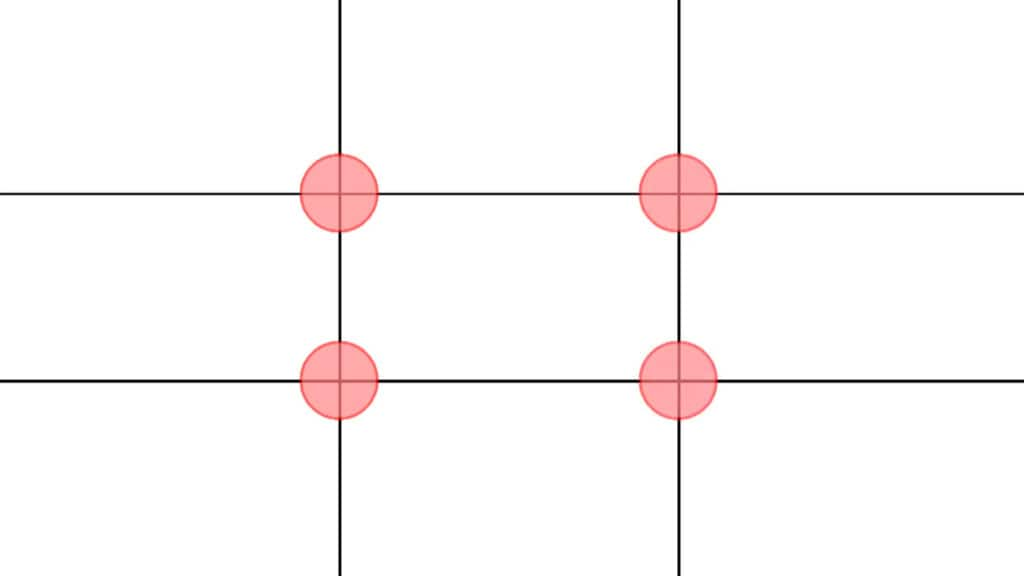
2. Using these lines as guides, place objects of interest at the intersections of the lines. This keeps the eye within the picture. Notice how these locations more or less align with the point of interest in the Golden Ratio example.
(Note: You can’t usually physically re-arrange the elements of your photo unless you’re doing studio or still life type of photography so by “place elements” what is implied is reposition your camera to arrange the elements within the frame)
3. You will often hear photographers talk about weight or balance in an image. This is much easier to see with these lines in place. If you place the elements of your photo two thirds to the right or left it again generally becomes more pleasing to the eye. If shooting vertically, try placing your horizon two thirds of the way up or down.
The Rule of Thirds is very simple but can become quite complex in its implementation, so don’t over think it. Elements in your photo will often conflict. Placing one thing two thirds to the left may cause another element to be in a place that doesn’t conform with the Rule of Thirds. You will usually be able to find a nice balance between the conflicting elements or simply have to decide which one is the strongest, most important one and place the emphasis on it.
You will rarely center objects or horizon lines in an image but there are times when you may wish to convey strong symmetry or perhaps a portrait or a head shot. Remember these rules are meant to be flexible and are by no means going to always apply. There will always be elements in any photo that will conflict with themselves or other rules of composition, its just a matter of finding the right combination and balance of these elements to best suit each photo.
Final Tips
- Try cropping images in your photo editing software to see different results from the same picture.
- Divide your TV or computer screen into thirds (some tape and string will do the trick) and just watch anything. I recommend good visual documentaries or animation. You will immediately see how photographers arrange the elements in their shots to comply with the rule of thirds.
- Throughout your day, look around you and try to compose shots based on what you see. Picture the borders of the photo and figure out how you would arrange the lines and subjects inside that frame. After you’ve been shooting for a while you may eventually find yourself doing this automatically all the time.
- Many cameras now will superimpose the Rule of Thirds grid over their viewfinders. This is an excellent tool to use to learn this concept. Try not to become too dependent on it though as it may lead to a too rigid interpretation of the Rule of Thirds.
Examples of The Rule of Thirds Applied in Photos
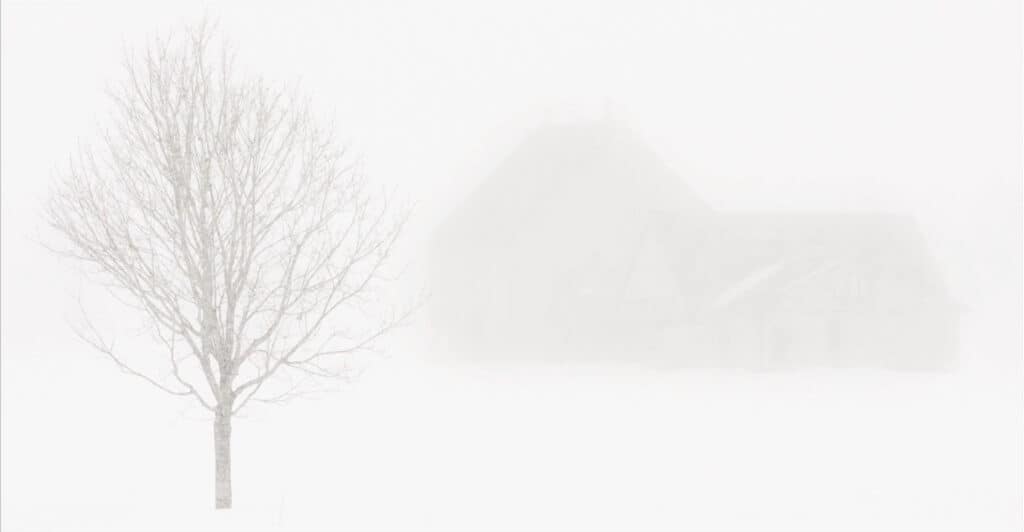
The arrangement of elements in this shot strongly demonstrates the Rule of Thirds. The tree in the foreground is aligned with the left third of the photo and the barn is placed on the right and top two thirds.
Thirds is applied all over this photo. The gull and posts sit in the lower right third of the photo. The horizon is roughly on the top third and the sail boat in the background against the ship is roughly on the intersection of the two thirds lines.

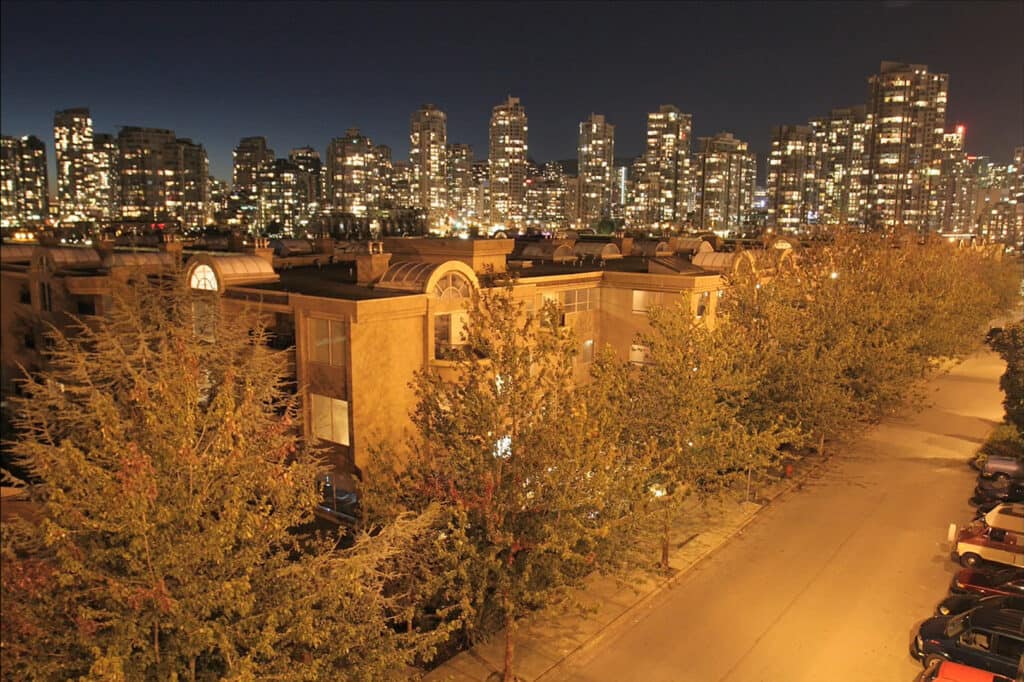
This shot of Vancouver shows how the rule of thirds is applied. The horizon dividing the skyline and the condo in the foreground is approximately on the top one third of the photo. The corner of the condo complex is divided by the left.
This is an example of breaking the Rule of Thirds that works. Usually you wouldn’t divide your horizon in half but in this case the symmetry works.

Cropping Photos for Better Composition
Using Negative Space in Photography

Compositional Elements to Look for in a Photo
Download your FREE 30-day trial and make every shot your best shot with PaintShop Pro 2023, your all-in-one photo editing and design software.

Reader Interactions