
Photo transfer on wood
Are you looking for a creative way to showcase your favorite photos? Or perhaps a unique gift idea? Create a gorgeous display with this photo transfer on wood project. The process is simple – print out your photo, use a gel medium to apply the photo to a piece of wood, then finish it with a clear spray or shellac. You can find all the supplies you need at your local craft store.
With this project you can create beautiful photo decorations for your home, but they also make great gifts for the holidays or special keepsakes to commemorate important events like weddings, holidays and more.
How to make a photo transfer on wood in 5 easy steps
There are 5 basic steps to this photo project. Watch the video to see how it’s done and follow along with the detailed instructions below.
You will need the following materials for this project:
- Photo
- Piece of wood
- PaintShop Pro or another photo editing program
- Scissors or exacto knife if you want to trim your photo
- Smoothing tool (a small squeegee tool if you have one, but a ruler or the edge of a greeting card or credit card works fine)
- Gel Medium
- Mod Podge or other clear finish
- Foam or bristle brushes
- Rag or sponge
- Cardboard, scrap paper or towels (to protect your work surface)
- when the image is transferred on the wood, it will be reversed so you will need to use your photo editing software to reverse the image first, especially if there is any text or other part of your image that shouldn’t be displayed backwards
- you may also need to straighten your photo and/or crop it to the same dimensions as your piece of wood
- you can also enhance your image with a variety of effects (check out our video tutorials below to see how to convert to your image to black and white, or use a script to add a cool effect)
- print your photo on regular printer/photo copier paper using a laser jet printer, or make a photo copy of the printed photo (a photo printed on photo paper or using an ink jet printer WON’T work)
- cover your work space with the cardboard, scrap paper or towels to protect it
- apply an even layer of gel medium to your photo using one of your brushes
- very carefully, lay your photo face-down on the piece of wood
- use your smoothing tool to gently smooth out the photo and remove any air bubbles
- wipe off any extra gel around the edge
- let your photo dry overnight, or for at least 8 hours
- using a damp rag or sponge, gently rub the paper to remove it and reveal your photo
- be careful not to rub too hard or you will remove part of the image as well
- repeat this process as many times as necessary to get all the bits of paper off
- you can let your transfer dry out a bit and see if there is any paper that still needs to be removed, then wet it down again to remove any leftover paper
- once you have all the paper removed, let your photo transfer dry completely
- for an aged look, you can leave some of the paper bits on the wood
- the last step is to apply your Mod Podge or other type of clear finish to seal the photo
How to edit photos
Before you go to transfer your photo onto the piece of wood, make sure it is looking it’s best! These tutorials will show you how to crop your photo to the correct size, how to reverse it, and how to add some effects.
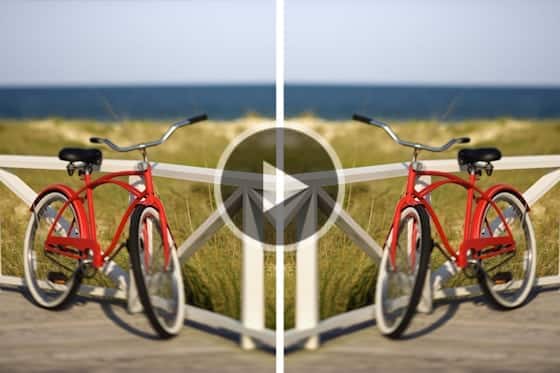
Reversing or Mirroring your Image
If you don’t want your photo transfer to end up backwards, make sure you reverse it first! Learn how to do this in PaintShop Pro.
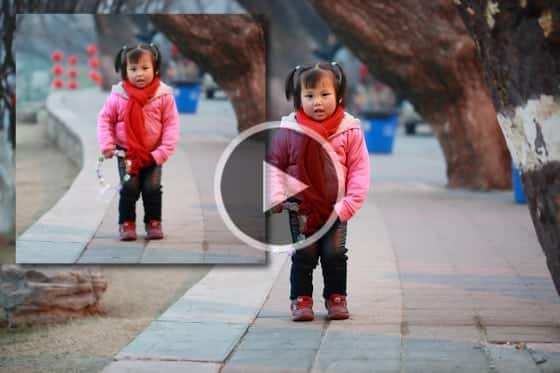
Cropping and Resizing your Photo
This tutorial will show you how you can crop your photo to remove any unwanted parts and make it the right size to fit your project.
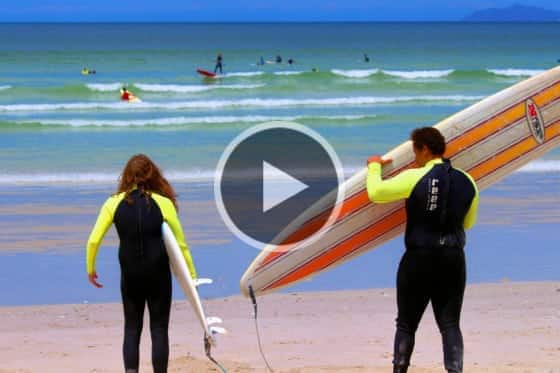
Removing Objects from Photos
Whether you need to touch up some blemishes, remove an unwanted object or erase a scratch in an older photo, PaintShop Pro has the tools you need – see them in action!

Reader Interactions