
You work hard on your photos, and you want to leave your mark on them, literally. Whether it’s to advertise your work, indicate photo status, or to help prevent piracy, adding a watermark is a great way to claim ownership of your photos. PaintShop Pro offers a wide range of options that makes it easy to apply a watermark to a single photo or on multiple photos at once. In this tutorial, you will learn how to:
- Create a watermark image
- Apply a watermark to a single photo
- Apply a watermark to multiple photos at once
If you want to learn more about batch processing, watch this tutorial on Enhanced Batch Processing.
Thanks for watching! We hope you found this tutorial helpful and we would love to hear your feedback in the Comments section at the bottom of the page. You will find a written version of this tutorial below, and a printable PDF copy to download on the Download Resources tab above.
Download your FREE 30-day trial and make every shot your best shot with PaintShop Pro 2023, your all-in-one photo editing and design software.
Download these free resources:
Written Tutorial and Sample Images (Zip, 3 MB)
PaintShop Pro resources
Keyboard shortcuts (PDF, 173 KB)
PaintShop Pro User Guide (PDF, 25.4 MB)
What’s New in PaintShop Pro
PaintShop Pro for Business
Featured products
 PaintShop Pro 2023 Ultimate
 AI HDR Studio 3.0
 PaintShop Pro 2023
 Vision FX
Watermarking Your Photos in PaintShop Pro
Watermarking your photos is a great way to make sure credit is given where it’s due. This tutorial will show you how to use PaintShop Pro to easily create a watermark image, apply a watermark to a single photo, or apply a watermark to multiple photos at once.
The first watermark example in this tutorial will consist of both an icon and text. This is the icon that will be used:

Note that this image already has a transparent background, which means it’s a PNG file. You can find similar images online, using search terms such as “shutter icon png.” Look for an image that is a single solid color with a checkered background, which indicates transparency. To download, right-click on the web image, and choose one of the available saving options.
Create a Watermark Image
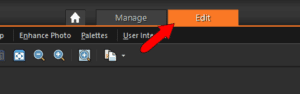
Open PaintShop Pro and make sure you are in the Edit workspace.
Use File > Open to open your icon image.
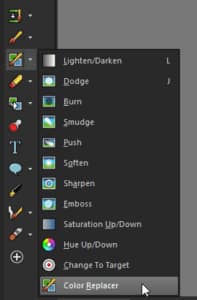
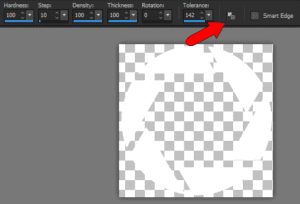
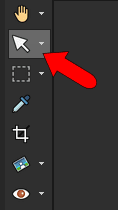
Generally, watermark images look better in white, since they usually appear above the background of a photo. To replace one color with another, open the Lighten/Darken tool flyout and choose Color Replacer.
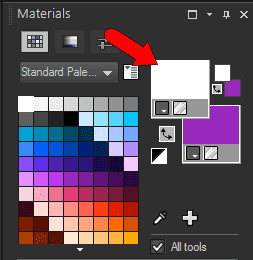
In the Materials palette, set the foreground color to white.
The background color should be the color that is to be replaced. You could set this color manually – it’s easy enough when the replaced color is black. Or you could press Ctrl while right-clicking on the color to replace.
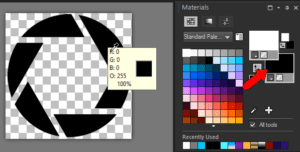
Click Replace All Pixels to replace all black pixels with white.
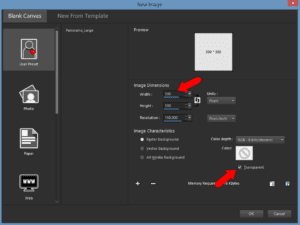
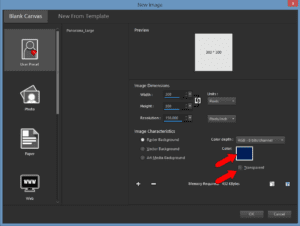
Now we can create a new canvas for the watermark image. Choose File > New and set a size of 300 x 300 pixels, with a resolution of 150. Check the Transparent box to set a transparent background.
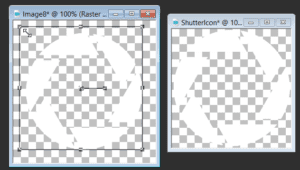
Click OK and you should now have two images: the new watermark canvas and the icon image. Both with transparent backgrounds. Choose the icon image to make it active, and its single layer will appear in the Layers palette.
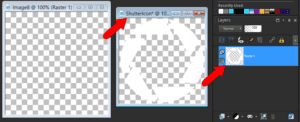
From the Layers palette, drag the icon layer onto the blank canvas.
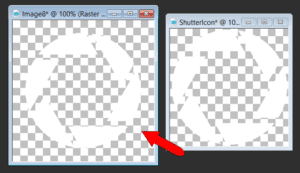
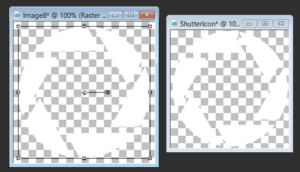
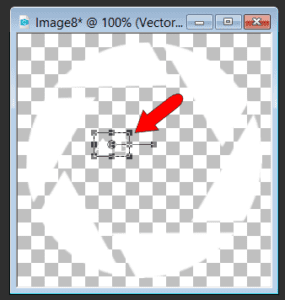
To adjust the icon size, activate the Pick tool. Use the drag handle to resize as needed, in order to fill the empty canvas.
To center the icon, choose Objects > Align > Center in Canvas.
Apply a Watermark to a Single Image
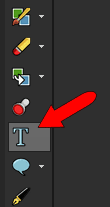
Now we can add the watermark text. Click the Text tool.
Choose the text font style and size. Choose white as the font color. Set the stroke width to 0, so the text will have no outlines.

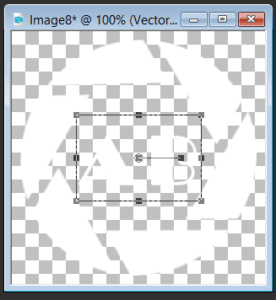
Click on the image, approximately where you want the text to begin, and type a couple of letters. Double-click when finished. The white text will be a bit hard to see against the transparent background.
Use the corner handles to resize as needed and center the text on the canvas.
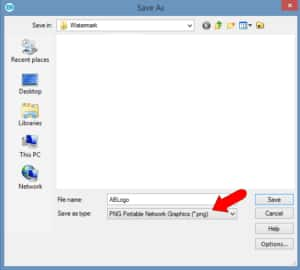
The watermark image is ready to be saved and applied to a photo. Choose File > Save As and choose the PNG file type – this file format will maintain the transparency. Assign a name and save.
Now open a photo that you’d like to watermark.

Choose Image > Watermarking. There are three options: Visible, Embed, and Read. The Embed option enables you to apply a Digimarc watermark – this is a paid digital watermarking service. The Read option enables you to identify a Digimarc watermark. The option we want here is Visible Watermark.
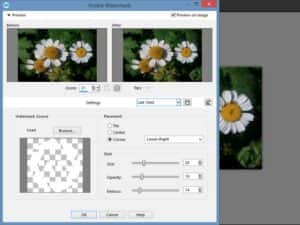
On the Visible Watermark window, click Browse to find and load your saved watermark image. Checking Preview on Image enables you to see the watermark on the actual photo before applying. You can also zoom and pan directly on the Before and After preview views. You can choose Tile to repeat the watermark vertically and horizontally, or Center for a single watermark in the center of the photo, or Corner to choose one of the four corners. There are sliders for Size and Opacity, as well as an Emboss slider, which adds a nice 3D effect.
Click OK when finished and your watermark will appear on the photo.
If you want to make changes to the watermark, use Ctrl + Z to undo, and choose Image > Watermarking > Visible Watermark again, to adjust the previous settings.
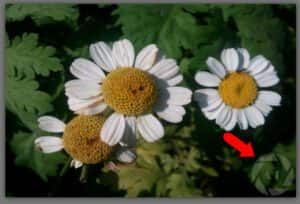
Now let’s see how to watermark multiple photos at once. In this example, there are five flower images saved in a folder called Flowers. These photos don’t need to be open in PaintShop Pro.

We’ll create a new watermark image for these photos, which will mark the photos as proofs. Choose File > New and use the same canvas size as before. This time, uncheck Transparent and set a color for the background. For the sake of demonstrating how to make a background color transparent, this example uses a dark blue background.
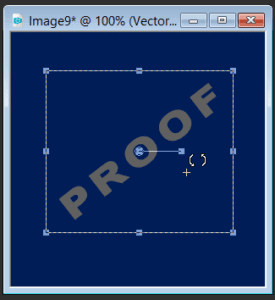
For the text of this watermark, set a plain font and a medium gray font color.

Click on the canvas and type “PROOF,” then double-click to finish. Use the drag handles to resize and use the rotation handle to tilt the text.
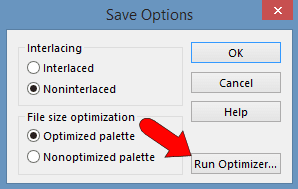
This time, when saving the watermark as a PNG, we need to specify that the blue background will be made transparent. Use File > Save As, set the file type to PNG, and click Options.
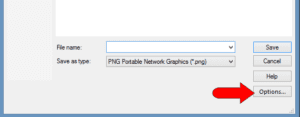
Then click Run Optimizer.
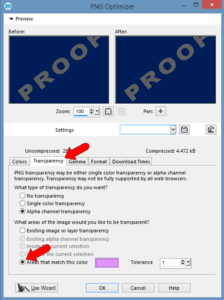
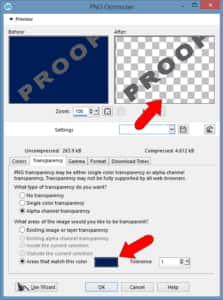
The PNG Optimizer window opens. If needed, you can move this window so that the watermark image can still be seen. Open the Transparency tab and choose the option to match color.
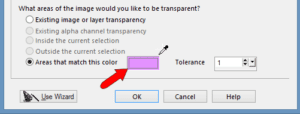
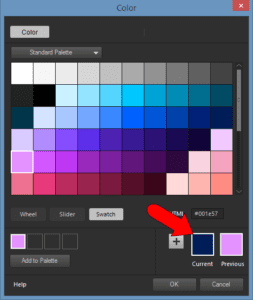
To set the color that will be made transparent, click the color swatch.
The Color selection window appears, but you can also sample a color on-screen. If you move the cursor to the watermark image background, the cursor becomes an eyedropper.
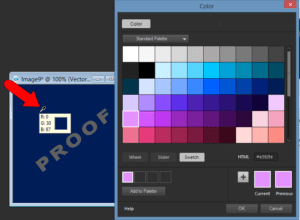
Click the image background, which brings its color into the Current swatch.
Click OK to return to the Optimizer window. The After view should show a transparent background.
Click OK to accept the settings and save the image.
Apply a Watermark to Multiple Photos at Once
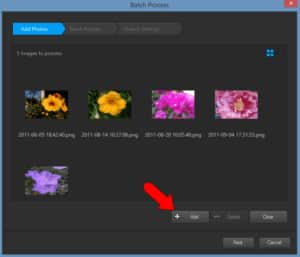
Now that we have our watermark image saved, we can apply it to all of the flower photos at once. Choose File > Batch Process.
The first step in batch processing is to choose the photos to which the batch actions will be applied. Use the Add button to find and select all of the flower photos.
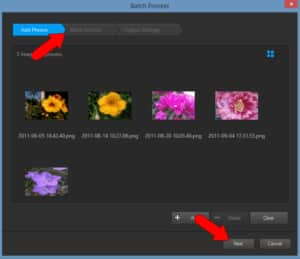
Click Next or click the Batch Actions header.
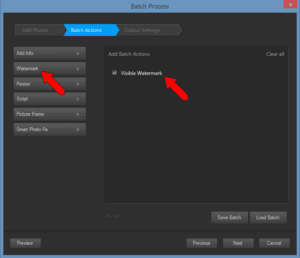
This step is where you define the actions that will be applied. Click Watermark, and a Visible Watermark action is added to the list on the right.
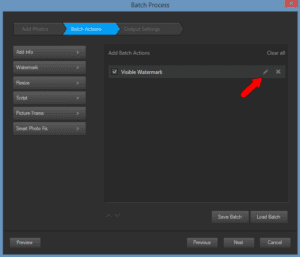
Highlight this action and click the Pencil icon to edit the watermark settings.
This opens the Visible Watermark window, in which you can browse to the “PROOF” watermark. In this example, this watermark is set to tile repeatedly.

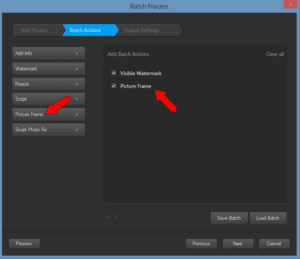
Click OK. In addition to watermarking, there are many other actions you can apply. In this example, we’re also adding a Picture Frame.
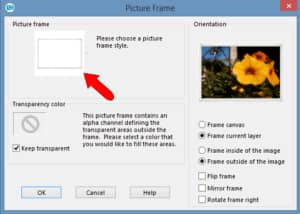
Open the Picture Frame settings and click the frame swatch to choose a frame you like.
The Batch Actions page also has a long list of other scripts you can peruse. These can be used for tasks like noise removal, sharpening, resizing, and more.
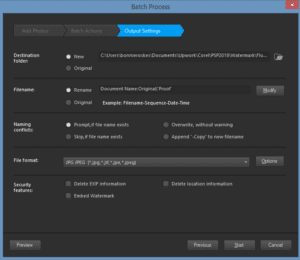
The final step is Output Settings. First, you can choose to keep the watermarked photos in the same folder as the original photos, or to store them in a different folder. In this example, the New option is used to store the new photos in their own folder.
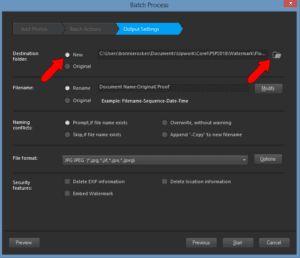
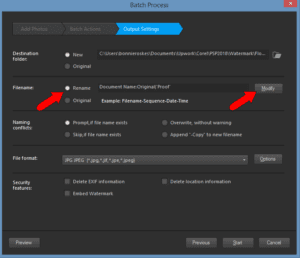
We also need to decide how to name these new photos. If you choose not to keep the original file names, choose the Rename option and click Modify.
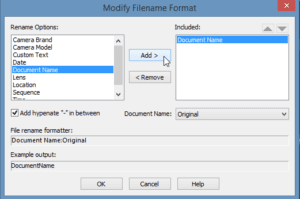
To keep the original file name as part of the new file name, highlight Document Name and click Add, to move this to the Included box. You can keep the original name as-is or make modifications.
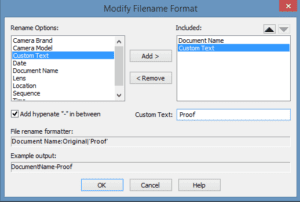
In this example, Custom Text is appended to the original file name. This custom text reads “Proof.” There will be a hyphen between the two parts of the new file names, and the Example Output field will show what the new file name will look like.
Click OK to return to the Batch Process window. There are other options you can set here, such as handling naming conflicts, file format, and security features. You can click Preview to preview some or all of the new photos. When everything looks okay, click the Start button.
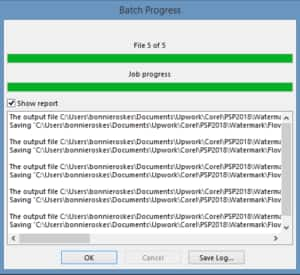
The Batch Progress window will let you know when all of your photos have been processed.
After the batch watermark and picture frame actions are complete, you can use the Organizer to browse through the new photos.
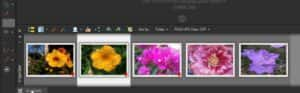
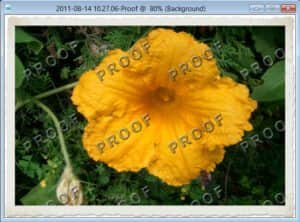
Drag any one of these new images into the Editor to see the watermark and frame.
Download your FREE 30-day trial and make every shot your best shot with PaintShop Pro 2023, your all-in-one photo editing and design software.

Reader Interactions