
The key tools used to create animations in PhotoMirage are Motion Arrows and Anchor Points. In this tutorial we’ll show you how to place Motion Arrows over the areas of the image that you want to animate, and how to use Anchor Points to plot out areas that you want to remain still. You will also learn how to reposition, rotate and delete these initial Animation Markers to refine your results, and how to adjust the speed of your animation. Try out these simple click-and-drag tools to create your first animation in just a few minutes!
Thanks for watching! We hope you found this tutorial helpful and we would love to hear your feedback in the Comments section at the bottom of the page. You will find a written version of this tutorial below, and a printable PDF copy to download on the Download Resources tab above.
Download your FREE 15-day trial of PhotoMirage and start creating stunning animations from your photos, digital designs and artwork in just a few simple steps.
Download these free resources:
Written Tutorial (PDF, 361.8 KB)
PhotoMirage resources
User Guide (PDF, 4 MB)
Keyboard shortcuts (PDF, 518 KB)
PhotoMirage Tutorials
Tools and resources

PhotoMirage animation software
With PhotoMirage you can effortlessly transform any image into a captivating animation in only a matter of minutes.

PhotoMirage free trial
Download your FREE 15-day trial of PhotoMirage and start creating stunning animations from your photos and images.
PhotoMirage gallery
Visit the PhotoMirage gallery and upload your animations. Browse the gallery for inspiration and see what other users are creating.
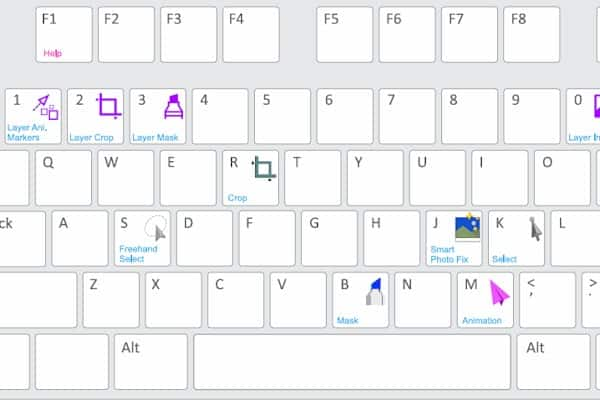
Keyboard shortcuts
Shave time off your most frequently performed tasks with this handy reference sheet for all the PhotoMirage keyboard commands.
How to Use Animation Tools in PhotoMirage
To begin, open an image that you want to apply a PhotoMirage animation effect to. We will be using the sample image of a showerhead, but you can use a different photo if desired.
How to Use Motion Arrows
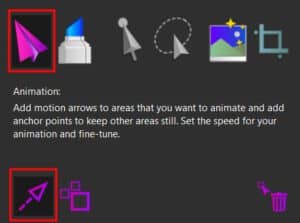
First, make sure you have the animation tools open by clicking the Animation icon in the top left. To get started, we will use the Motion Arrow tool. Click the arrow button to select it.
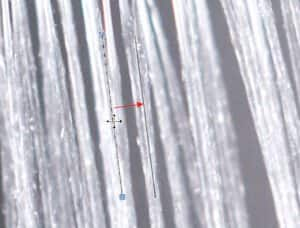
Click and drag to place arrows along the water coming out of the showerhead, in the direction you want the water to ‘run’ in your animation. Place several arrows. You do not need to cover every part of the water with arrows, but having multiple helps create a more natural effect.

With the arrows placed, we have instructed PhotoMirage where we want the animation to occur and in what direction. Next, we have to instruct the program which areas or elements should NOT be animated.
How to Use Anchor Points
Select the Anchor Tool.

Each time you click on the image with the Anchor Tool it will add a single anchor point. Anything on the far side of the anchor point from a Motion Arrow will not be affected by the animation effect. Think of the anchor points as a series of posts outlining a fence.

Use the Anchor Tool to outline your animation area, all around the water. You want to keep your anchor point ‘fence’ relatively close to the animated water, but don’t worry about getting exactly on the edge of the water streams.
Animation Preview
Next, do a quick preview of your animation with the Preview button in the bottom left. Watch for anything that does not appear as you would like in the image.
Click Stop. We will now go over how to refine your animation to ensure it is exactly as you would like.
Adjusting Motion Arrows and Anchor Points
To move a motion arrow, you can click in the middle of the arrow to select it. This will cause two dots to appear at each end.
You can reposition the arrow by dragging it from the middle and reposition each end of it by dragging the associated dot.
To select and move an anchor point, simply click and drag on the anchor point.
Deleting Motion Arrows and Anchor Points
You can delete a motion arrow or anchor point by selecting the Delete (trash can) icon and then clicking on the motion arrow or anchor point.
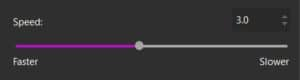
Adjusting the Animation Speed
To adjust the speed of your animation, simply drag the slider on the left-hand side of the screen to change the speed of the animation.
Download your FREE 15-day trial of PhotoMirage and start creating stunning animations from your photos, digital designs and artwork in just a few simple steps.

Reader Interactions