
The Selection tools in PhotoMirage allow you to move, manipulate or delete multiple Animation Markers at the same time. In this tutorial we’ll show you how to create a selection area, either rectangular or freehand, to include a number of Motion Arrows and Anchor Points. Once you have created your selection, you can just click and drag to move it to a new area, rotate or resize, or even delete the entire selection.
Thanks for watching! We hope you found this tutorial helpful and we would love to hear your feedback in the Comments section at the bottom of the page. You will find a written version of this tutorial below, and a printable PDF copy to download on the Download Resources tab above.
Download your FREE 15-day trial of PhotoMirage and start creating stunning animations from your photos, digital designs and artwork in just a few simple steps.
Download these free resources:
Written Tutorial (PDF, 147 KB)
PhotoMirage resources
User Guide (PDF, 4 MB)
Keyboard shortcuts (PDF, 518 KB)
PhotoMirage Tutorials
Tools and resources

PhotoMirage animation software
With PhotoMirage you can effortlessly transform any image into a captivating animation in only a matter of minutes.

PhotoMirage free trial
Download your FREE 15-day trial of PhotoMirage and start creating stunning animations from your photos and images.

PhotoMirage gallery
Visit the PhotoMirage gallery and upload your animations. Browse the gallery for inspiration and see what other users are creating.
Keyboard shortcuts
Shave time off your most frequently performed tasks with this handy reference sheet for all the PhotoMirage keyboard commands.
How to Use the Selection Tools in PhotoMirage
The Selection tools allow you to move, manipulate, and delete multiple Motion Arrows or Anchor Points at once.
To begin, open an existing PhotoMirage project, or open an image and add Anchor Points and Motion Arrows in a way you normally would.
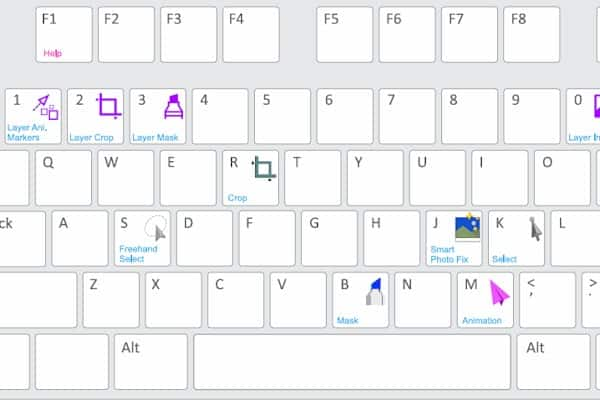
Once you have added some elements to your image, click on the Select icon.
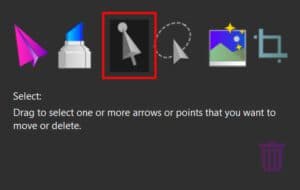
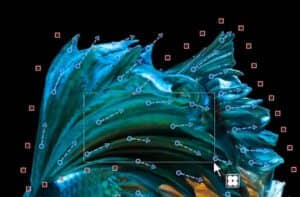
Click on a single anchor point or motion arrow to select it. To select multiple anchor points or motion arrows, click and drag a box around them.
Once an object or group of objects is selected, hover the mouse over the center. It will turn into a four-way arrow, which indicates that you can click and drag to move the selected objects.
To rotate a selection, hover your mouse over one of the corners of the object or group of objects, until the cursor turns into a curved, two-pointed arrow. This indicates you are in rotation mode. Click and drag to rotate your selection.
To resize a selection of motion arrows, hover your mouse over a corner of the selected area to bring up the resize cursor, a straight, two-pointed arrow. Click and drag to lengthen or shorten your selection.
Alternately, you can delete the selected objects by clicking the Delete (trashcan) icon.
If you need to make a more precise selection area you can use the Freehand Select tool, which is to the right of the Select tool. With the Freehand Select tool, click and drag to draw a line around the objects you want to select and release the mouse button to finish the selection area. Now you have the same options as before, to rotate, resize, reposition or delete the selection.
Download your FREE 15-day trial of PhotoMirage and start creating stunning animations from your photos, digital designs and artwork in just a few simple steps.

Reader Interactions