

Try this DIY portable folding lightbox and get professional-looking photos every time!
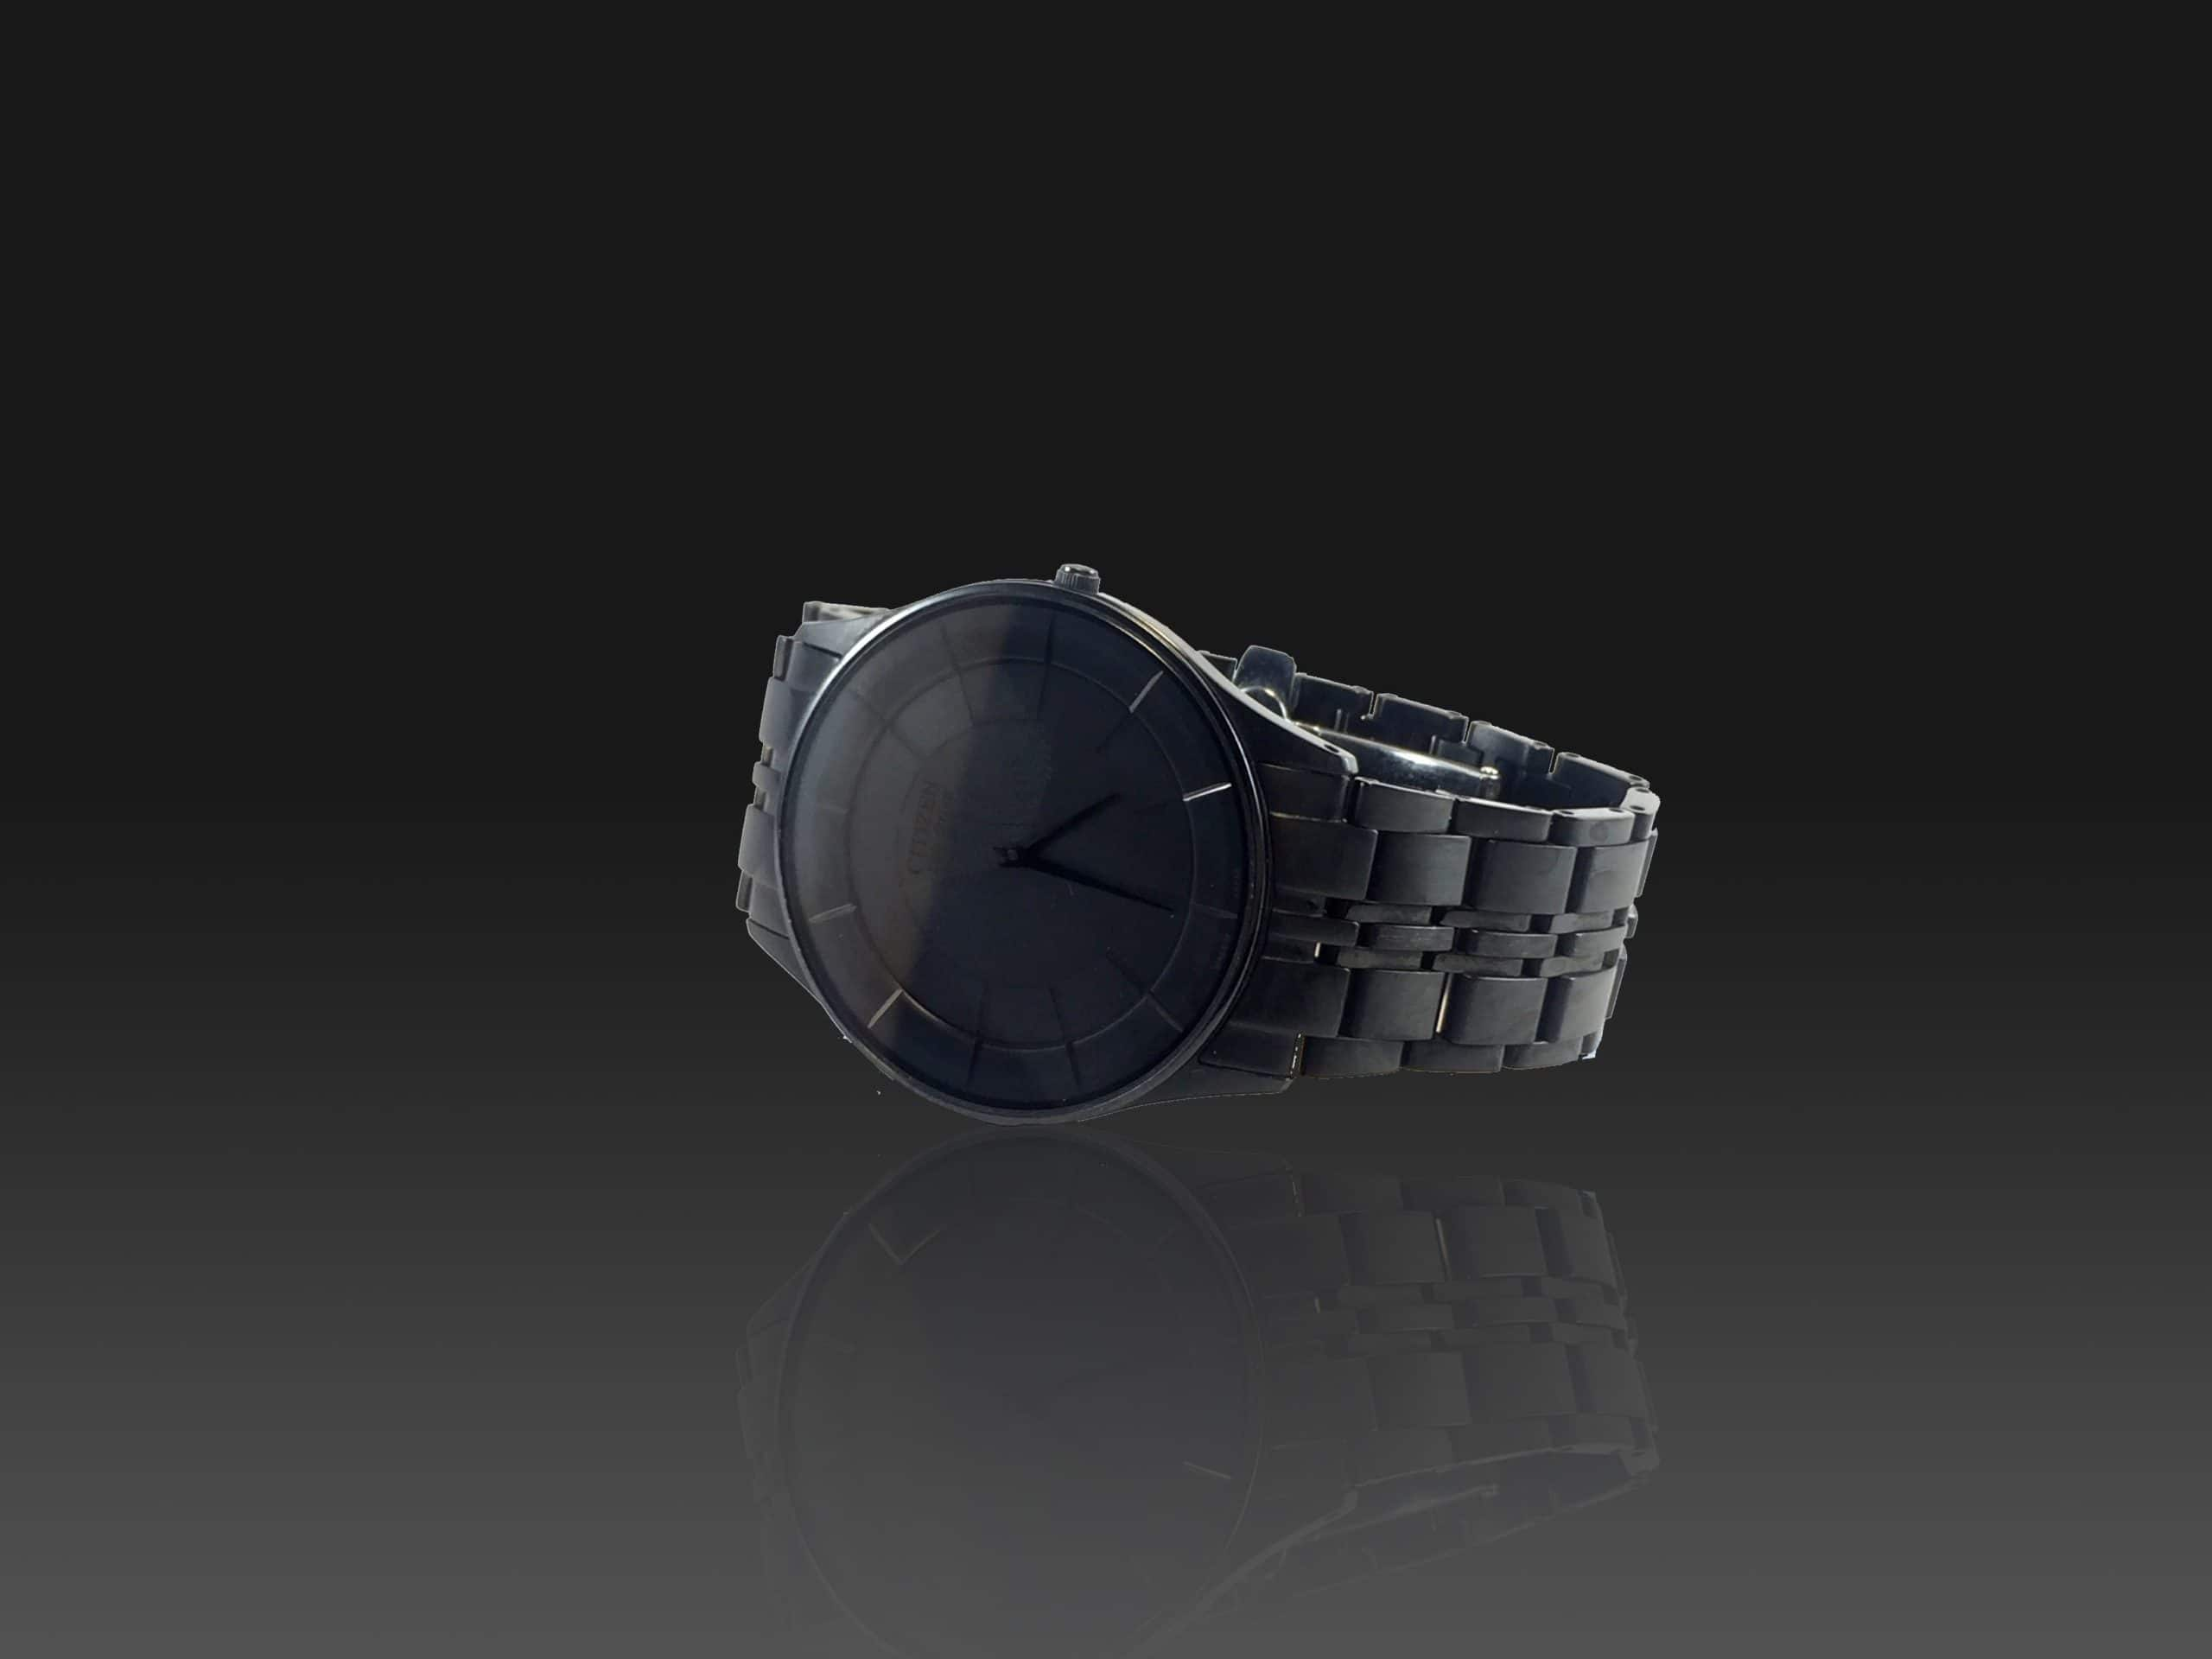
Have you tried shooting your own product photos and been disappointed with the results? Often the lighting is to blame – too bright, too dark, or just uneven and not quite right. The trick is to use a DIY portable folding lightbox! A lightbox will diffuse the light so that it is bright and even and provide a uniform background that will make your object stand out.
You don’t need to spend a lot of money to purchase a professional studio lightbox. We’ll show you how you can make a DIY portable folding lightbox in a few easy steps, without having to spend a lot of money.


How to Create a DIY Portable Folding Lightbox in 5 Easy Steps
There are 5 basic steps to this project. Watch the video to see how it’s done and follow along with the detailed instructions below.
You will need the following materials for your DIY portable folding lightbox:
- Cardboard box
- Hot glue gun
- Tracing Paper
- Double Sided Tape
- Knife
- Packing Tape
- Pen
- Magic Tape
- Velcro Tape/Strips
- Matte White Poster Board or Heavy White Paper
- Binder Clip
- Remove one side of the box to create the top access of the lightbox.
- Cut the box open along the sides. Keep the cutout piece as we will use it later.
- Now cut off the 3 top flaps of the box. You can use a metal ruler to help you cut straight. Then, cut off about 1-inch or less border, so when we fold the 2 sides in, it won’t get stuck.
- Now, use the piece which was cutout earlier to create the top panel of the lightbox. Cut off the 2 flaps on each side, and cut another rectangle opening.
- We now use packing tape to wrap the 2 folded edges of the box. It will give them an extra support to not get broken easily.
- Attach the tracing paper to each open side of the box with magic tape or double-sided tape. Tape it along the edge.
- Do the same for the top panel.
- We will use Velcro to hold the panels in place.
- Prepare 10 short pieces from the hook side of Velcro, and 5 strips of the loop in a longer length to be the hinge.
- Stand the box up. The original bottom of the box will now be the back of the lightbox. Attach 2 hook pieces to the edge of the flaps (see the indication in the video) and attach the loop to another flap. Use hot glue gun to attach the Velcro pieces on to the proper places. Now the back side is done.
- Attach 2 hook pieces to the top edge of the left and right panel, and 4 hook pieces on the corners of the top panel.
- Once all the Velcro hooks are in place, we can assemble the lightbox. Attach the longer loop strips to connect the top and 2 side panels. The lightbox is now complete.
- Open the top panel.
- Prepare a piece of white poster board which fits the inside of your box. Slide it into the box and curve it gently. Don’t crease it.
- Use a binder clip to hold the backdrop in place. Then close the panel back up.
- Now you can set up the lights and start shooting pictures!
- You can use photo editing tool to help you easily add effects or change the background. Download the FREE trial of PaintShop Pro here.
- Change the color or the background in just a few clicks!
Related Tutorials
For more details on how to resize images and remove image backgrounds in PaintShop Pro, we have selected the following tutorials for you.
How to Setup Lighting for Photography
Learn about different types of lighting and how various lighting set-ups can produce different and dramatic effects for your photography.
Your Guide to Photo Background Change
This tutorial will teach you how to remove the background from an image or photograph. If you want to get rid of a white background, it’s easy with the background eraser tool!
Creating a Depth of Field Effect
Learn how to make objects pop with emphasis by applying various degrees of blur and clarity using the Depth of Field feature in PaintShop Pro.
