
Image Background Removal and Photo Manipulation
In this tutorial, I want to introduce a very important tip, that can be used for making collages, social media advertising, print industry — or just for having some fun.
Sometimes we want to remove the background of an image or just cut some parts of it, but there’s something you might not be aware of: You don’t need a pixel editing software like photoshop to do this task.
This article is here to prove that Corel Vector is a tool that can do much, even bitmap retouching. The big secret is to know how to handle this task.
Removing an image background
Making the basic cut
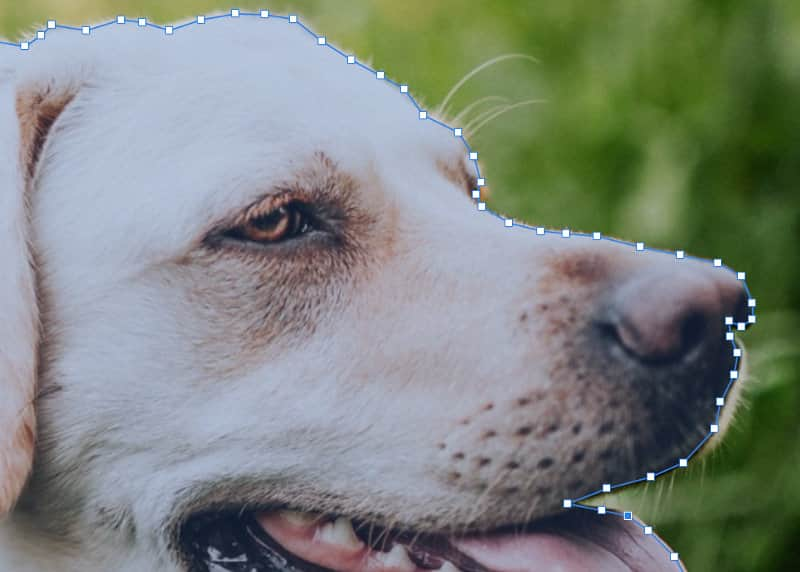
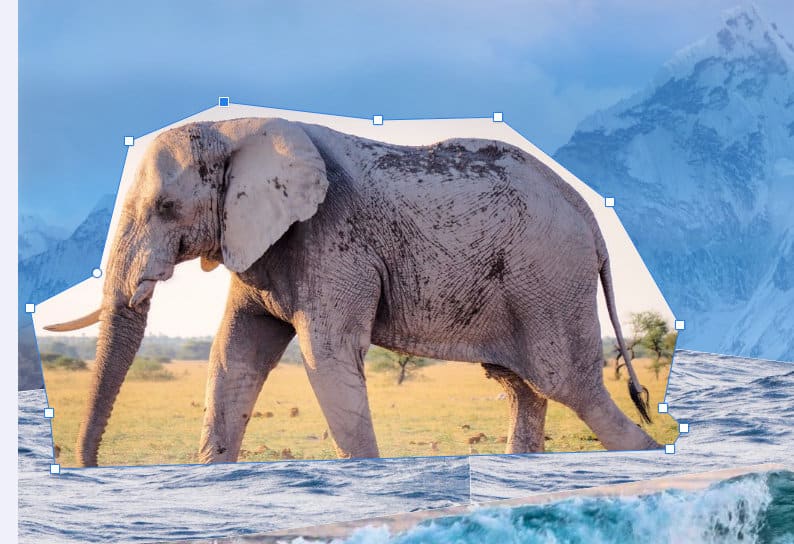
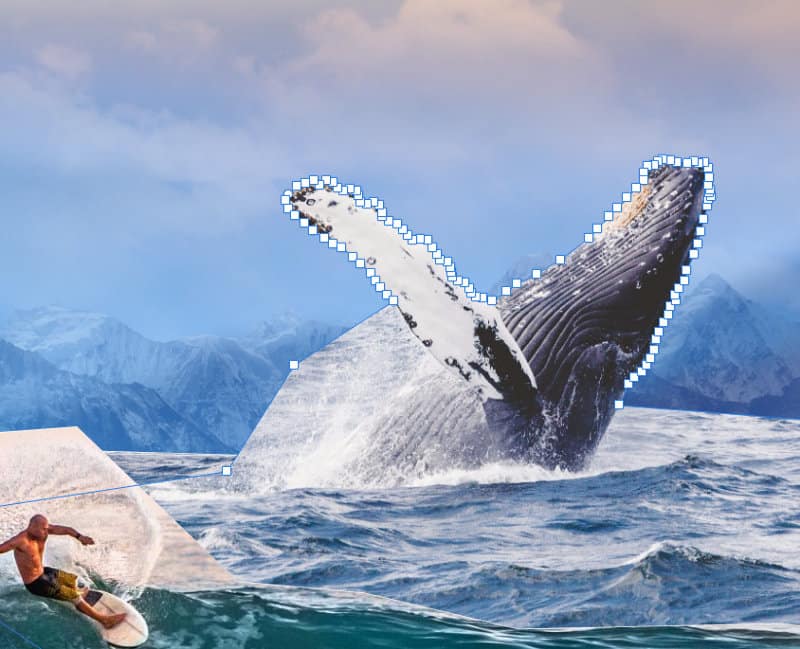
Start by adding some points with the pen (shortcut P) or bezigon tool (B), the more points you make, the more detailed the result will be. Don’t care too much about the curves, just keep clicking and make the points as precise as you can.
The final result will be something like this:
Using the Clip tool
By using the “Clip” tool (from the menu bar) or simply dragging the image inside the vector path in layers panel the dog will be clipped to it. In this case clipping means to attach the image to the vector path and show everything within.
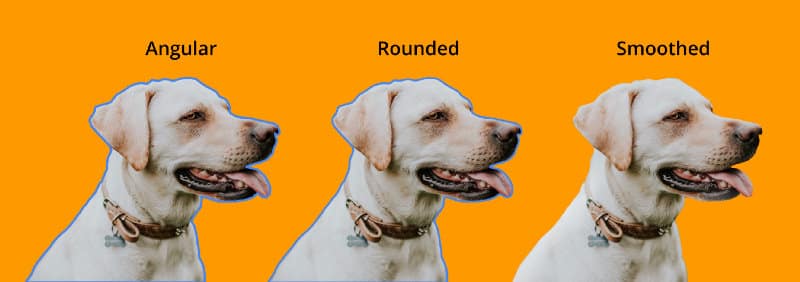
Removing the angular look
After that, select all the node segments and increase their corner value. This will make the path look more smooth and natural.
Testing your new asset
Add a rectangle with a strong background color behind the clipped image and move the hue slider in the color dialog to see if you can spot some defects in the cut. If so, adapt the respective node in the path until everything looks alright.
The dog is fluffy, let’s smooth it out
If you don’t know how to use image filters in Corel Vector, please take a look at the effects tutorial before continuing.
Your cut may look quite good now, but maybe still not perfect and the roundness doesn’t feel natural. Don’t worry, there is an easy way to fix it.
If you have some darker spots that you don’t like a quick work around is add a white tone inner shadow in the object. You can control the angle and smoothness on x and y and blur fields.
Duplicate your object, remove the current effects and add a little blur to it. After that add a color overlay filter to mask and highlight only the brighter parts of the dog that have fur.
Now just add some text and be creative to make your idea come alive. We just created the perfect union of pictures and vector art.
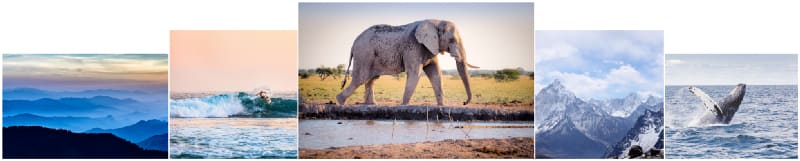
Combining images
I have picked some images at unsplash.com to make something fantastic.
Compressing your files
First, compress your images; we don’t want a 200 MB file, and keeping the file size low is also important to make sure that Corel Vector runs smooth while editing a complex piece of artwork.
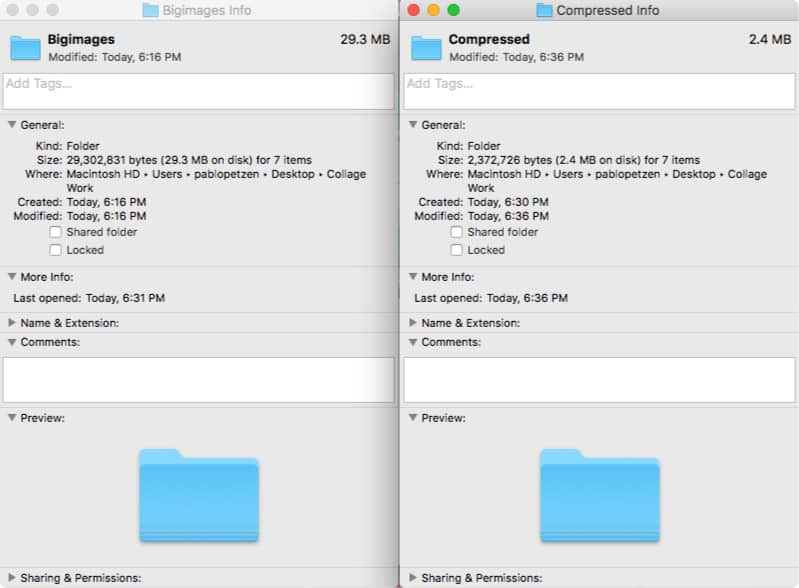
For this you can make an infinite canvas document by leaving both the Width and Height fields empty in in the Start screen. Then import the images into Corel Vector and save all images as JPGs. Set the Size to about 0.5x and the Compression to 90% in the export dialog (Shift + Cmd/Ctrl + E). However, always keep the size of your bitmaps in mind and how big they should be displayed in the collage — you don’t want your images to end up pixelated in the final result.
The compression should make the files about 80% smaller and thus easier to handle.
The beginning
I have started by making rough cuts, to just position the elements and have an idea of the final result.
After that I have fixed all the rough cuts like we have learned in the dog example above.
Composing the scene
Once I had the main objects ready, I started to compose the scene.
Then I took a quick look at how the mountains could fit inside the scene in the background.
After that I started to add some more elements to the collage and did the final positioning.

Doing some post-editing to achieve a realistic look
When I finished arranging I decided to add some depth to it with a few layer effects.
Alpha overlay in some objects to make it blend with the scene.
Blur and noise filters: to add an idea of depth in some elements. Remember, that the assets in focus should have less noise and blur than the ones in the distance.
Sky overlay: just by dropping the image of the mountains in front of the other elements and setting the alpha value to 30% with a gradient, I have achieved a nice color overlay effect.
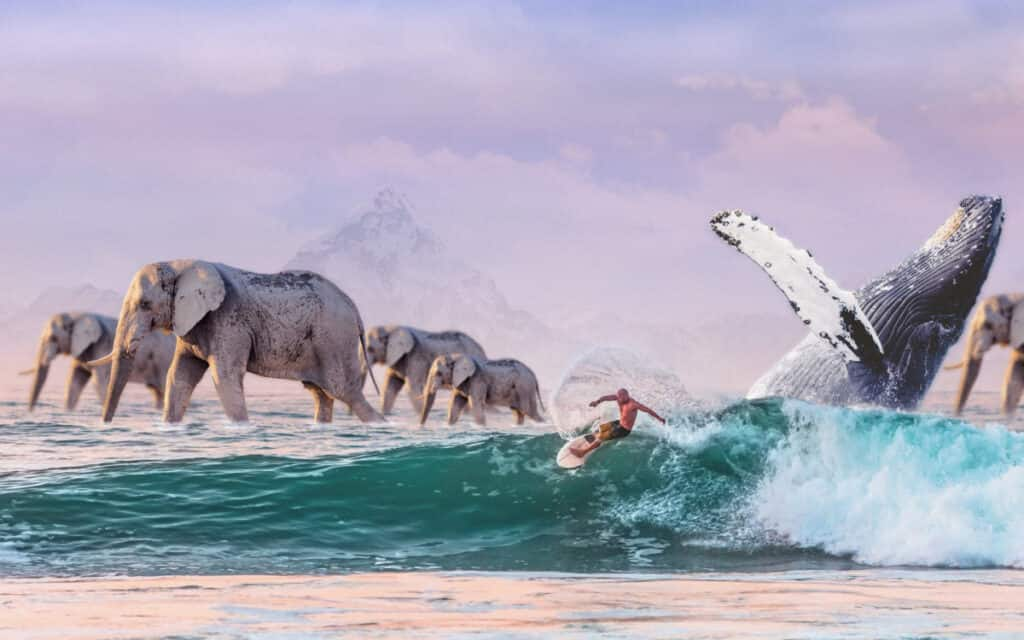
Blending modes: I have added some water splashes at the legs of the elephants and removed the black background by using the screen blending mode.
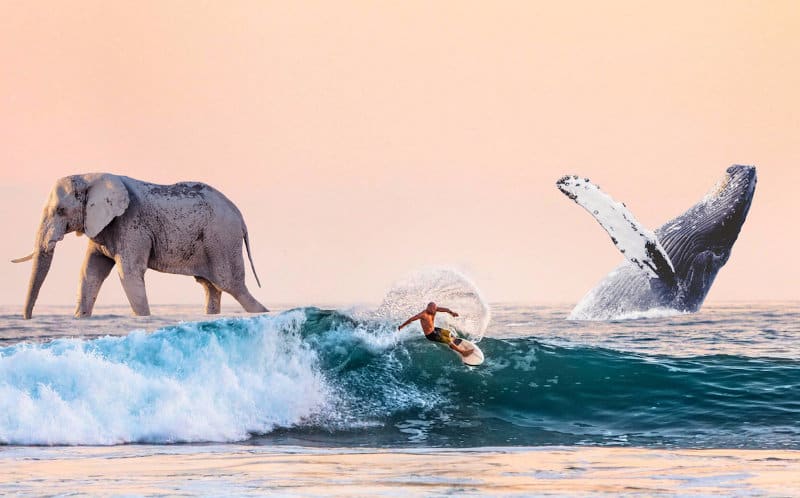
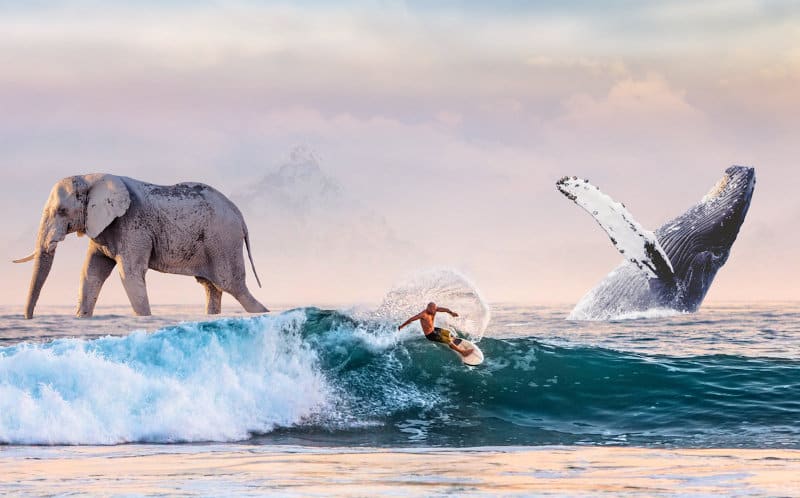
Noise removal in the Surfer: The surfer had a little more noise than the other objects in the scene, so I added the Noise removal filter. I also played a bit with brightness, contrast and saturation values of the Color adjust filter. The stronger green tone in the water gives even more depth to the scene.
And here is my final result:
Download your FREE 15-day trial and see how easy it is to design your creative projects with this web-based vector graphics app that empowers you to create on any device.
