
How to design a seamless pattern
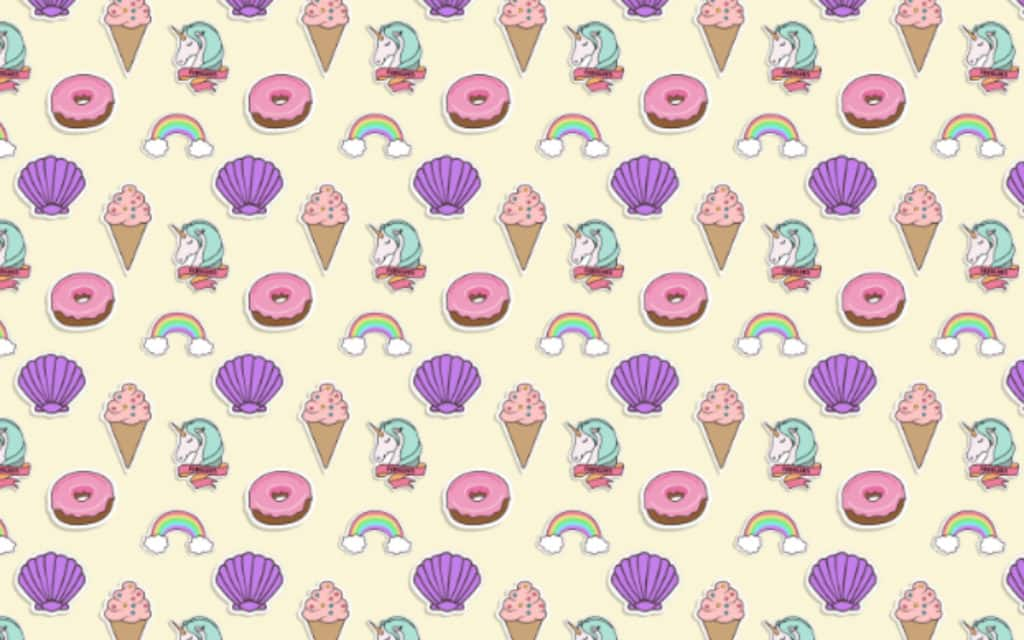
A seamless pattern is an image that can be placed side-by-side with copies of itself without any visible seams or interruptions on the content, so you can repeat this image and create a pattern that can go on infinitely to create unique backgrounds, text effects or brand elements.
Seamless patterns can be used in pretty much any design to bring visual interest, texture and consistency. Use this tutorial to learn easy ways to create your own custom patterns with Corel Vector.
Set up your document
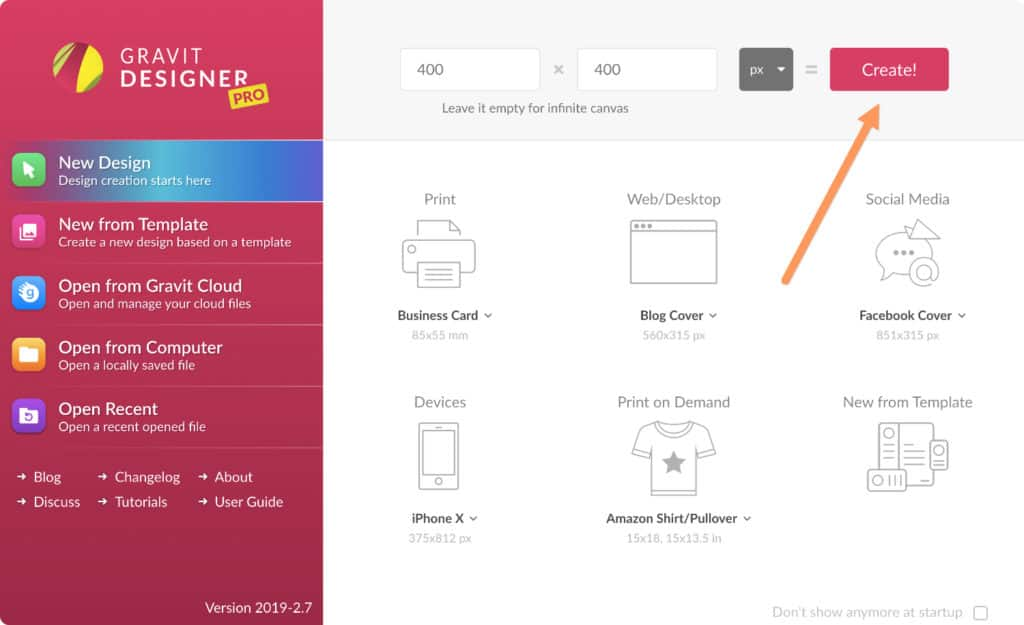
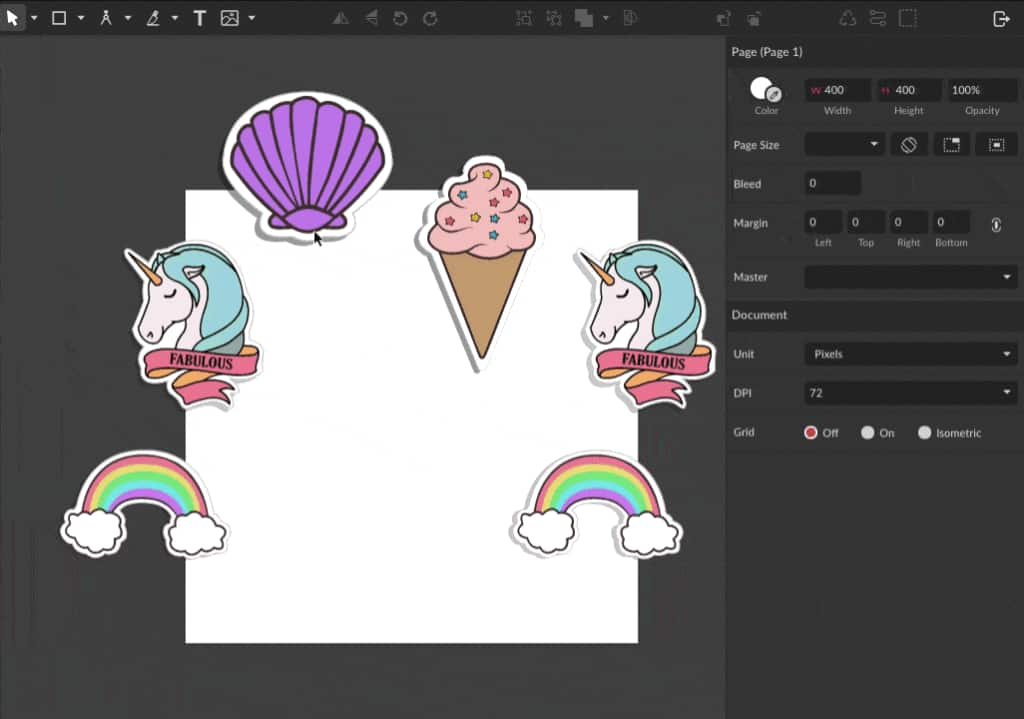
Start by creating a custom document size on Corel Vector’s Welcome Screen. It’s easier to create a pattern tile using a perfectly square canvas size, so let’s use 400 x 400px. Fill the custom fields at the top of the Welcome Screen and click Create!.
Choose the elements
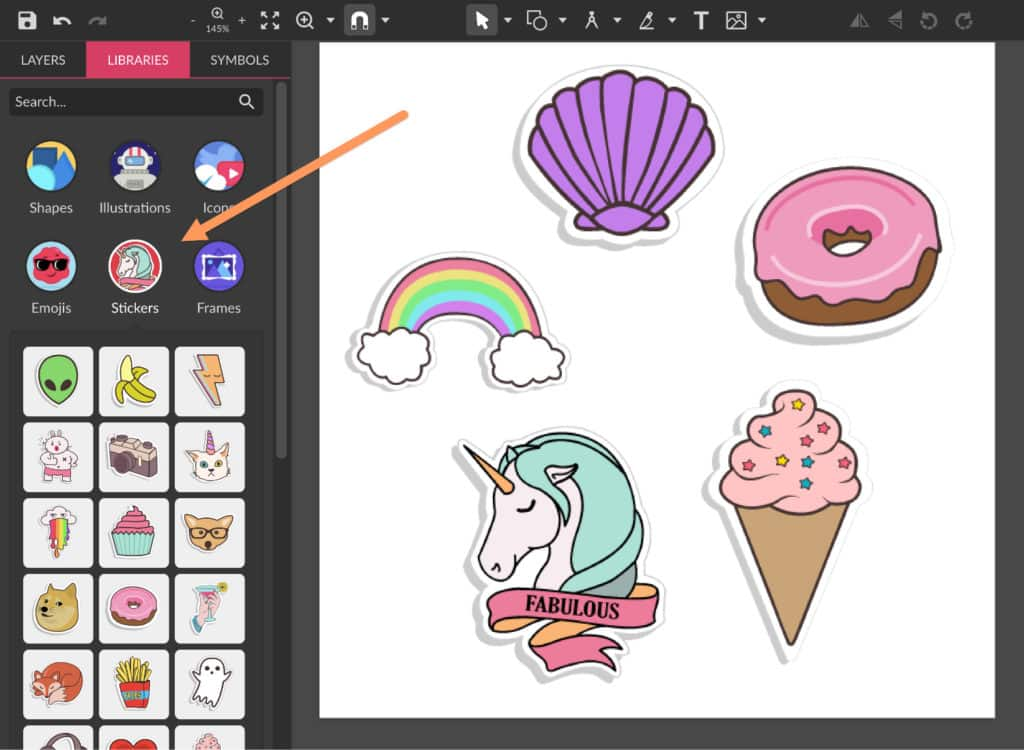
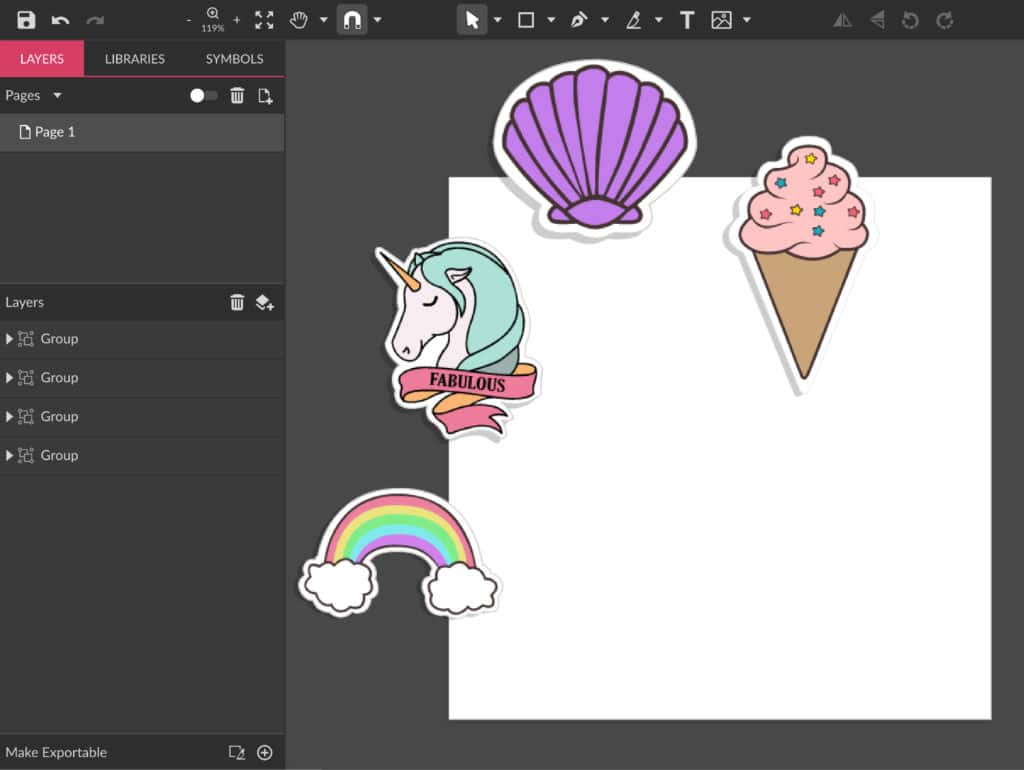
You can use pretty much anything to create a seamless pattern as long as it’s all positioned correctly, so it depends on the theme you want to follow. Let’s use some elements from Corel Vector’s Library of Stickers for this tutorial.
Place the elements correctly
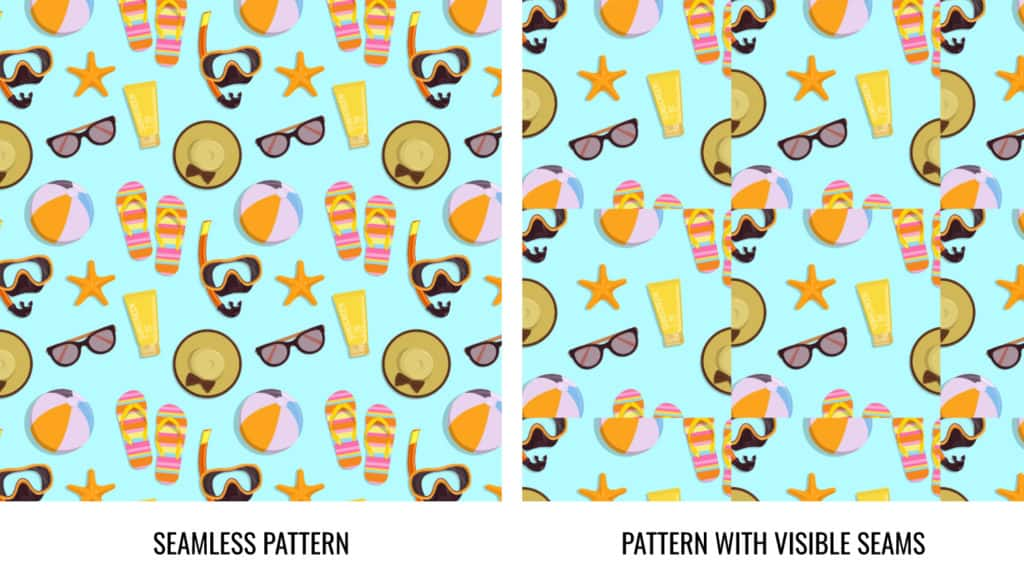
The trick to creating seamless patterns is the continuity of the elements you use on the tile. This means that the elements positioned on the border of your image need to match the border of the image of the tile placed next to it, so that when put together, you can’t see any sort of division between the tiles. This is valid on the four edges of your tile.
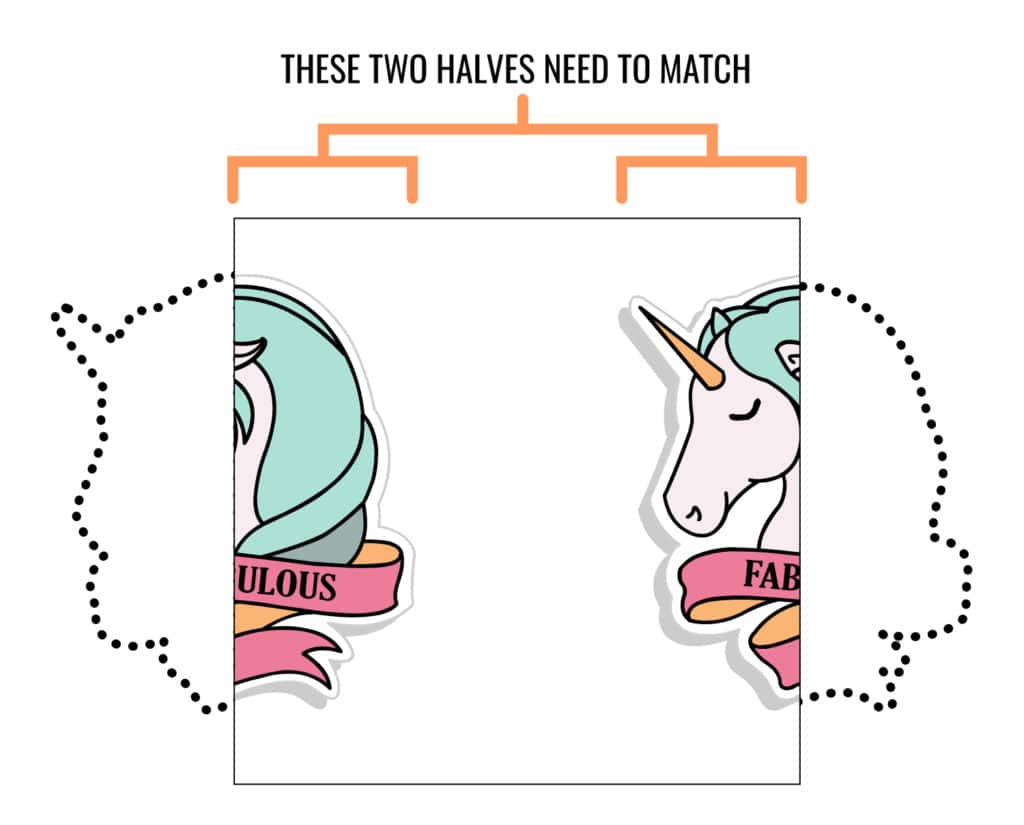
To do that, first place the elements you want on the top and left edges of the canvas. You can position them exactly in the middle of the edge or not, it’s up to you and you can change this position later.
Duplicate and place on the opposite side
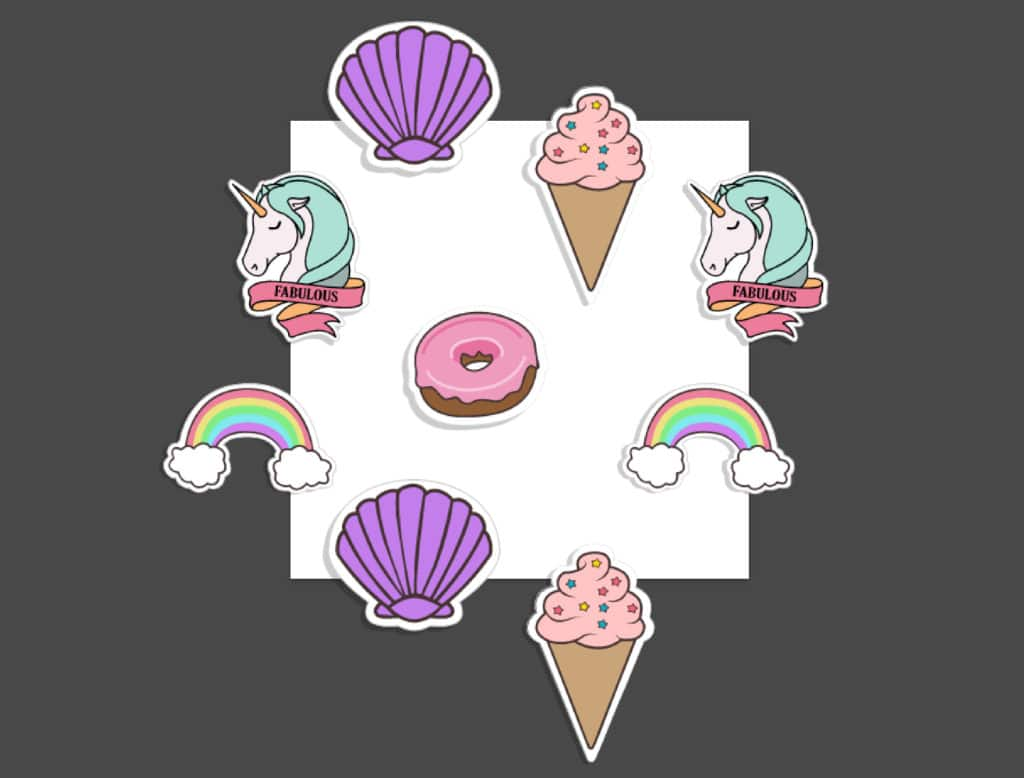
After positioning the elements, you need copies of them on the opposite sides to create the repeating pattern. Select all the elements and hit Ctrl+C – Ctrl+V, or go to menu Edit > Copy and then Edit > Paste.
For each copy of elements placed on the left edge, you need to add 400 pixels (the width of your canvas) on the X axis, using the Position fields on the Inspector panel.
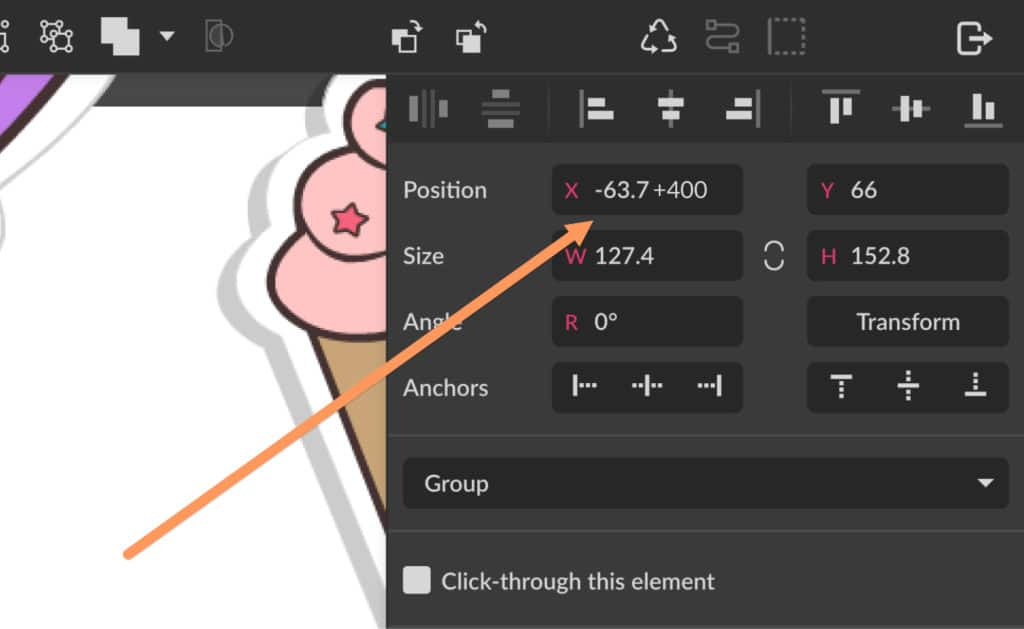
For the elements positioned on the top edge you will do the same, but add 400 pixels to the Y axis on the Position field.

Add the rest of the elements
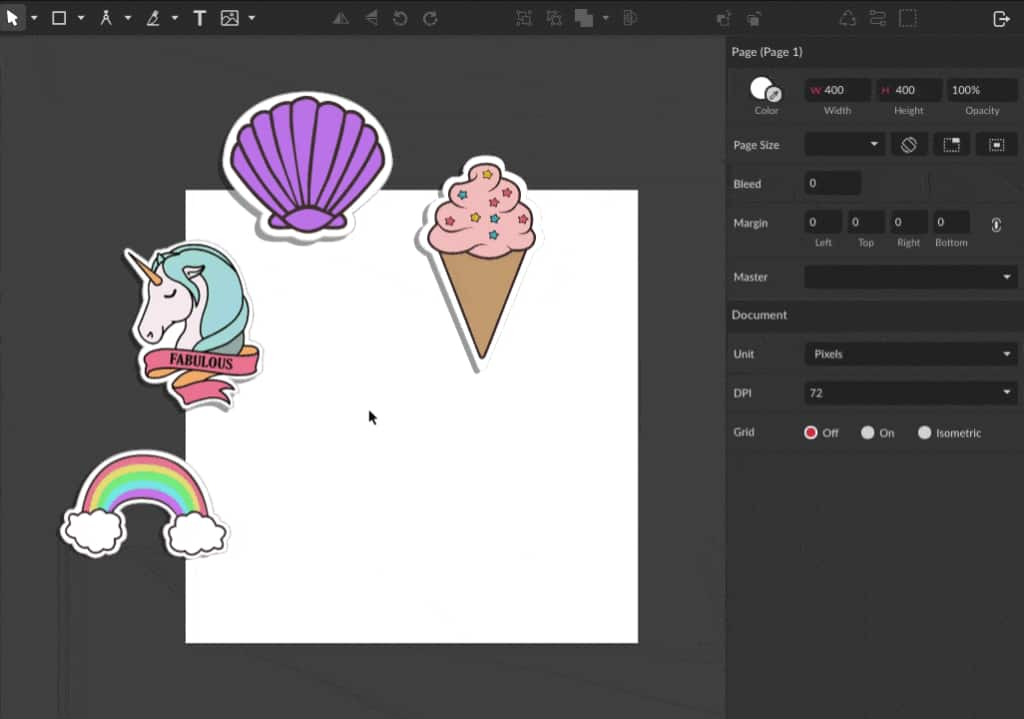
Now that you have the seamless part of the elements positioning ready, you can add more elements distributed in the central part of the canvas. Let’s add one more element where the canvas looks emptier.
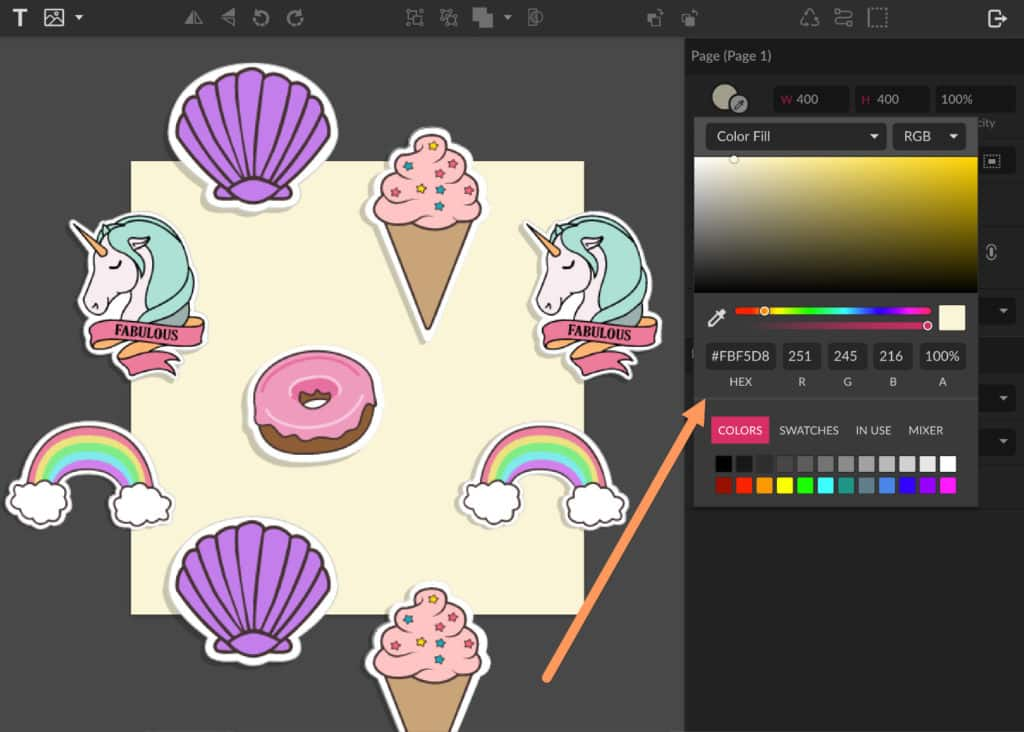
You can also define a background color, using the Color Picker on the Inspector panel. Let’s use the color #FBF5D8 for this tutorial.
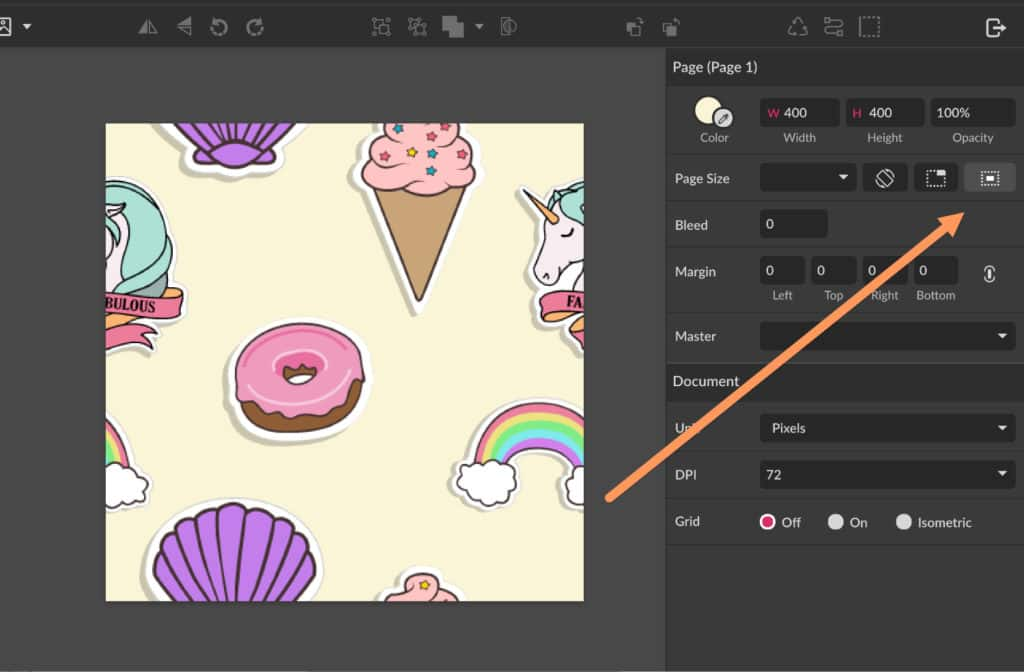
Your tile is done! You can click Clip Content on the Inspector panel to check how your file is going to look after exported. Everything appearing outside the canvas area will not be shown on the final exported image.
Export your pattern tile
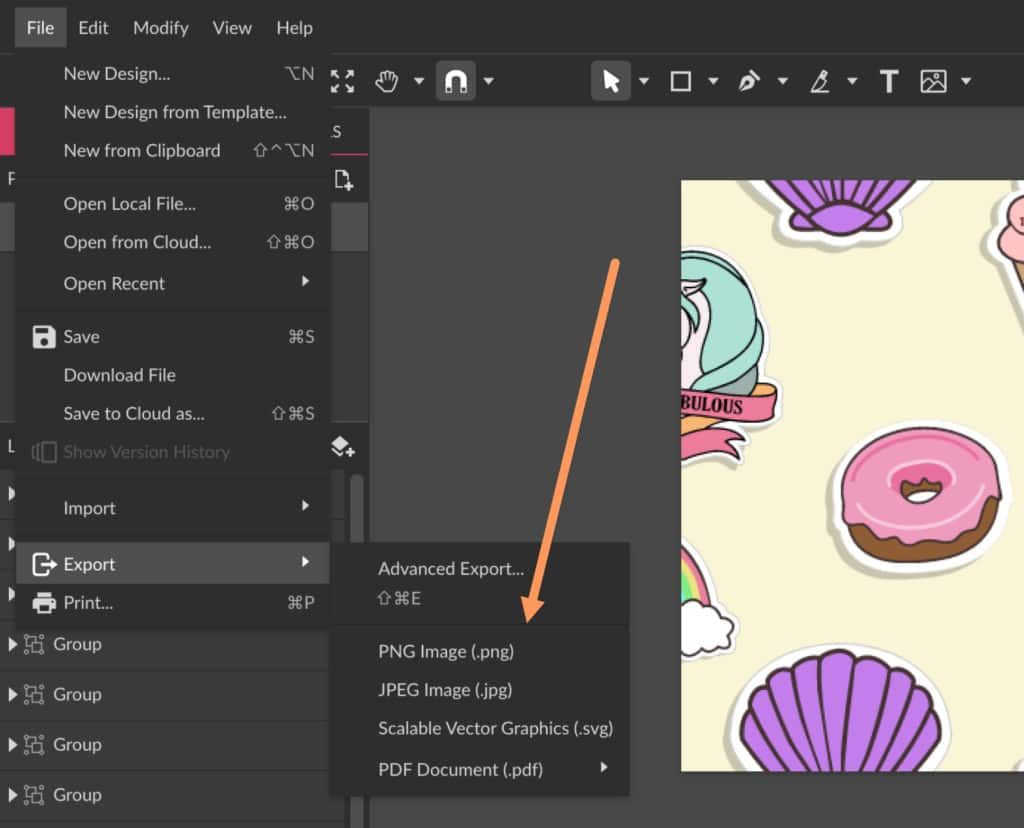
Now you can export your file to have the final image that can be used as a pattern. Go to menu File > Export > PNG image (.png).
Test your tile
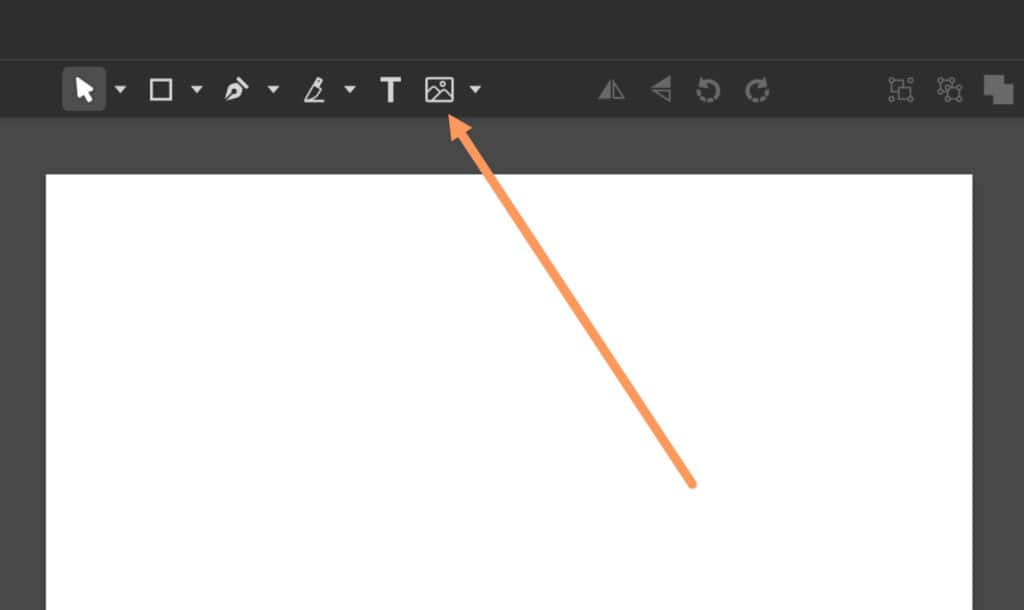
You can now import the exported tile back into Corel Vector and try it out to see how it looks repeating as a seamless pattern. Import the image using the Place Image icon on the toolbar, via menu File > Import > Place image or simply by dragging the image from your folder to the canvas.
Once the image is placed, copy it and select Texture Fill on the color picker for the background color.

With Texture Fill selected and your image copied, click Paste on the Fill settings, to use the copied image as a texture.
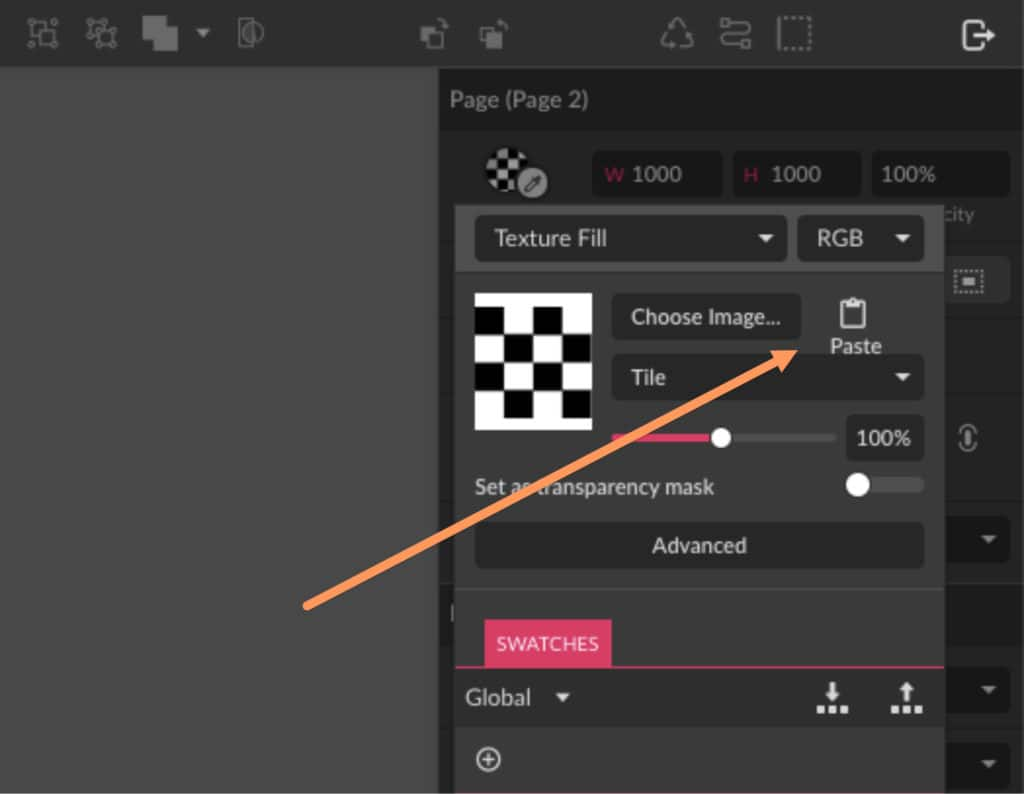
With the slider you can change the size of the pattern. This is a good way to check if your pattern looks seamless or even to create patterns to be used in your designs.

Other kinds of patterns
You can use a similar technique to create other types of patterns, like a geometric one. Let’s say I want to use this isometric cube to create a seamless pattern.
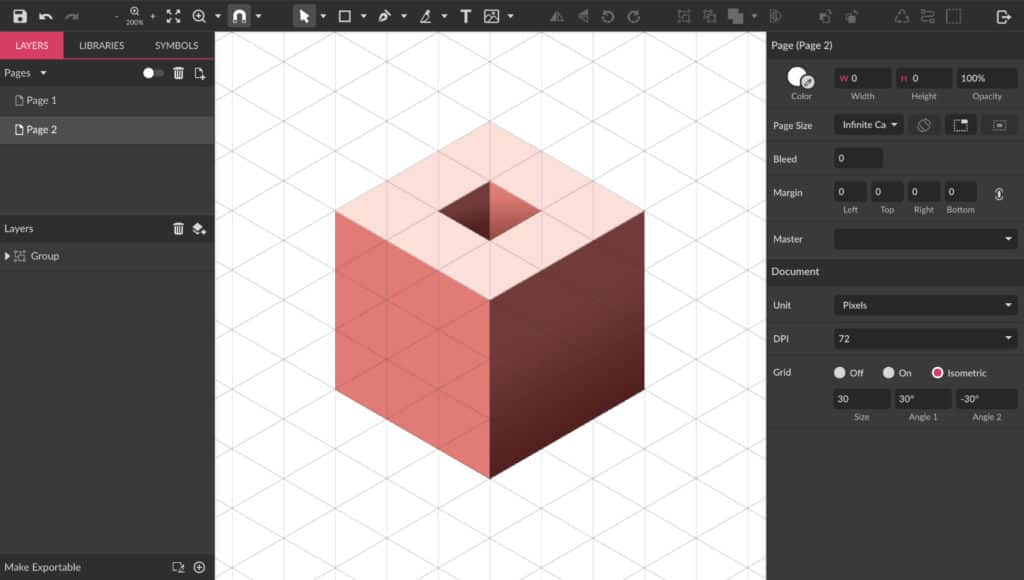
Make copies and align some rows with this shape leaving the Snap tool toggled on.

Select the Rectangle tool (R) and create a rectangle, minding the vertices of the cubes. As you did before with the other pattern, the halves of the shapes at the edge of the rectangle need to match each other.
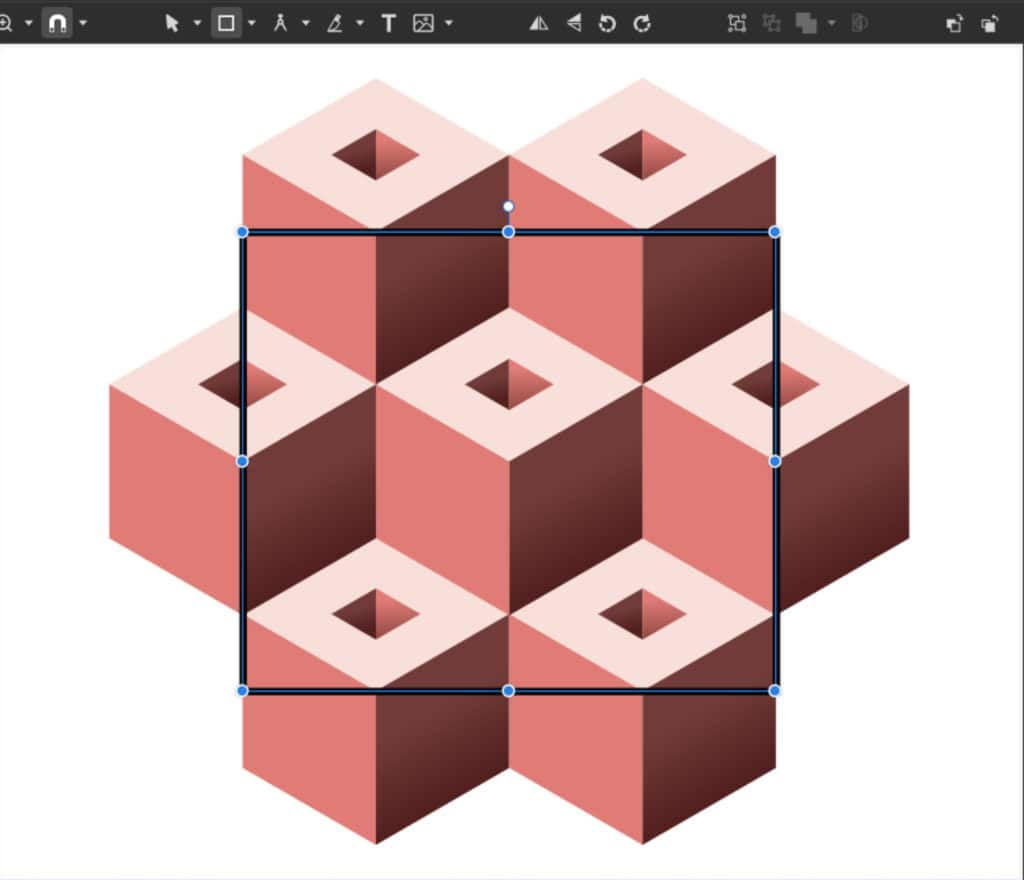
The cubes will be placed inside the rectangle, creating a clipping mask. You can select the cube layers and drag them to the rectangle layer on the Layerspanel.
Toggle off the visibility of the rectangle’s border and then you can export this tile and import the final result as we did in the previous example. This technique will also result in a tile that can be used to create a seamless pattern.
Minding the edges is the main trick, and by doing this you can create patterns with pretty much any elements.
Download your FREE 15-day trial and see how easy it is to design your creative projects with this web-based vector graphics app that empowers you to create on any device.
