How to Cut Out the Background of a Photo
While creating collages, social media posts, product designs and pretty much in any kind of digital creation, we often need to remove the background of an image or remove just a part of it. If you’re working with Corel Vector, you don’t need to resort to a pixel editing software to do that.
Download a printable copy of this tutorial (PDF, 1.5 MB)
*Corel Vector is a newly updated version of the Gravit Designer Pro web-based graphic design app.

Download your FREE 15-day trial and see how easy it is to design your creative projects with this web-based vector graphics app that empowers you to create on any device.
Create a file with enough space to work
Let’s start by creating the document. Any file size is fine for what we are going to do, but using the Infinite Canvas is a good idea in this case to have unlimited space to work on. On the Welcome Screen, leave the Width and Height fields empty and click “Create!” to create an Infinite Canvas file.

Place your image
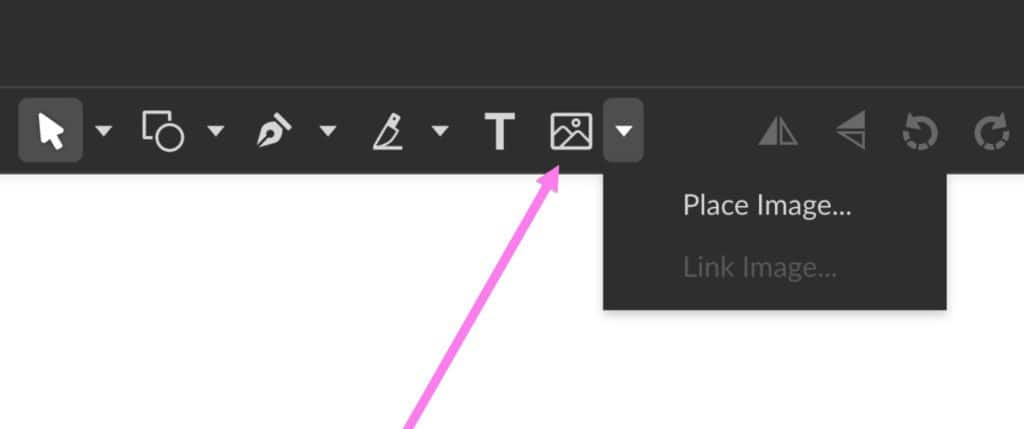
To insert your image on the file, you can drag it from any folder or your desktop directly to the canvas in Corel Vector. You can also use the Place Image button on the toolbar, or do the same through File > Import > Place Image.
Create an outline
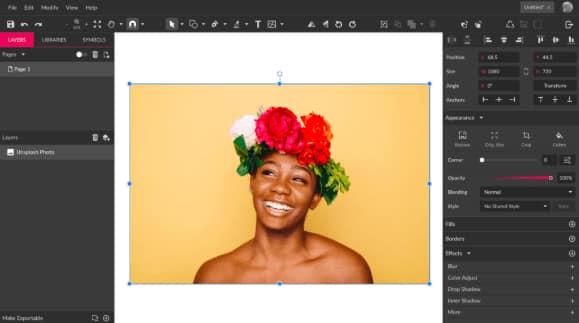
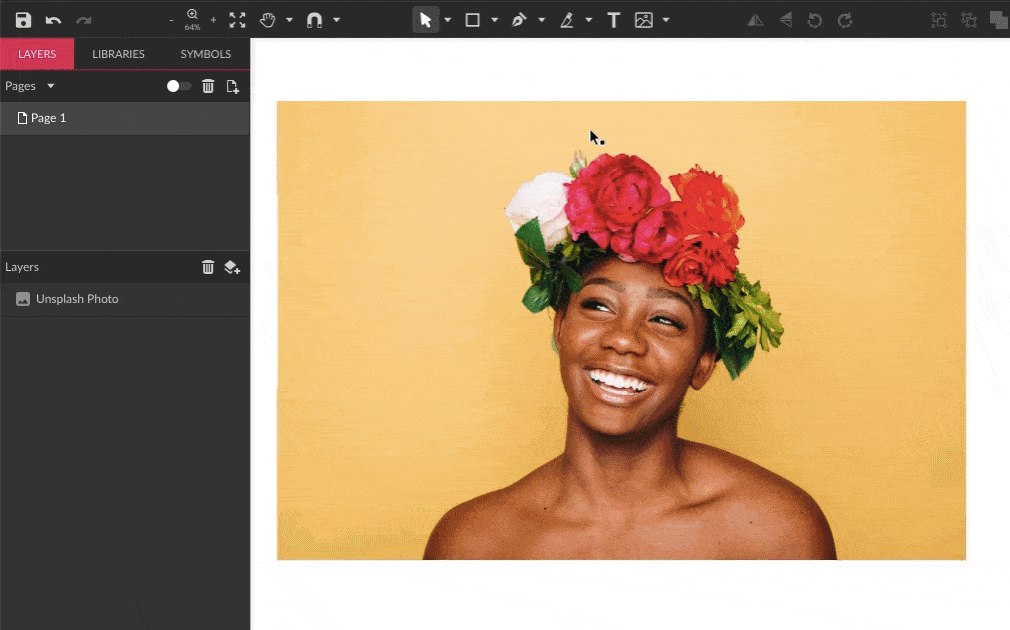
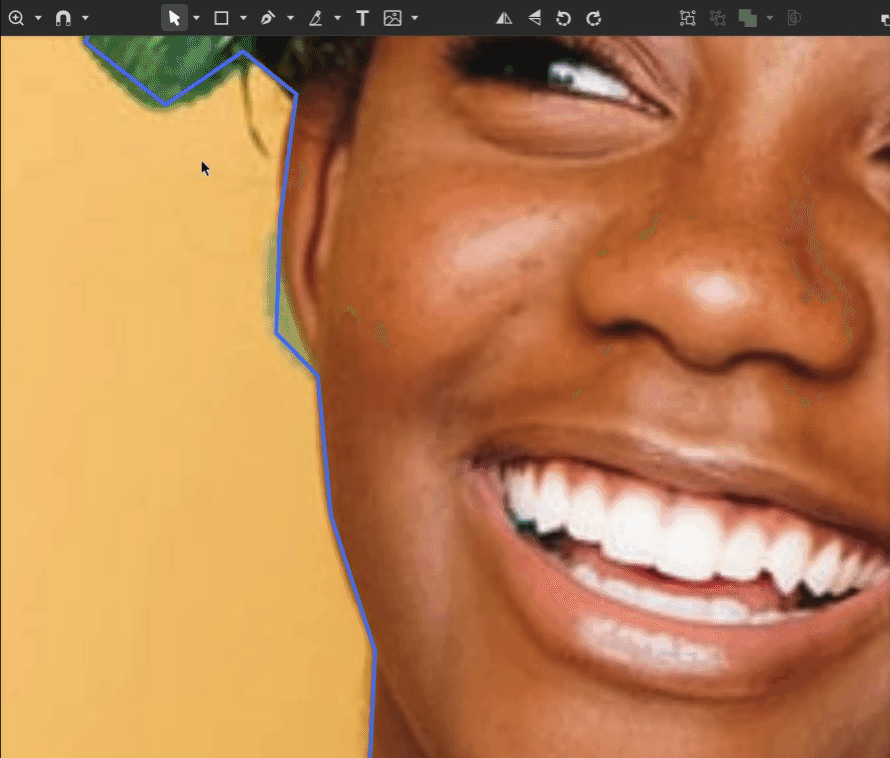
To cut out part of an image, you need to create a Clipping Mask. To do that, the first is to create an outline for that part of the image that will be shown. Let’s take my example image – I want to remove the background and leave only the woman with the flower crown, so I will create an outlining shape for the girl.
To do that, select the Pen tool(P) on the toolbar, and start creating anchor points all around the part of the image you want to keep – the woman with the flower crown. You don’t need to worry with curves and details for now. The more anchor points you use, the more details on the outline you’ll be able to create later.
After finishing and closing the shape, you should have a final shape that looks something like this:

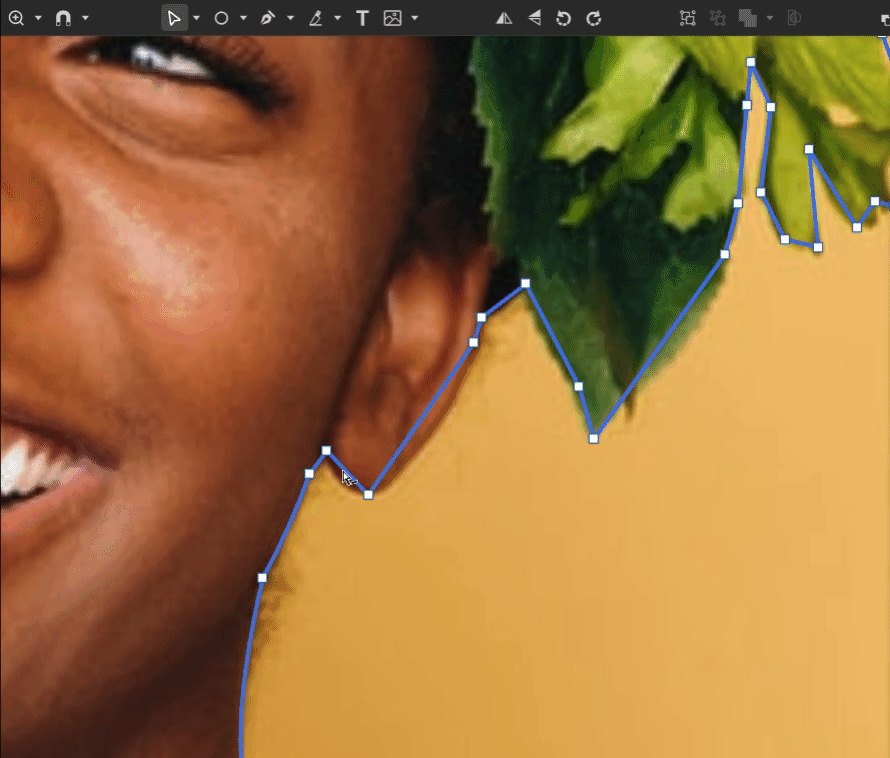
To refine this outline, you will use the Subselect tool (D) to create curves on the path you just created, and make any necessary adjustments to the anchor points. You can make the lineart path thinner, around 1px, to make this work easier. By clicking and dragging the lines with the Subselect tool, you are able to curve paths:
With the Subselect tool you can also remove anchor points, add new ones and move them around if you need.
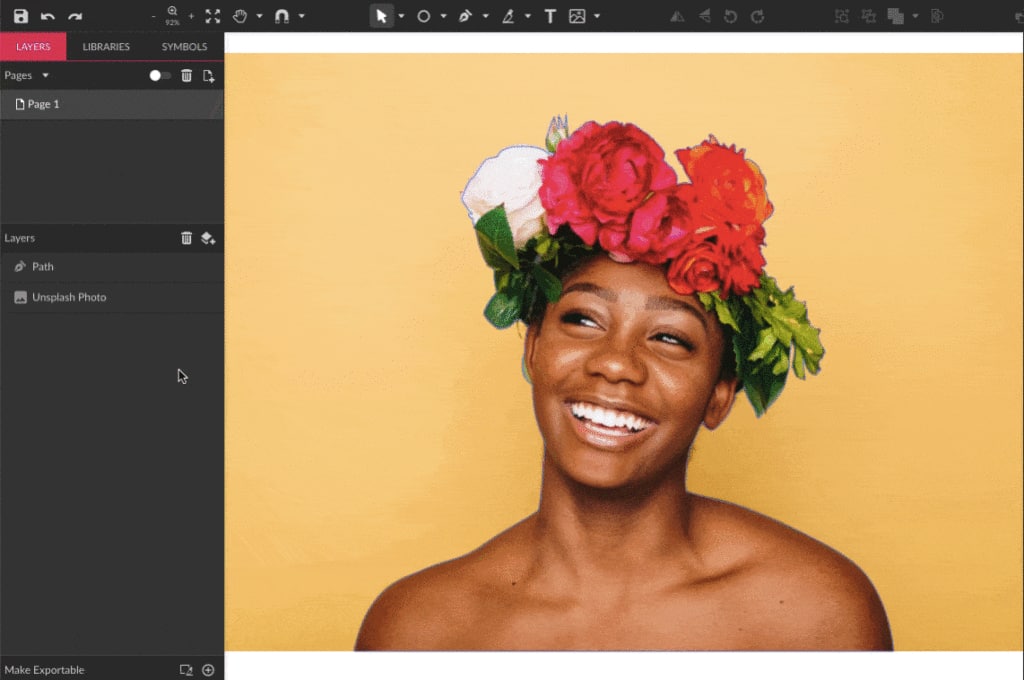
Create a clip mask
When you’re done adjusting the outline, it’s time to use it to create a mask for the image, which means we are going to place the image inside the shape you just created. There are some different ways to do that in Corel Vector.
The easiest way to that is by dragging the image object to the “top” of the path object on the Layers panel to nest the image inside the path.
Another way to do that is by placing the image above the path in the layer hierarchy with Right click > Arrange > Bring to Front or using the Bring Forward button on the toolbar. After the image is on top of the path, select both and click the Clip button on the toolbar.
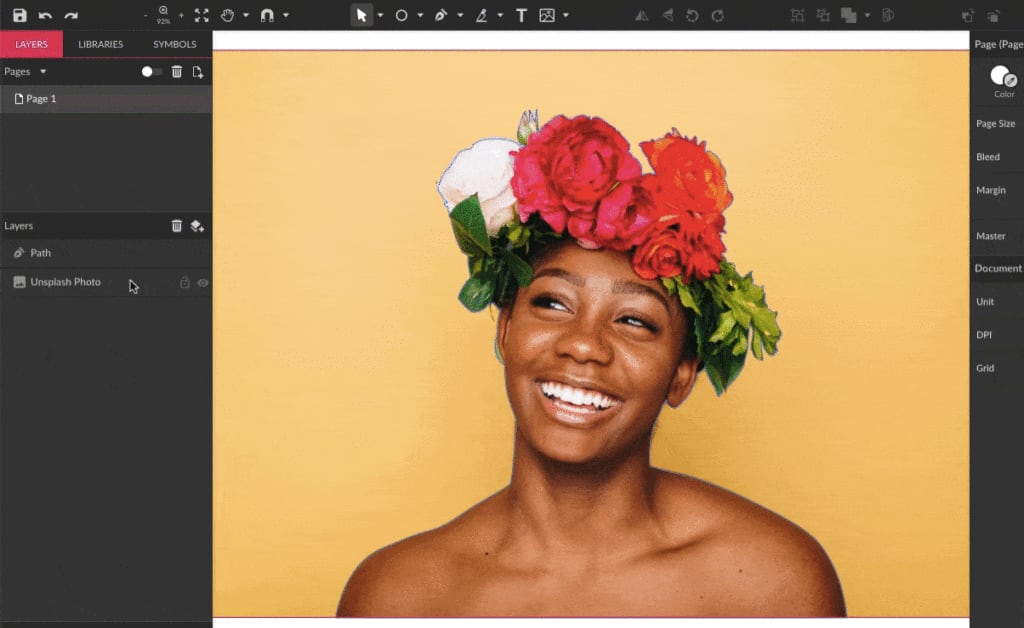
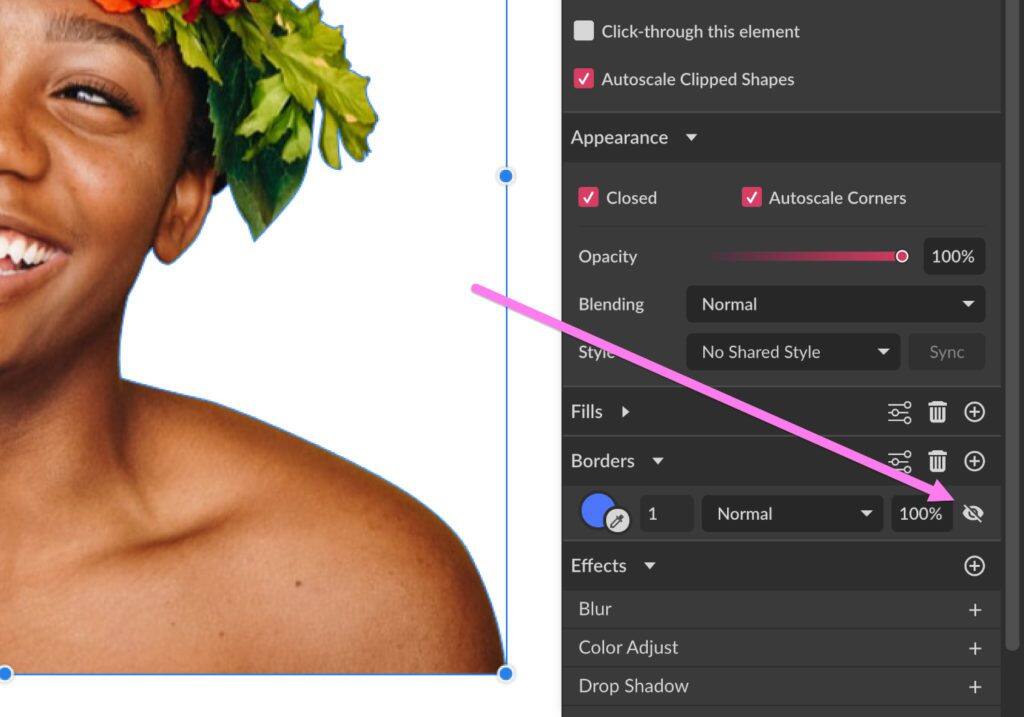
When your mask is done, you can toggle off the visibility of its outline on the Inspector panel under Borders.
Refining the outline
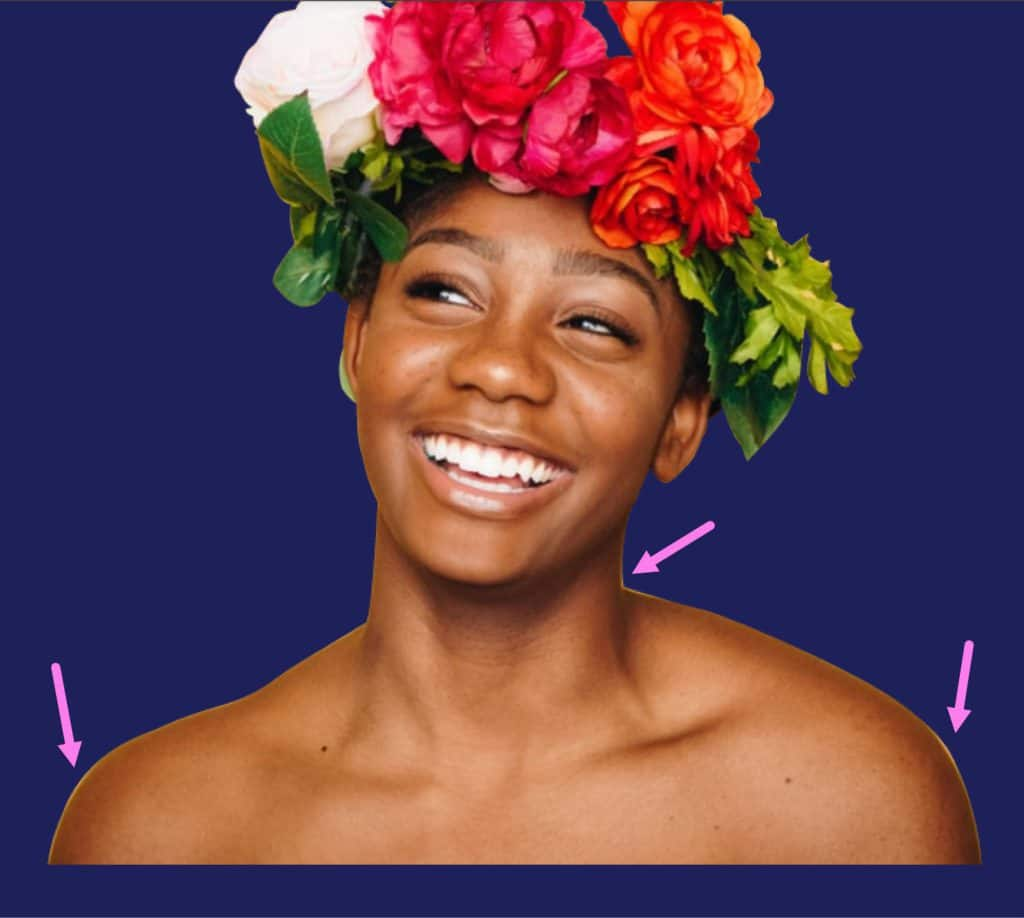
Create a Rectangle (R) with a contrasting color and place it behind your mask. This will help you visualize parts of the mask that you might need to adjust, with the background of the image still showing, for example.
Another way to refine the edges of the outline is with the Blur effect. Select your mask, copy it and use menu Edit > Paste > Paste in Place (Ctrl+Shift+V). On the copy that is placed behind, add 3px of Blur on the Inspector panel under Effects.

The result is very subtle but the soft edges help to make your mask look much more realistic.
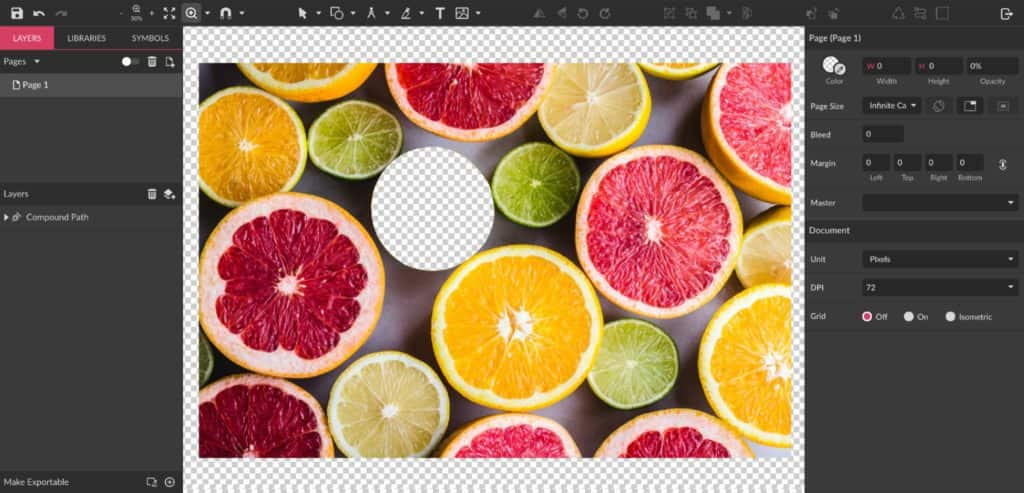
Cutting “holes” in the middle of a photo
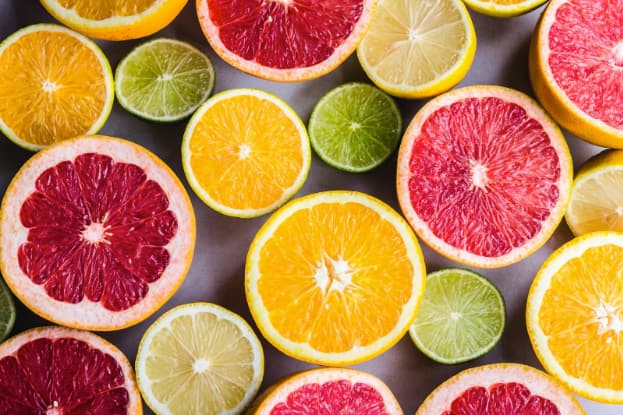
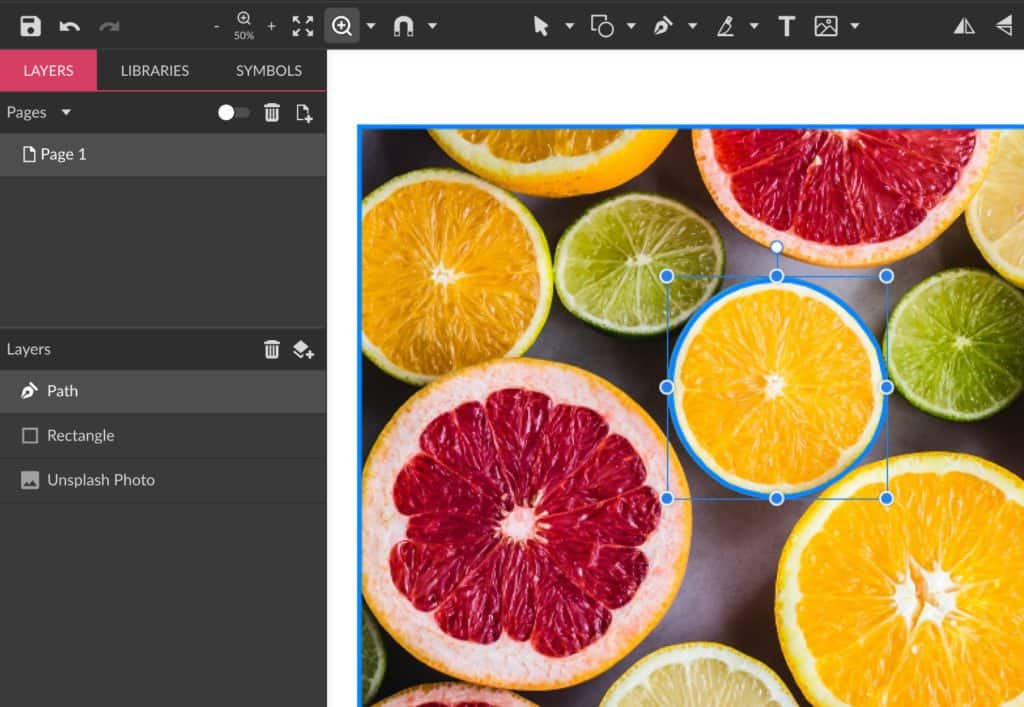
Sometimes when creating a mask, it’s not only necessary to cut around an element but also to make cuts in parts located in the middle of a photo. Using the image below as an example, let’s say you want to cut one of the oranges out and leave the rest of the image:
First, create a shape around it with the Pen tool just like you would do to cut the background off.

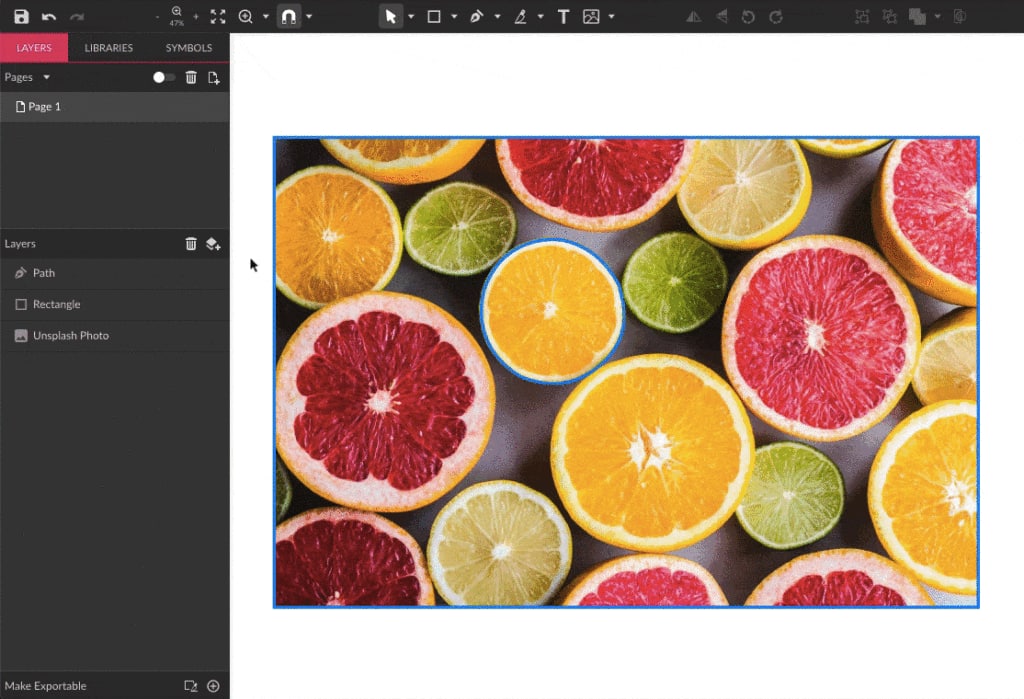
After that you will create a rectangle outlining the whole image.
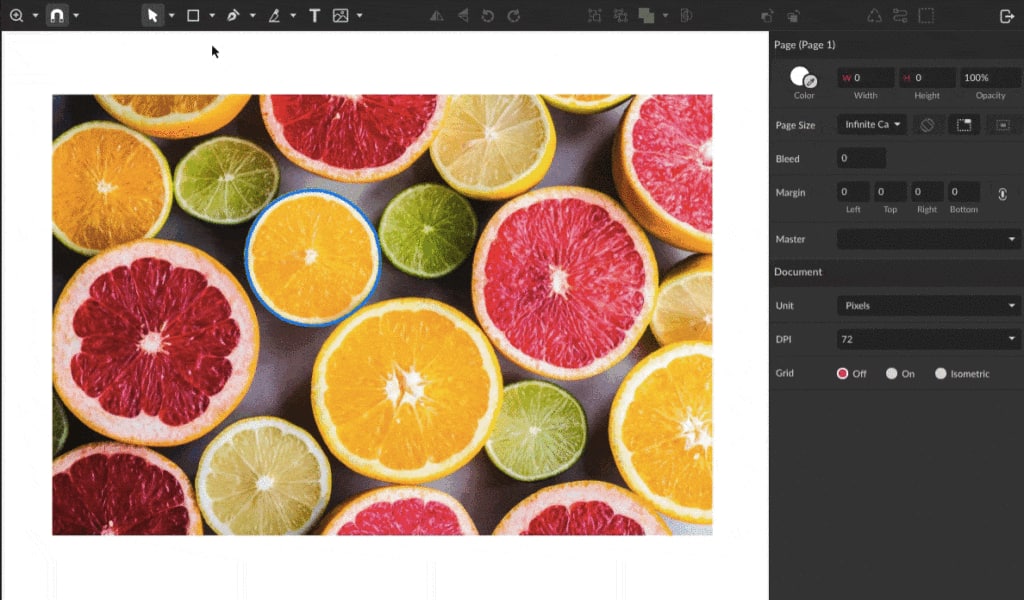
Now you have two shapes, and the orange shape should be placed on top of the layer hierarchy on the Layers panel for the next step.
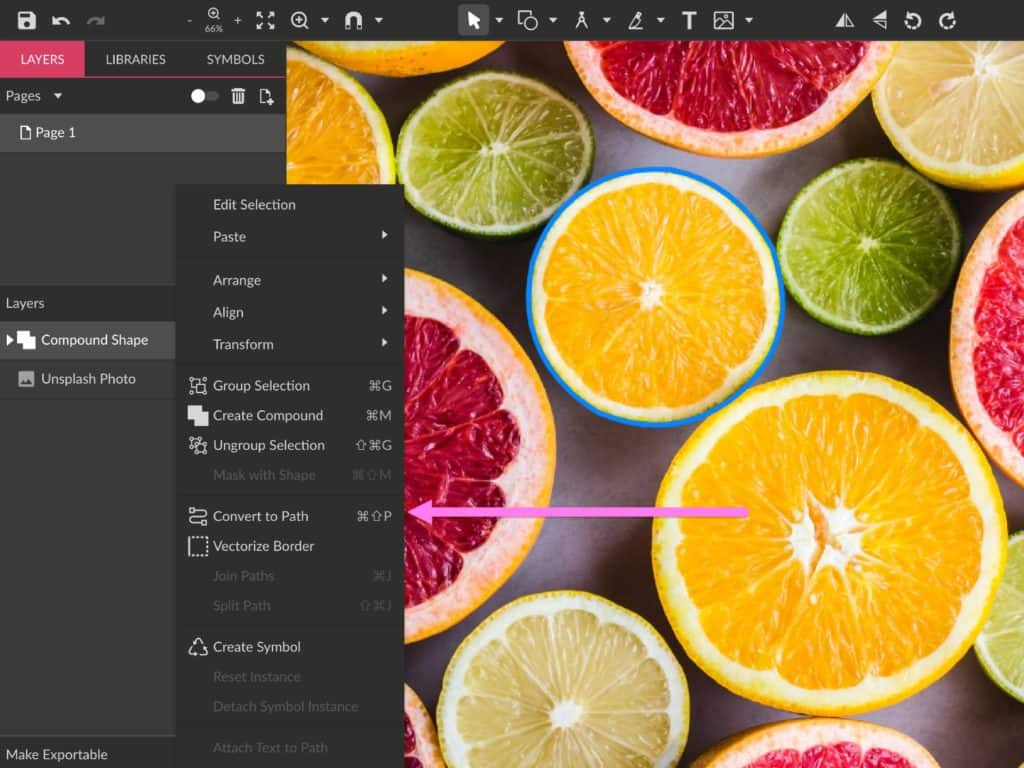
With the orange shape on top, select both shapes and click Subtract on the Create Compound Shape menu in the toolbar. This will create a Compound Shape made by those two previous shapes – in other words, you have just cut a rounded hole on the rectangle shape.
Compound Shapes are non-destructive, which means you can move the shapes that make the compound up around or undo it at any time to have the previous shapes back.
Now that you have the cut shape, all that’s left is placing the image inside this compound shape, creating an inverse mask. Before that, convert the Compound Shape to be able to use it as a mask through Right-Click > Convert to Curves (Ctrl+Shift+P).
Just like on the first example, place the photo inside the shape, and now you have an inverse mask.