
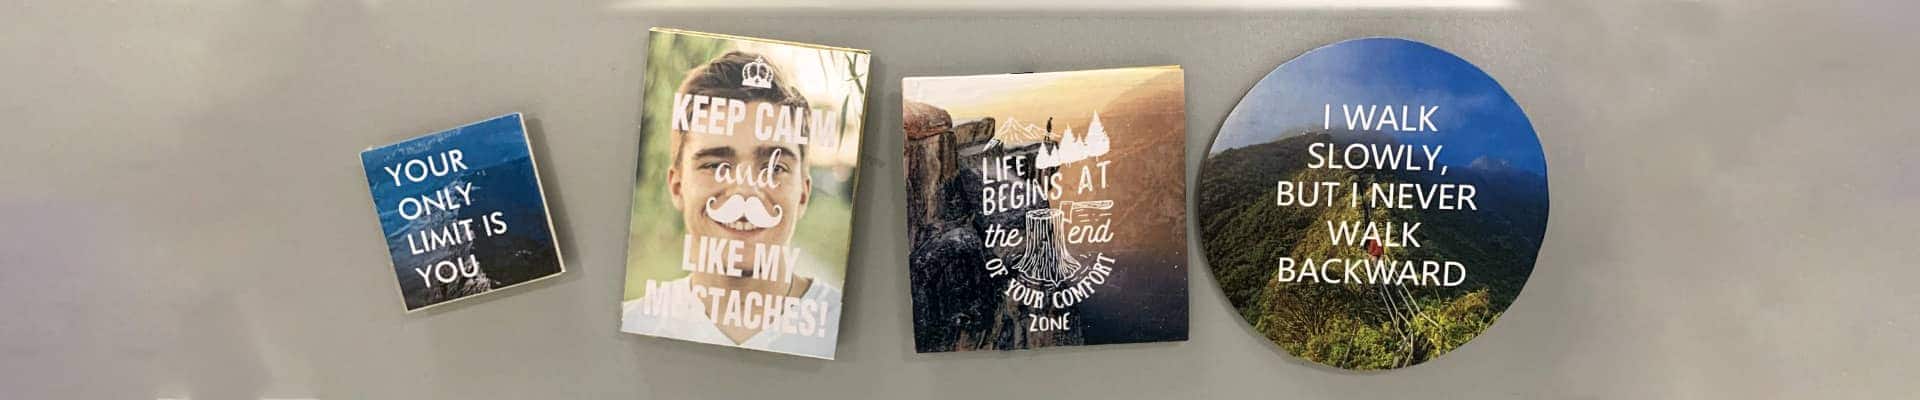
DIY Photo Quote Magnets
This project tutorial shows you how easy it is to make your own photo magnets! Follow the tutorial and your’ll learn it in no time. We also provide a set of 5 Quote Templates that you can DOWNLOAD FOR FREE and use in your project.
How to Make DIY Photo Quote Magnets
There are 5 easy steps to this project. Watch the video to see how it’s done and follow along with the detailed instructions below.
You will need the following materials for this project:
- Wood pieces (Or any materials you can glue paper on, ,for example cardboard)
- White glue
- Magnets
- Hot glue gun
- Scissors
- Paint brush
- Gel medium, mod podge, or transparent packing tape
- Download the FREE trial of PaintShop Pro if you don’t already have one.
- Create a new file and make it the same size as your wood piece.
- Add text and background image to create your own photo quote.
- If you need, here is a set of 5 quote templates FREE FOR DOWNLOAD. These are transparent PNG files that you can add background images yourself.
- Print your design out on a regular paper.
- Cut It out with scissors.
- Apply a little white glue evenly to the entire surface of the piece of wood with a paint brush.
- Place your image on the wood carefully, the smooth the glue with a plastic card or anything you find helpful.
- Let it sit a couple of minutes to dry.
- Now you can use a bush to apply a coat of gel medium over the image to protect it.
- You can also use clear packing tape to seal and protect your image.
- Use the hot glue gun to apply a small amount of glue to the back of the piece of wood, then addhere the magnet to it.
- Let it sit for a couple minutes to try.
- And…Voila!
How to Edit Images
Before you start creating your own quote images in PaintShop Pro, check out these tutorials that you might find helpful!
Reversing or Mirroring your Image
If you don’t want your photo transfer to end up backwards, make sure you reverse it first! Learn how to do this in PaintShop Pro.

Cropping and Resizing your Photo
This tutorial will show you how you can crop your photo to remove any unwanted parts and make it the right size to fit your piece of wood.

Removing Objects from Photos
Whether you need to touch up some blemishes, remove an unwanted object or erase a scratch in an older photo, PaintShop Pro has the tools you need – see them in action!
