Creating a Selection by Painting with the Selection Brushes
You can create a freehand selection by painting with any brush variant that uses the Selection method.

Examples of selections (right) created with brushes that use the Selection method. The color overlay (left) that appears as you paint helps to distinguish selected areas from the protected areas.
To select an area with a Selection brush:
1. Open an image.
2. In the Brush Selector Panel (Window > Brush Selector Panel), click the Selection Brushes category, then click a brush variant.
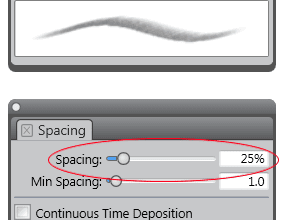
3. On the property bar, click the Dab Options button ![]() and choose a dab profile.
and choose a dab profile.
Tip: To adjust the dab opacity, move the Opacity slider on the property bar. To set the grain, move the Grain slider on the property bar. The lower the opacity, the fewer pixels are selected.
4. Do one of the following:
- To make a new selection, click the New Selection button
 on the property bar.
 - To add to, or subtract from an existing selection, click the Add to Selection
 button or Subtract From Selection
  button, respectively.
5. Paint in the document to select an area.
6. Click the Save Selection ![]() button on the property bar, name the selection in the Save Selection dialog box, and click OK. The saved selection appears in the Channels panel.
button on the property bar, name the selection in the Save Selection dialog box, and click OK. The saved selection appears in the Channels panel.
You can learn more about Selection brushes in the Corel Painter Help. To see the Selection brushes in action, watch this tutorial by Painter Master Don Seegmiller.
RELATED TIPS