

How to Design a Business Card
In our daily life, almost everything we do in the business world is digital: e-mails, video meetings and phone messages. However, it’s still very useful to have a business card in hand when you meet new contacts in real life.
In this tutorial you will learn how to design your own business card with a vector design and layout app.
Set up your document
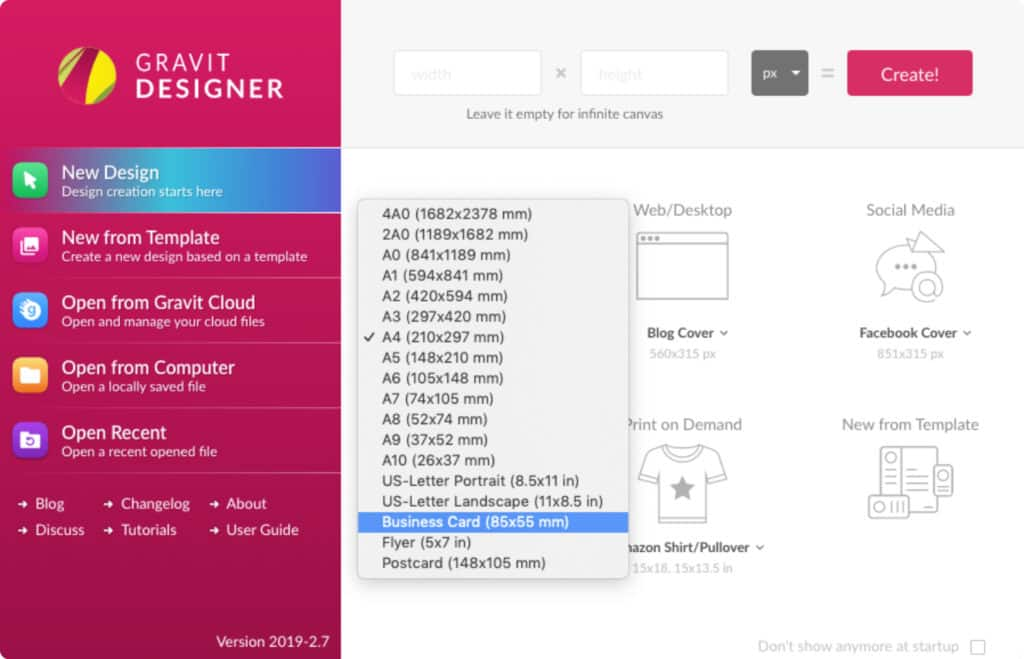
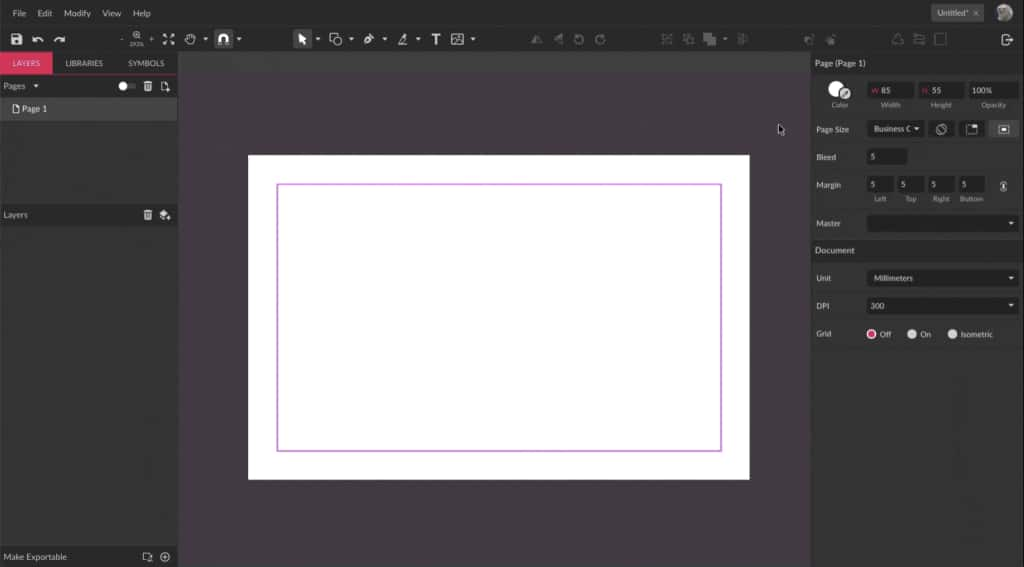
Let’s start by setting up the correct size for the document. The most common size for business cards is 85x55mm, but don’t forget to check this with the place where you will have your cards printed.
Luckily, Corel Vector has a series of file sizes to make it easier. On the Print presets of the Welcome Screen, click the arrow next to A4 to show more file sizes.
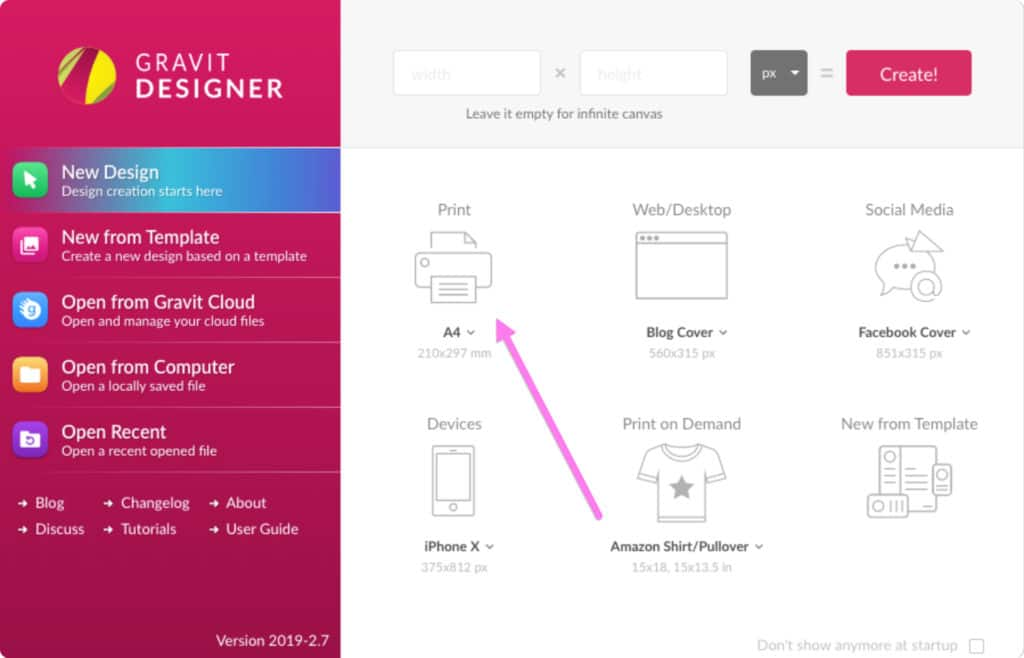
Click the Business Card size to open it.
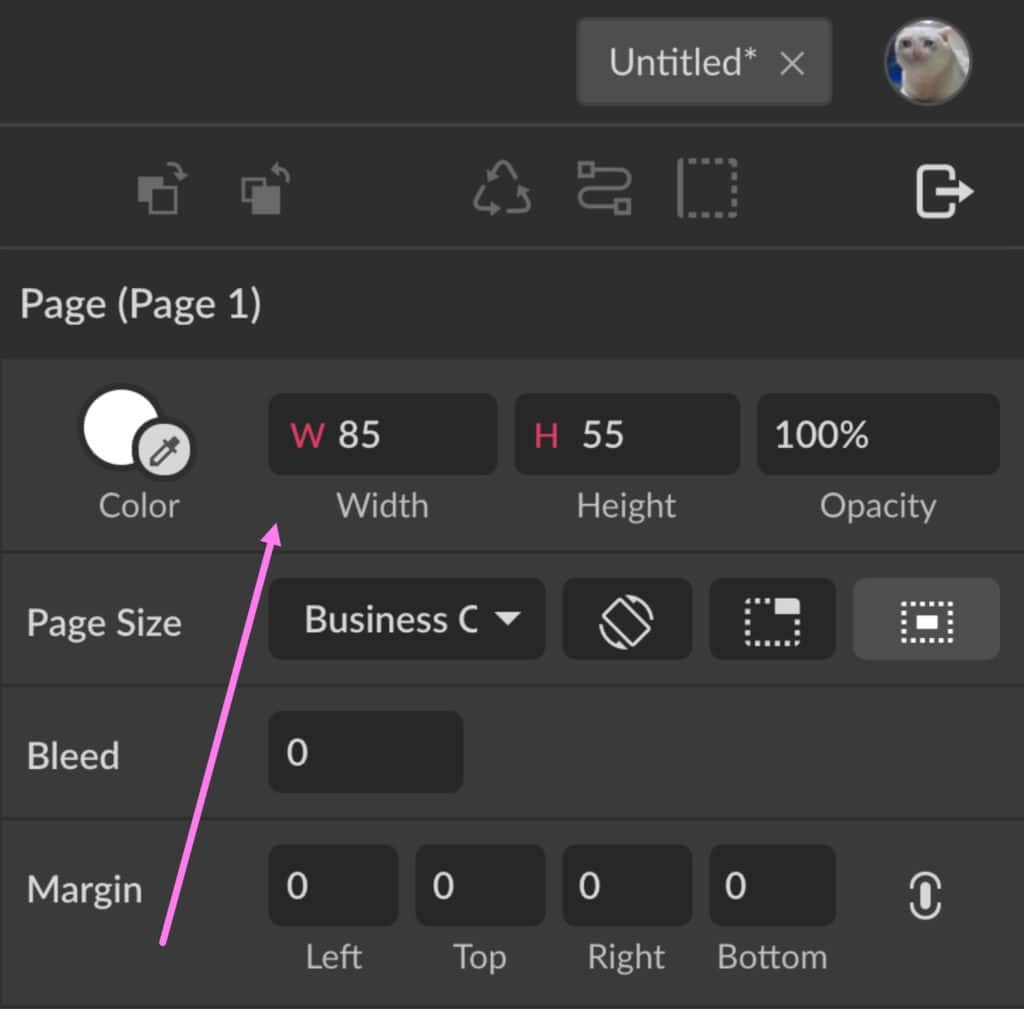
If your print shop uses a different size, you just need to adjust the Width or Height on the Inspector panel after creating your new file, under Page.
Understanding the print area concept
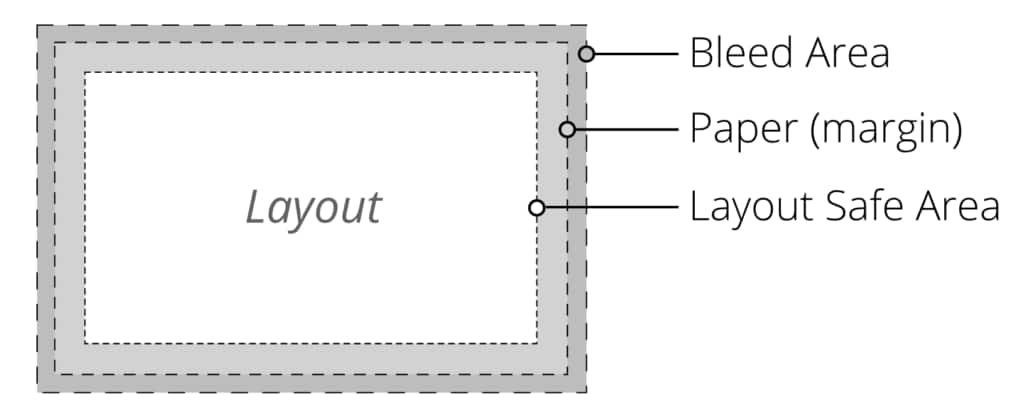
Layout Safe Area
This is the safe area, which means that everything inside this area will appear on the final printed product. This is where all your important content will be.
Margin Area
The margins are defined as a safe zone for cutting. Be sure not to leave any important information on the margins and beyond it, because it might be cut off depending on the type of equipment that will be used.
Bleed Area
Each print shop uses different equipment and it’s not safe to trust only the margins, so we also define a bleed area, which extends a little beyond the margin area. The bleed will be cut off on the final cutting process.
Setting up the bleed area
Usually a bleed area measures between 2 and 5mm, but ideally you should check with your print shop.
Add the bleed on the Inspector panel, under Page.
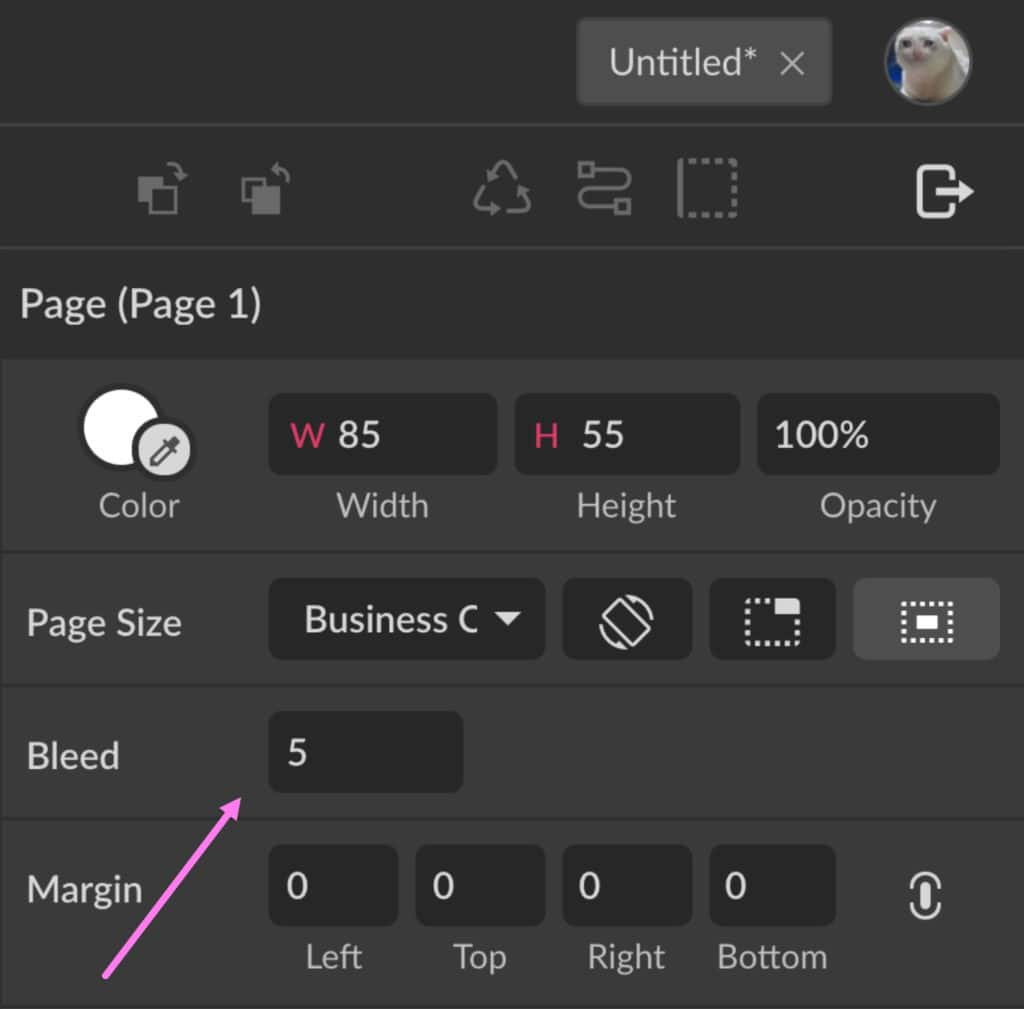
You can’t visualize the bleed area right away while there’s nothing on the canvas, but don’t worry, when you export your final file, Corel Vector will include this area for you.
Setting up the margin area
The margins can also be set on the Inspector panel, under Page. Let’s use 5 mm here.
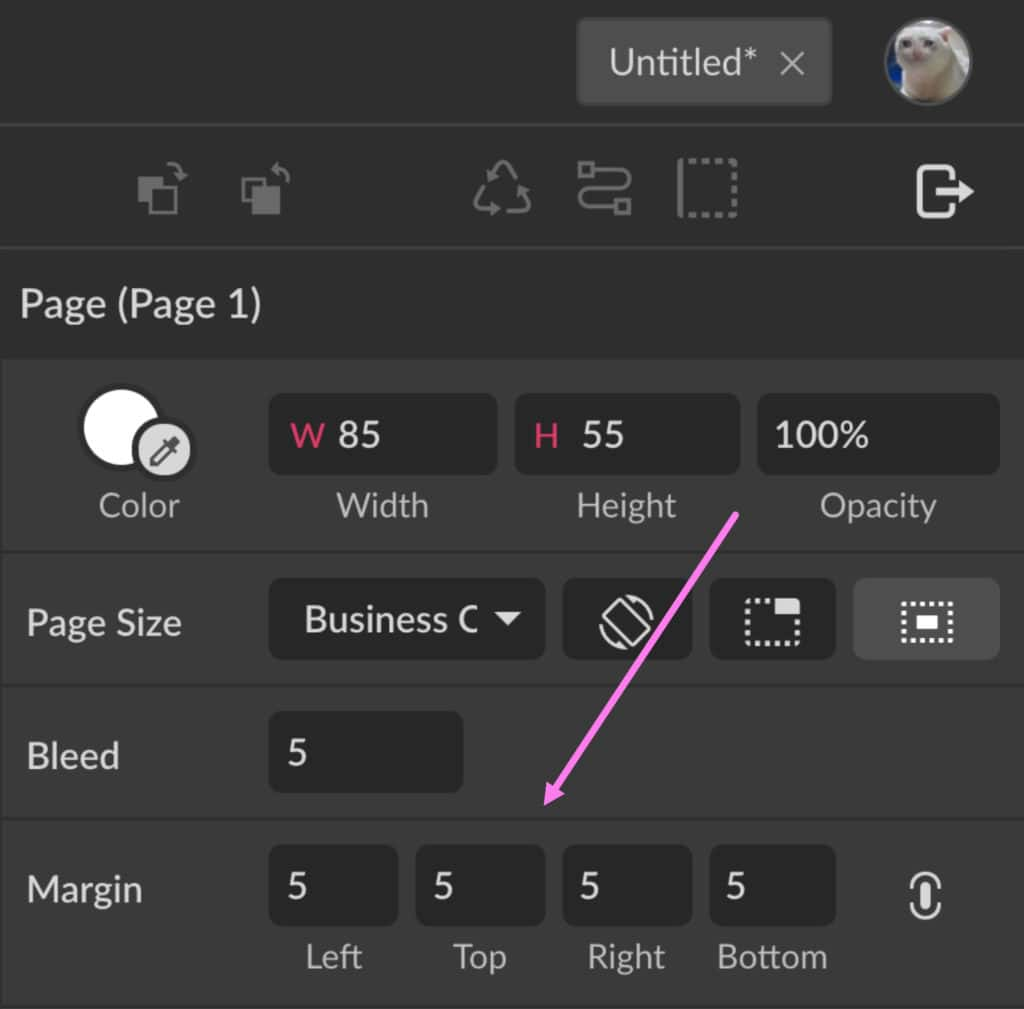
The icon on the right – Equal Margins – toggles the link between the margins. With this icon toggled on, you can input one number and press enter, and all the other margins will have the same size. If you toggle this option off, you can set different margin sizes for each side of your canvas.
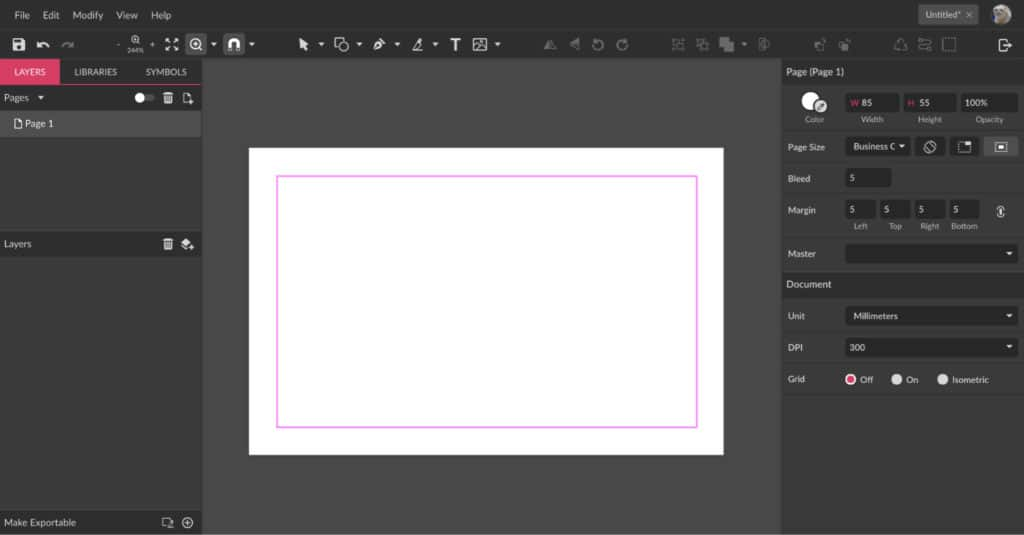
Let’s use a margin size of 5mm for all canvas sides, leaving Equal Margins on. This will define the margin zone on your canvas. The magenta line is just a guide to show your safe zone, and it will not be shown on the final exported file.
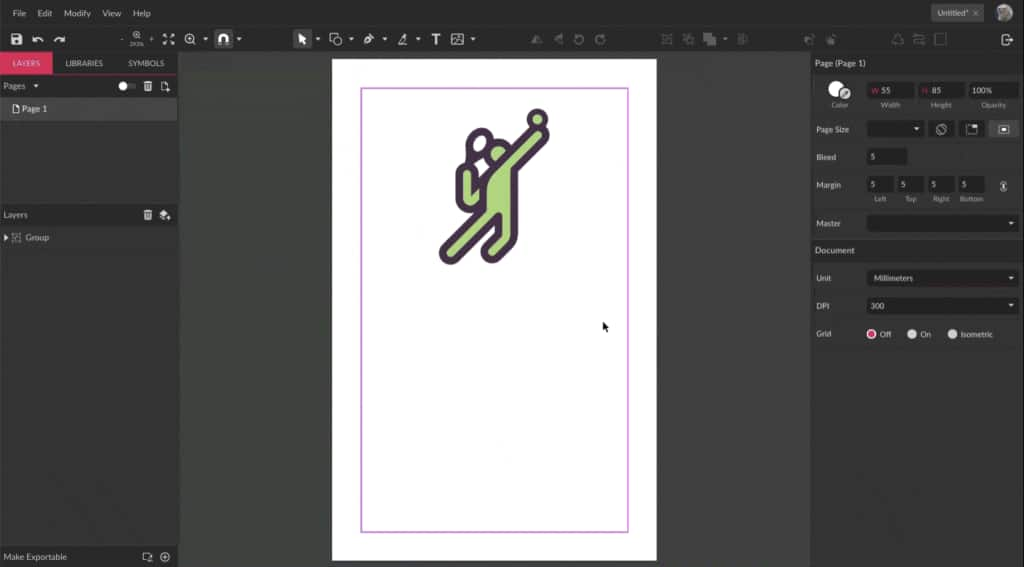
Rotating the canvas
The business card we are designing in this tutorial will be vertical, not horizontal, so let’s rotate our canvas. This is done on the Inspector panel, under Page, by clicking the Rotate Canvas icon:
The logo
Whether you’re creating this business card for a client or for yourself, you most likely already have a logo ready to be used. If not, we can help you design your own logo. For this example, we will use an element from Corel Vector’s Libraries as our logo.
We will create a card for a tennis coach, so on the left panel choose the Libraries tab, and search for results related to tennis. Use the search bar right under the tabs, type what you’re looking for and just press enter.
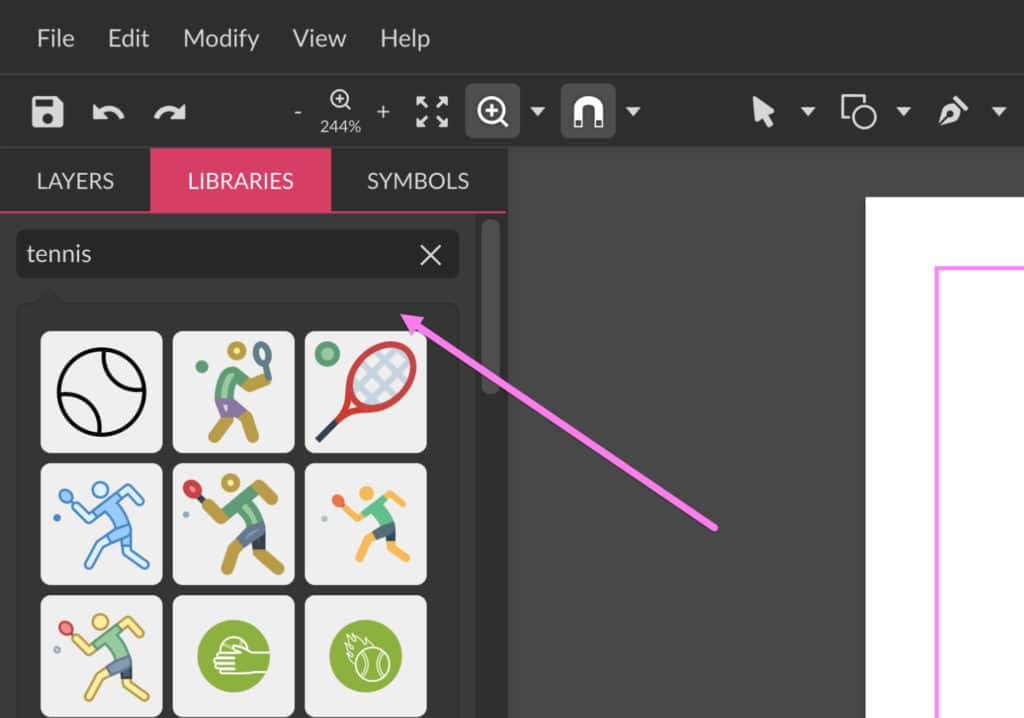
TIP: All the content from Corel Vector’s Libraries is free to be used commercially.
After you choose an icon, click on it and it will be displayed on the canvas. Increase the size of the icon by dragging the handles while holding Shift to maintain the proportion.
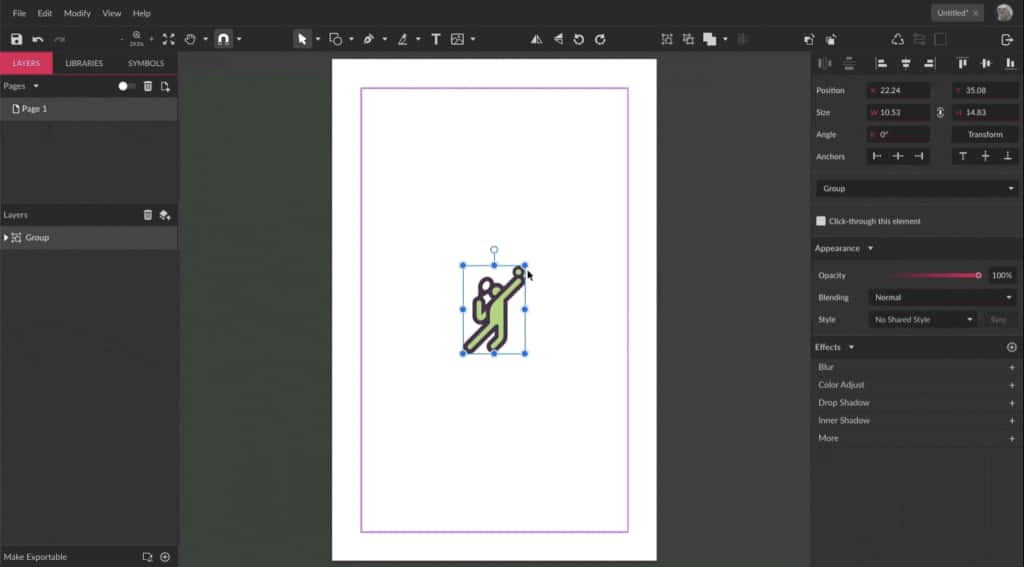
For the logo used in this example, select and ungroup it using the Ungroupbutton (Ctrl + Shift + G) on the toolbar. Let’s make the green background shape smaller until only the tennis ball is colored green. To do that use the Subselect tool (D) and delete some anchor points.
Text elements
Now let’s add the essential information a business card should have besides a logo: name, title, and contact information.
Using the Text tool (T), add five text boxes and fill it with name, profession, email, phone number and website. To add text, just click with the Text tool on the canvas. You can change sizing, colors and fonts on the Inspector panel under Appearance.
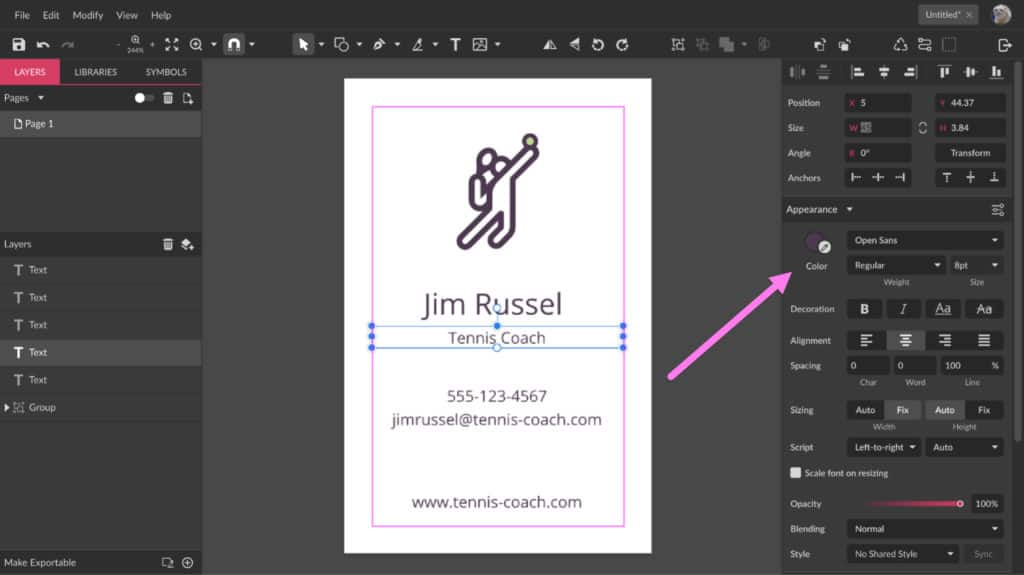
Choosing fonts
Corel Vector has an immense library of Web Fonts for you to choose from. Choose the Web Fonts tab on the Fonts menu and navigate through all the fonts using up/down on your keyboard.
TIP: All Web Fonts in Corel Vector are free to be used commercially.
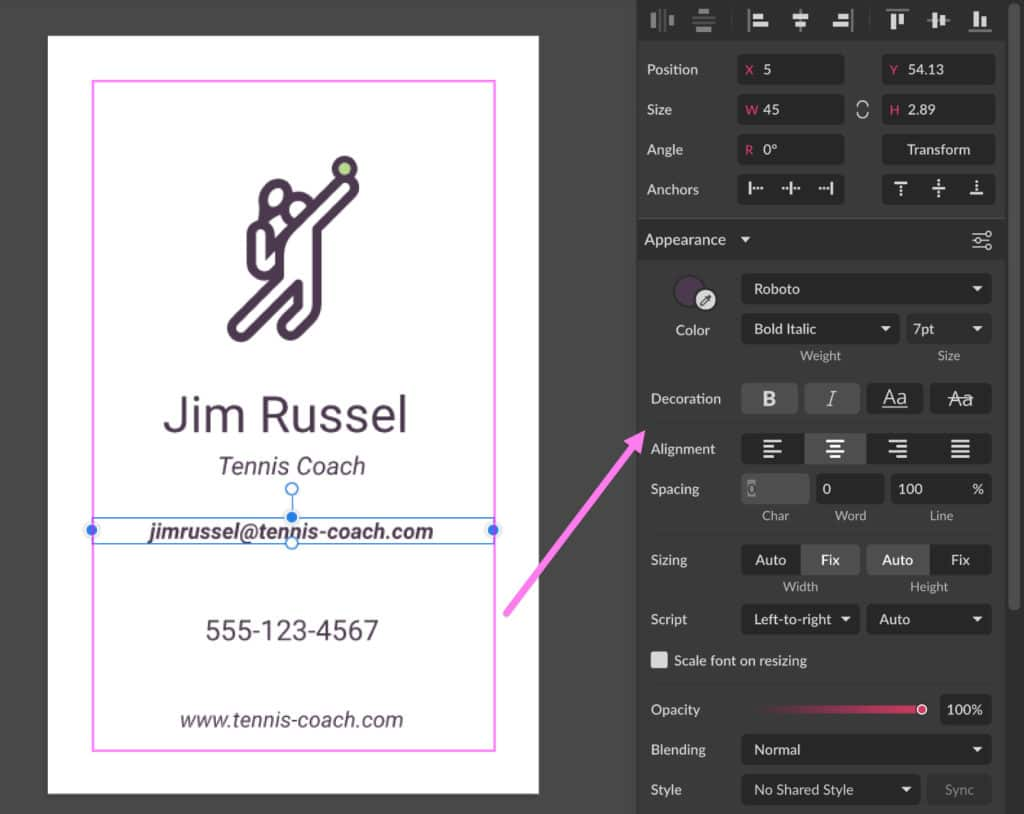
For our tennis coach card, let’s use the font Roboto, making some variations with bold and italic decorations.
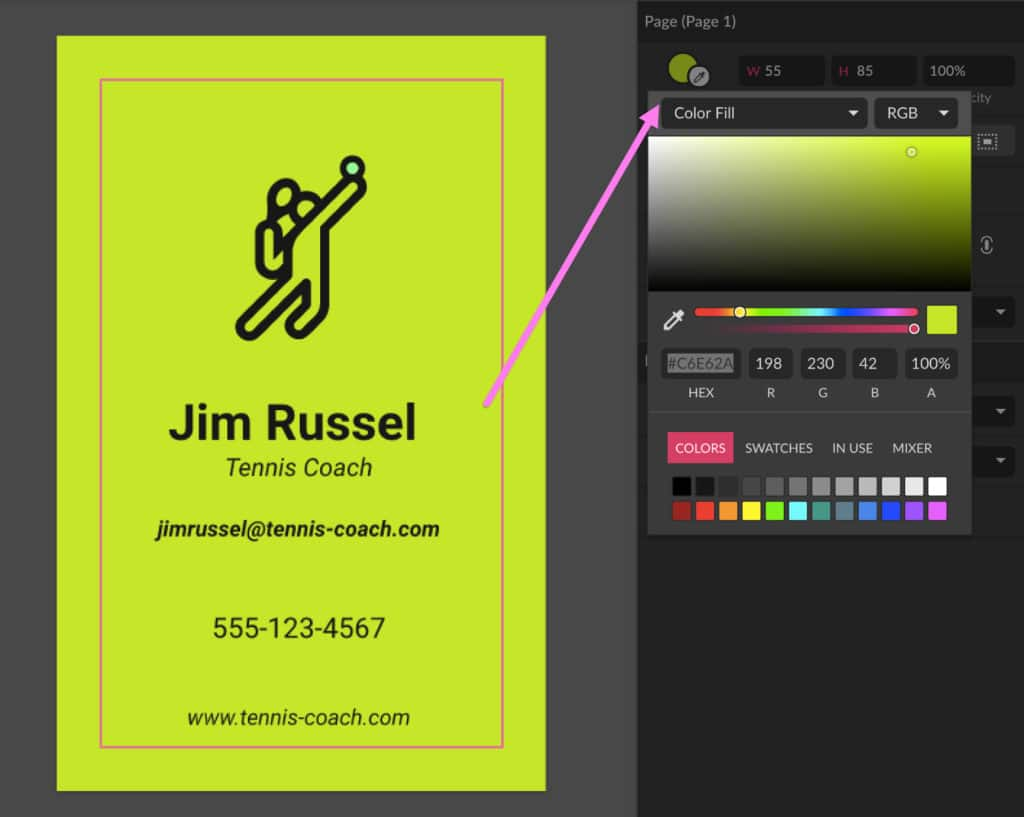
Define the colors
Define a set of colors to be used on your design. If you already have a logo, make sure that the colors you choose for the card match this logo. For our example, let’s use #C6E62A for our background color, which can be set on the Inspector panel under Page.
Let’s also add a white background to part of the logo. To do that, create a shape outlining the logo using the Pen tool (P). Send this shape to the back with right-click > Send to Back.
The other side
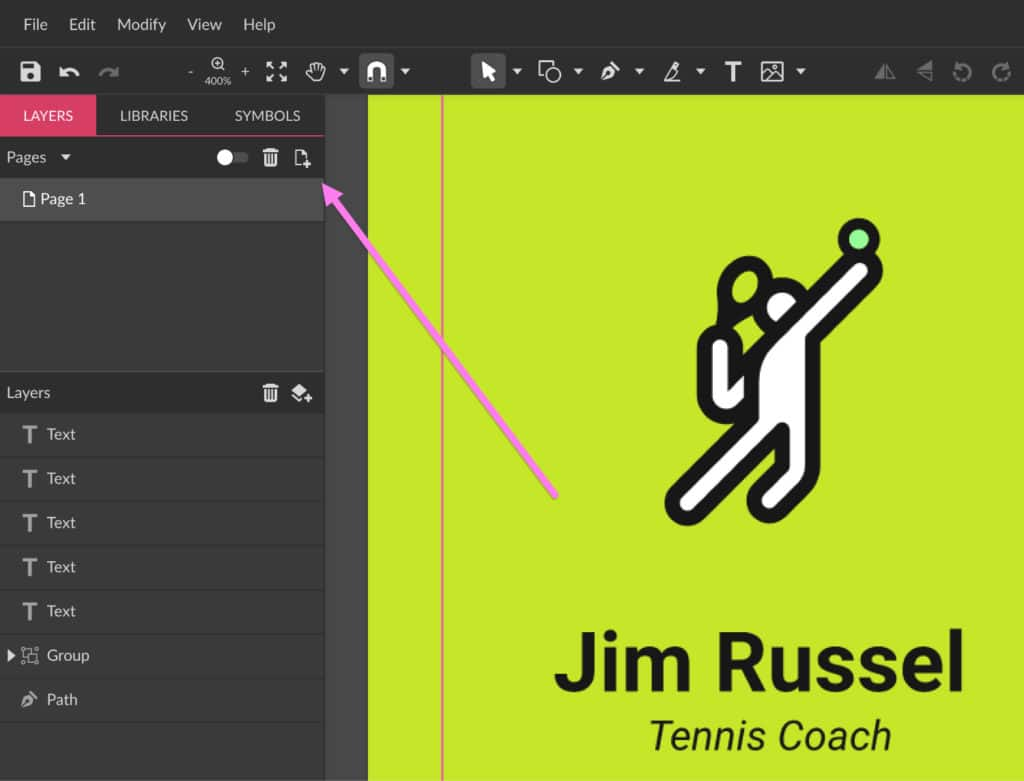
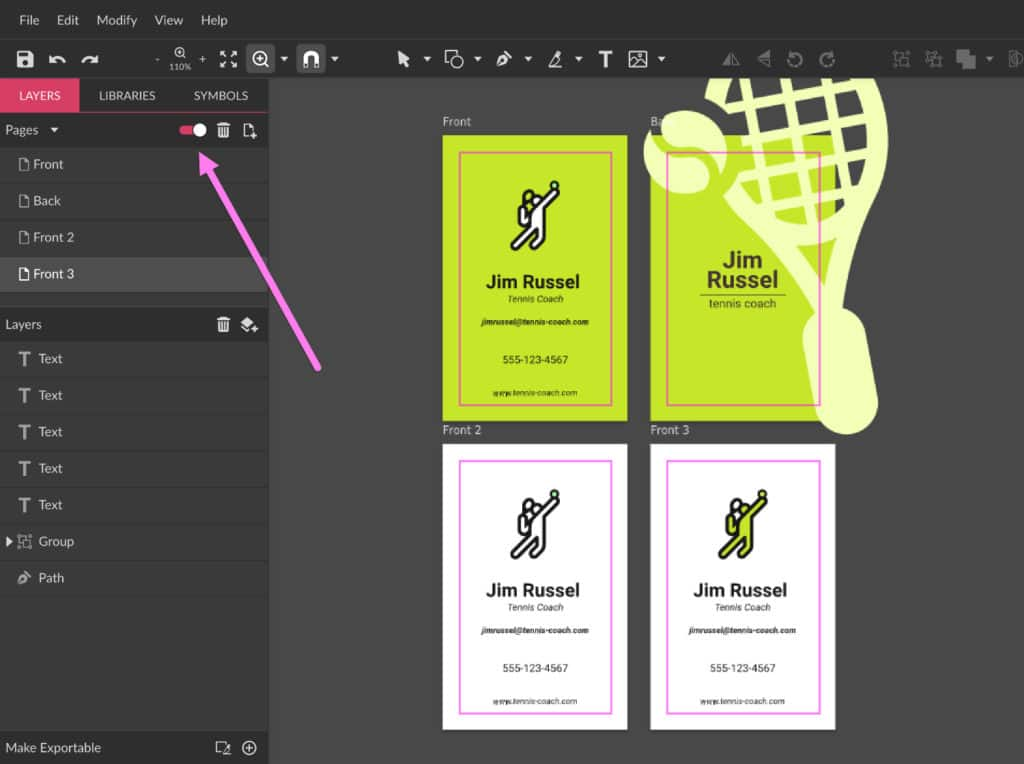
Not all business cards have two sides, but in this tutorial we will create a design for the other side as well, creating a second page on the Pages panel by clicking on the Create New Page icon.
The new page is created with the same configurations as the first page, including margin and bleed settings.
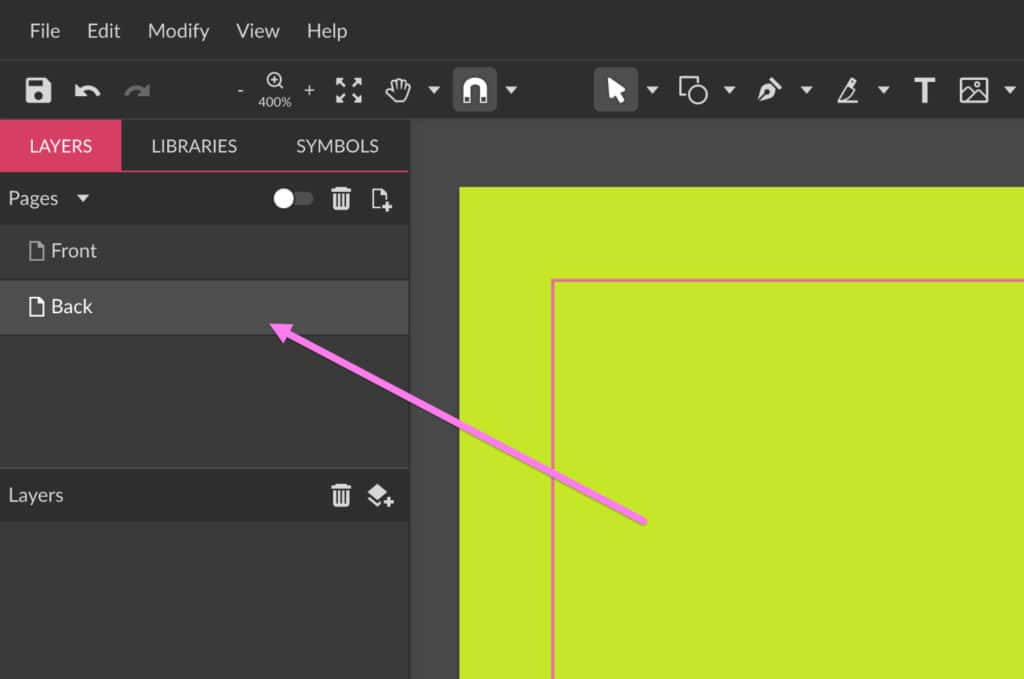
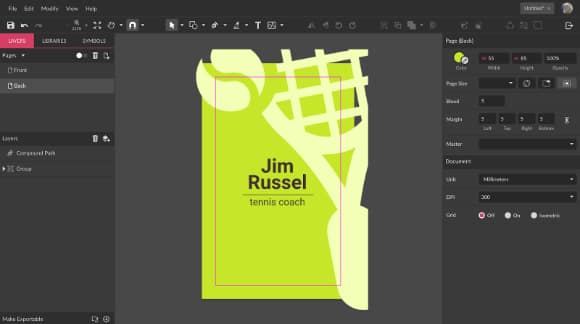
On the back side you will also add the name and profession, and use another icon from the library to create an interesting detail for your card.
Note: The area showing outside your canvas is the bleed area.
Create as many pages as you like to design other versions of your business card. You can visualize all the pages at once by clicking the Toggle Single/Multipage Viewbutton on the Pages panel.
Converting to CMYK
The color profile most commonly used in print shops is CMYK, as opposed to RGB which is the format used on the web. Since these two formats don’t translate well, make sure you convert the colors before sending. You can do that in the Color Picker dialog. Click the arrow next to RGB to open the other color profile options.
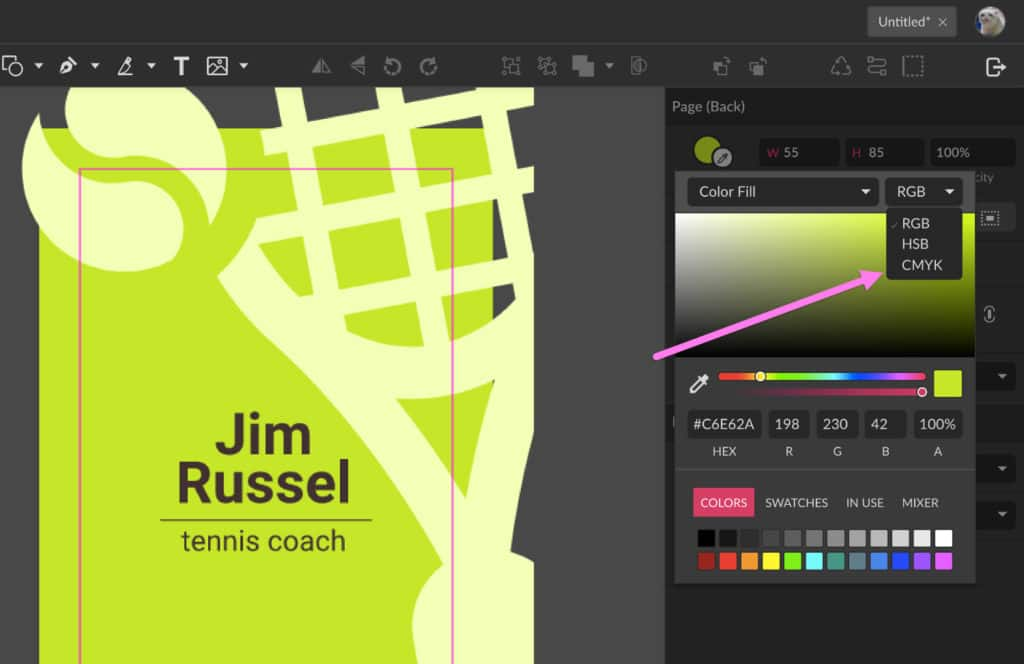
RGB and CMYK equivalent colors don’t look exactly the same, so make any adjustments to the color you find necessary.
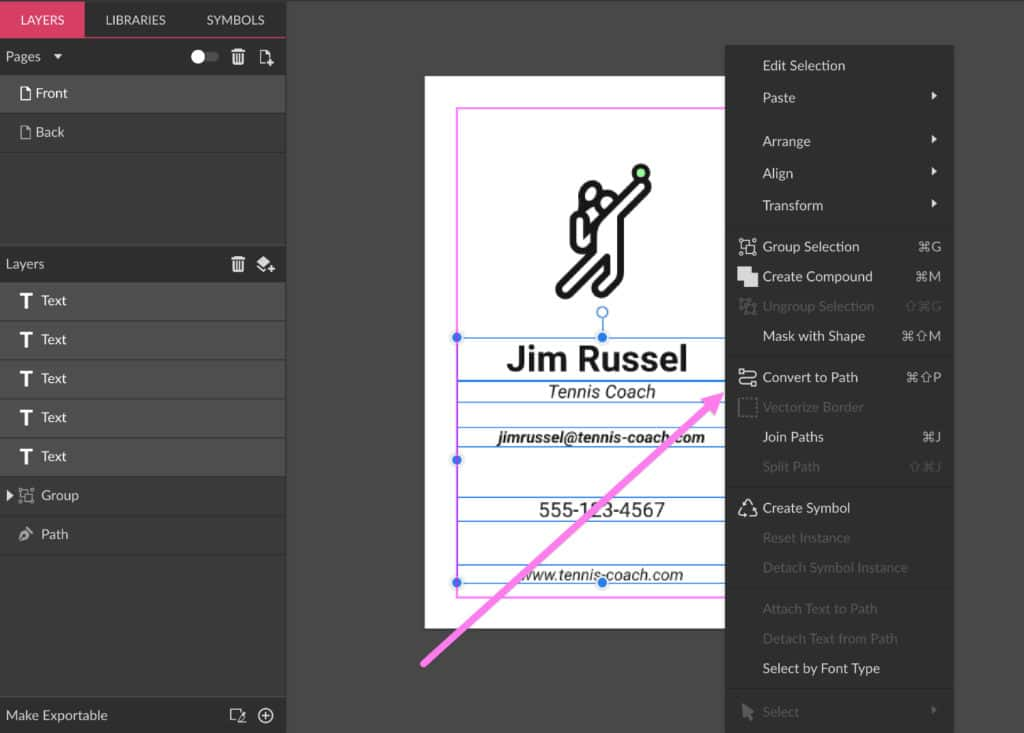
Convert the text to curves
In case the print shop doesn’t have the font you used in your file, this font could end up being automatically substituted by another, and the result probably won’t look great. To avoid that, convert all the text elements in your file to curves by selecting them, then right-click > Convert to Path (Ctrl + Shift + P).
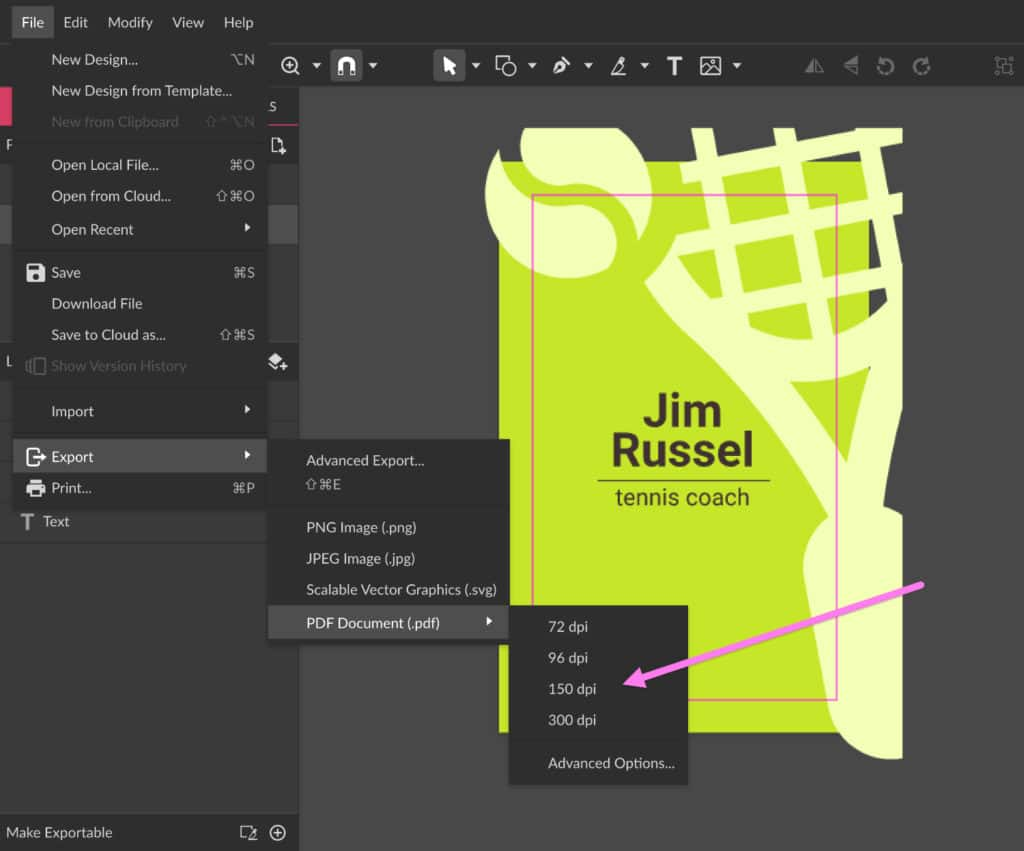
Exporting your file
After finishing the layout and all the final details, you can finally export your work. To do that, go to File > Export > PDF Document (.pdf).
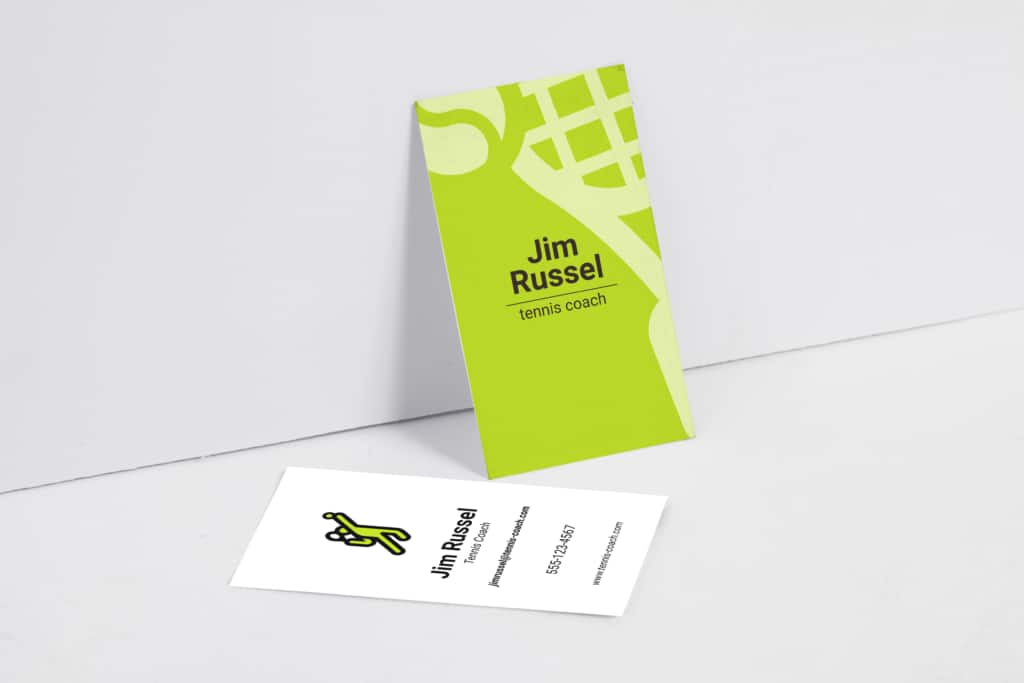
With the final result, you can even use a premade mockup model to display your design.
Final tips
- Try not to use font sizes smaller than 6pt because the text might not be readable after printing. To make sure, print a sample of your card in real size at home and check if all the sizes and fonts look good.
- Make sure to review all the information on your card to avoid printing a large amount of cards with possible typos.
- Some print shops have options like rounded borders and other different shapes and materials to print in, so you can get a little more creative with the final result.
- Don’t forget to pick a quality print shop to avoid a bad printing job!
Download your FREE 15-day trial and see how easy it is to design your creative projects with this web-based vector graphics app that empowers you to create on any device.
