

Custom birthday party invitations are all the rage these days. More and more you see pins and posts of homemade invitations that look like they were done by talented professionals, and you may be thinking “I’m just not creative enough to make something like that”. Or, wondering how people find the time to do such elaborate projects. You would be surprised how quickly and easily you can create a set of birthday party invitations, along with matching decorations, tags and cards that make other people say WOW!
All you need to make your own DIY birthday party invitations in a few easy steps are 3 things: photo editing software, some digital photos you want to use and our secret ingredient.

Photo editing software
When it comes to photo editing software we’re partial to PaintShop Pro of course, but there are a variety of software programs that you can use. If you don’t have any photo editing software or are looking to try something new, you can download a free trial of PaintShop Pro that will be valid for 30 days –that’s plenty of time to create your party invitations!
The Photos
Next you need to decide which photos you want to use. One photo is good, but a few photos to choose from is even better, since this gives you the option to try out a few different layouts and styles to find the one you like the best. And, sometimes your favorite photo isn’t always the best quality photo but there are lots of things you can do with your photo editing software to brighten dull photos, switch out backgrounds or colors, give people a makeover or add some really cool effects. If you want to learn more about photo editing techniques in PaintShop Pro we have a variety of video tutorials that will show you how to use the software and give you creative ideas for photo projects.
See the full list of tutorials here.

The Secret Ingredient
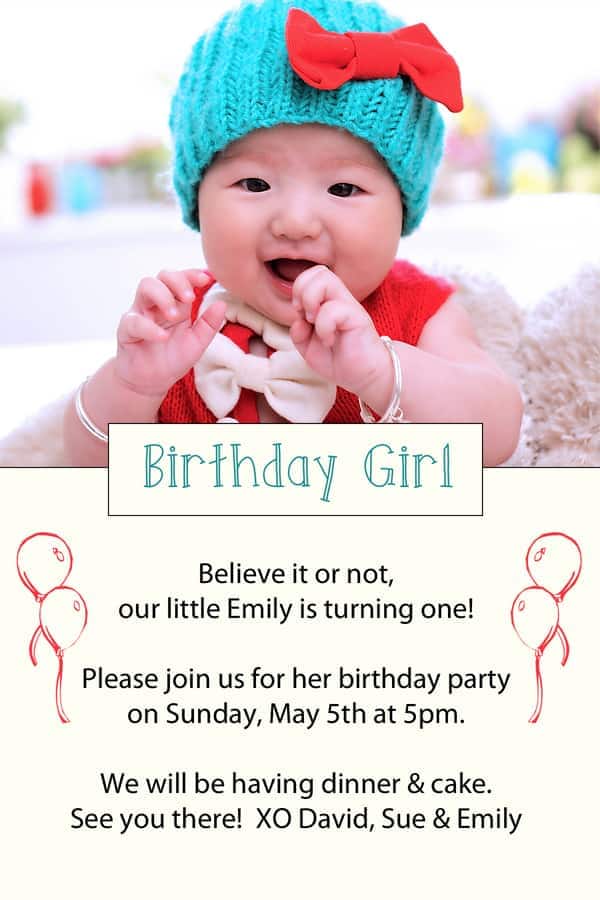
Now that you have your software and your photos, you just need to add the secret ingredient – photo overlays! Photo overlays, also called clipart or stickers, are simply images with a transparent background that you can add onto your photos. All the hard work is done! Fancy words and images, a couple clicks and you have an awesome party invitation!
OK, so here is how we pull it all together.
Step 1 – Open your photo and the clipart images you want to use in your photo editing software
Step 2 – Select and copy the clipart images and paste them onto your photo
Step 3 – Resize the clipart if necessary and position it where you want on the photo
Depending on the photo editing software you are using, you may also have options to get more creative with these overlays by changing colors and adding other artistic effects. The only limit is your imagination so have fun experimenting with different looks and layouts!
Once you have a finished product you’re happy with, save and print your invitations. Either print them yourself at home or take them to a store that will print for you on the paper of your choice.


0 Comments