DIY Photo Lamps
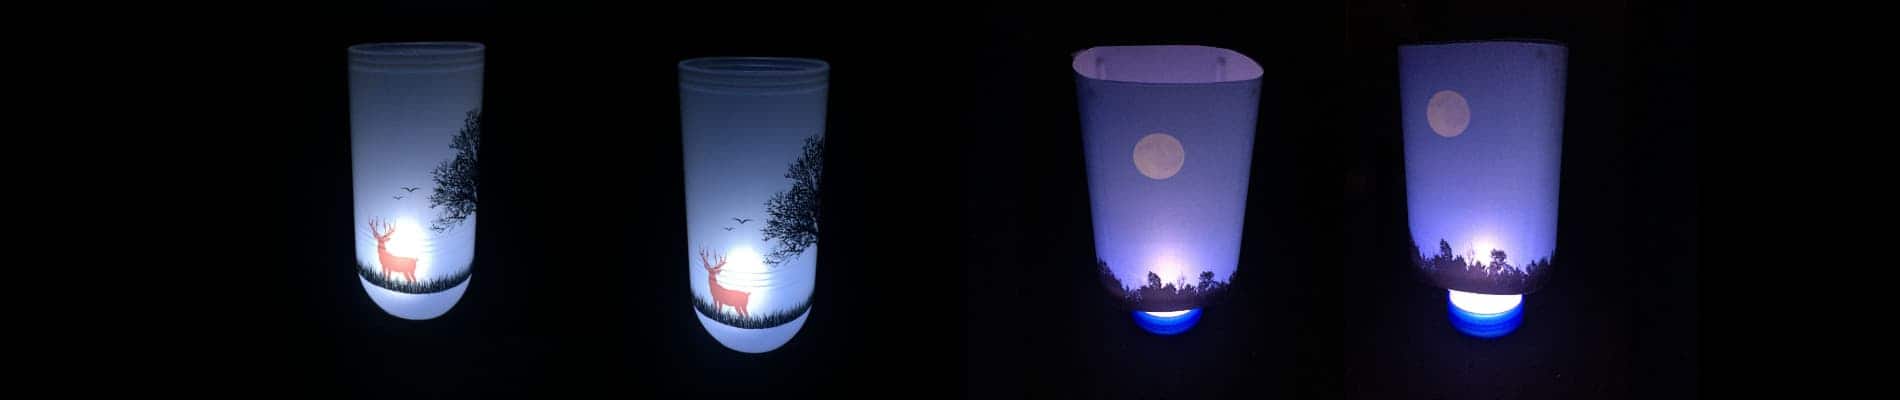
Here is a quick and easy DIY project for creating funky lamps or nightlights, using your own images and a plastic bottle. The process is simple – cut the end off a plastic bottle, print out your image or design on transparency film, wrap it around the bottle and fasten it with tape. Then add an LED light or electric light on a cord and that’s all there is to it! You can make lamps that sit on a table, or pendant lights to hang, or a string of patio lanterns.
With this project you can quickly and easily create custom lights for your home, your patio, parties, special events and more. It’s also a fun project that kids can help with.
How to Make a Plastic Bottle Photo Lamp in 5 Easy Steps
There are 5 basic steps to this project. Watch the video to see how it’s done and follow along with the detailed instructions below.
You will need the following materials for this project:
- Your photo, image, design or text
- Transparency film (make sure you get the right kind for your printer, laser or inkjet)
- PaintShop Pro or another photo editing program
- Scissors or exacto knife
- Tape
- Plastic bottle
- LED candle or electric light
- Measure the dimensions of your bottle
- Resize or crop your photo so it will fit on the bottle
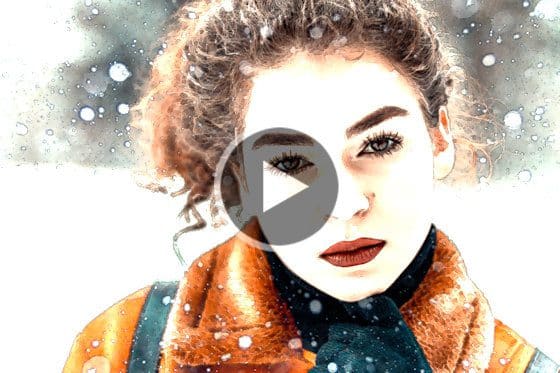
- You can also enhance your image with a variety of effects (check out our video tutorials below to see how to convert to your image to black and white, or use a script to add a cool effect)
- Print your image on the transparency film
- Trim the edges of your printed image
- Using scissors or an exacto knife, carefully cut off the bottom of the bottle
- Make sure the edge is even and smooth, especially if you are making a lamp that will sit on a table or flat surface
- If you are making a pendant light, you will need to cut a hole in the bottle lid, large enough that the light cord can fit through
- Wrap your printed transparency around the bottle
- Fasten it into place with tape
- If you are making a table lamp, you just need to place your LED candle or light in the bottom of the bottle
- If you are making a pendant light, thread the light cord through the opening in the bottle top and attach a light bulb
How to Edit Photos and Images
Before you go to print your photo or image on the transparency film, make sure it is looking it’s best! These tutorials will show you how to crop your photo to the correct size, how to work with text, and how to add some effects.
How to use scripts

How to convert color photos to black and white
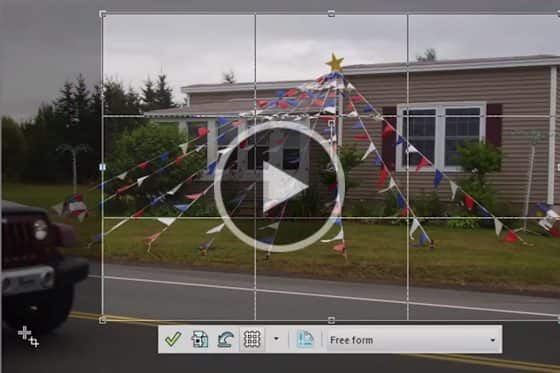
How to crop photos