Transfer photos onto canvas
Transform your favorite photo into an art piece, or perhaps a unique gift idea? In this tutorial, we are going to show you how to transfer photo onto canvas in just a few simple steps. All the supplies you need can be found at your local craft store.
With this project, you’ll end up having a beautiful piece of canvas, perfect for home decoration, and also a great gift for holidays or special events.
How to transfer photos onto canvas in 5 easy steps
There are 5 basic steps to this photo project. Watch the video to see how it’s done and follow along with the detailed instructions below.
Step 1
Assemble your materials
You will need the following materials for this project:
- Photo
- Canvas
- PaintShop Pro or another photo editing program
- Scissors
- Smoothing tool (a brayer if you have one, but a credit card or any plastic card work fine)
- Gel Medium or Mod Podge
- Brush
- Rag or sponge
- A bowl of water
Step 2
Get your photo ready
- When the image is transferred to the canvas, it will be reversed so you will need to use your photo editing software to reverse the image first, especially if there is any text or other part of your image that shouldn’t be displayed backward
- You may also need to resize your photo and/or crop it to the same dimensions as your canvas
- Print your photo on regular printer/photo copier paper using a laser jet printer, or make a photocopy of the printed photo (a photo printed on photo paper or using an ink jet printer WON’T work)
Step 3
Transfer your photo onto canvas
- Cut out your photo from the printed paper
- Apply an even layer of gel medium to the entire surface of the canvas using a brush
- Place and press your photo face-down onto the canvas
- Use a credit card or other smoothing tool to gently smooth out the photo and remove any air bubbles
- Turn the canvas over and press along the backside of the canvas to make sure the photo is adhered.
- Let it sit overnight or at least 5 hours to dry completely.
Step 4
Remove the paper
- Use a sponge and water to wet the paper.
- Then use your fingers to gently rub the paper to remove it.
- Repeat this process as many times as necessary to get all the bits of paper off. Remember not to press too hard or you might scrape away the image underneath.
- Use a clean rag to lightly wipe the scrap of paper fibers over the photo.
- Once it’s done, let the canvas dry completely.
Step 5
Add texture effect
- You can stop right here if you are satisfied with the look. Or you can follow the steps below to add a final touch.
- Apply Mod Podge or gel medium to the canvas. Use your brush to apply an even layer to the entire surface, to top it with a clear coat.
How to edit photos
Before transferring your photo onto a canvas, make sure it is looking it’s best! These tutorials will show you how to crop your photo to the correct size, how to reverse it, and how to remove unwanted objects.

How to Flip, Mirror and Rotate Photos
Learn how to rotate photos that were taken on an angle, and how to flip or mirror entire images or selected objects in PaintShop Pro.

How to Crop Photos
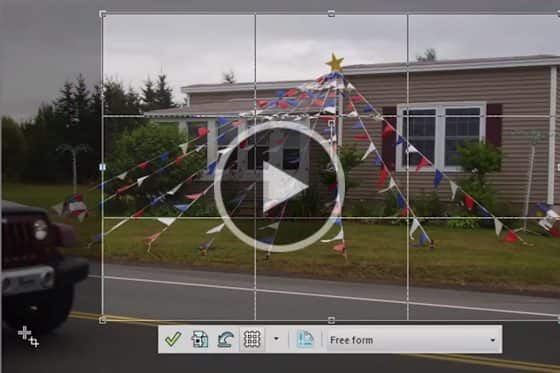
PaintShop Professional Carole Asselin shows you the different ways you can crop your photos to remove unwanted elements or improve your composition.

Using the Clone Brush
Learn the basics of using PaintShop Pro’s Clone Brush to cover unwanted parts of an image or to copy areas or objects from one image to another.


Comments (2)
Reader Interactions
Comments
Hi
Thanks for sharing this. It’s very helpful.
I was just wondering what if I want to copy the same printed image on a canvas that I already painted the background with acrylic.
If I use mod podge to transfer the imga or spong to remove the paper, would it damage the painted background? Do you have any advice for this?
Thanks in advance for helping me out.
Hi,
I don’t know if this would work, I have a feeling that either the photo wouldn’t transfer properly onto the painted surface and/or the process would damage the painted background. If you have an extra scrap of canvas, you could test out the process first, before risking damage to your painted canvas.
Thanks,
The Discovery Center team