
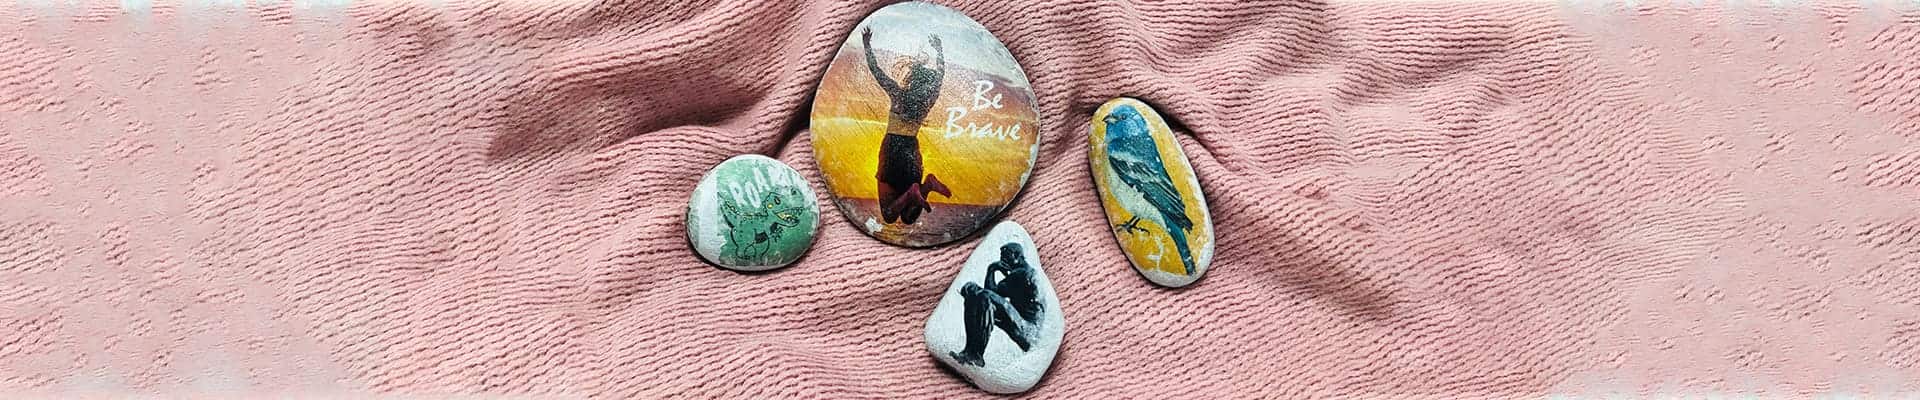
Photo transfer on stone
Are you looking for a creative way to showcase your favorite photos? Or perhaps a unique gift idea? Create a gorgeous display with this photo transfer on stone project. The process is simple – print out your photo, use a gel medium to apply the photo to a stone, then finish it with a clear spray. You can find all the supplies you need at your local craft store.
With this project you can create beautiful photo decorations for your home, but they also make great gifts for the holidays or special keepsakes to commemorate important events like weddings, holidays and more.
How to make a photo transfer on stone in 5 easy steps
There are 5 basic steps to this photo project. Watch the video to see how it’s done and follow along with the detailed instructions below.
You will need the following materials for this project:
- Paint Brush
- Scissors
- Sponge
- Water
- Stones
- Gel Medium or Mod Podge
- Rag
- Pencil
- Acrylic paint (optional)
- Acrylic varnish (optional)
- PaintShop Pro or another photo editing program
- Download the FREE trial of PaintShop Pro here
- Resize the image to fit the stone
- Flip the text or the image horizontally as they will be reversed on the stone.
- Print out your images using a laser jet printer
- Clean the surface of the stone. Remove any dirt or dust.
- Place the stone on top of the image and roughly trace the outline of it using a pencil. Then cut out the image with scissors.
- Optional: Apply a coat of acrylic paint on the stone. Paint the area when the image will be and then wait till the paint dry. This step is not necessary but the paint here is to give your image a background.
- Apply an even layer of gel medium (on top of the paint). Here we use matt gel medium but Modge podge or any clear acrylic medium would work too. Make sure that it covers the surface receiving the image.
- Quickly place the image face down onto the stone when the medium is still wet. Press firmly to make sure the image is adhered.
- Gently smooth out any air bubbles and remove wrinkles as much as possible.
- Allow it to dry completely.
- Soak a sponge in water and wet the back of the image
- Then use our fingers to gently rub the paper to peel it away until the transferred image appears.
- Be careful not to press too hard or you will scrape away the image underneath.
- Use a clean rag to lightly wipe the scrap of paper fibers
- After the stone is completely dry, you can apply a coat of acrylic varnish over the image.
- This is optional but it can protect the image.
How to edit photos and images
Before you go to transfer your photo onto a stone, make sure it is looking it’s best! These tutorials will show you how to crop your photo to the correct size, how to reverse it, and how to add some effects.
Reversing or Mirroring your Image
If you don’t want your photo transfer to end up backwards, make sure you reverse it first! Learn how to do this in PaintShop Pro.
Cropping and Resizing your Photo
This tutorial will show you how you can crop your photo to remove any unwanted parts and make it the right size to fit your project.

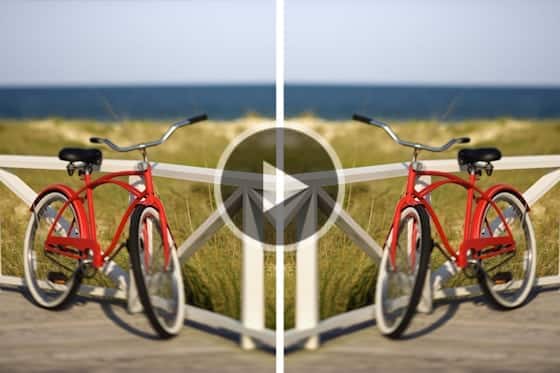
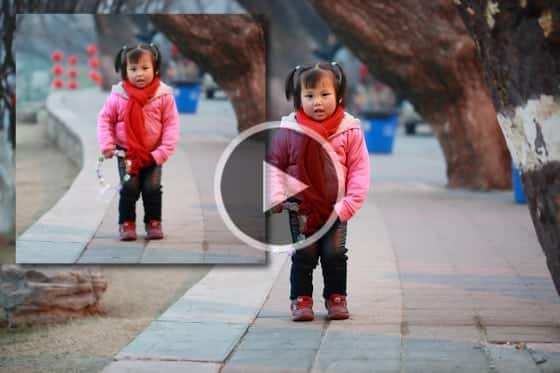
Removing Objects from Photos
Whether you need to touch up some blemishes, remove an unwanted object or erase a scratch in an older photo, PaintShop Pro has the tools you need – see them in action!

Comments (4)
Reader Interactions
Comments
Thank you
This is a case for ACE. This sounds like it would be pretty easy to do, I think I will attempt it for the holidays, will update in the future and let you know how it goes.
What kinda of paper? Where did you find a laser jet printer?
Hi Ed,
Regular paper will work fine. You could check with office supply stores in your area that offer print services and it’s likely they will have laser jet printers.
Best regards,
The Discovery Center team