

How to create a mockup
Mockups are a great way to showcase your work in a more professional manner, and in this tutorial you will learn possible ways to create them with Corel Vector, without any need for a distortion tool.
Create a new file
As you are setting up a mockup, this means you probably have your logo or visual identity ready to be used. If not, you can watch our tutorial on how to create a logo.
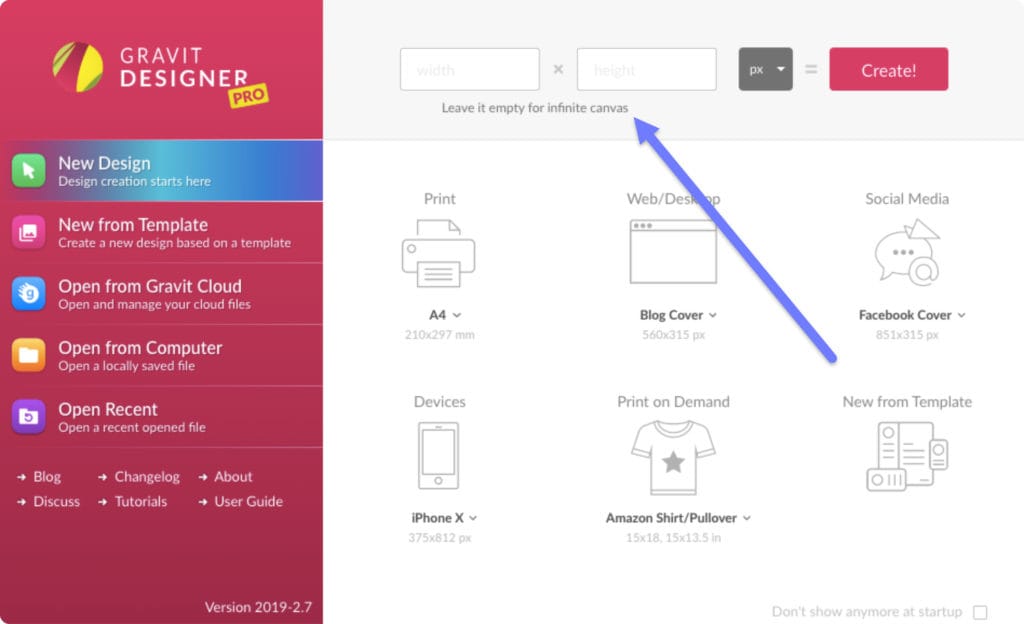
Once you have defined a logo or visual identity to be used, you’re ready to begin. Start by creating a new file with the size that suits your needs. In this tutorial, let’s use an infinite canvas to give us plenty of space to work on.
To create an infinite canvas, leave the Width and Height fields at the top empty and click Create!
Using an image to create a mockup
The easiest way to create a great mockup is using pre-made images. You can find various sources on the internet, like Unsplash (its images can also be found in Corel Vector’s Libraries), Pexels, Freepik and even Adobe Stock, which makes some images available for free from time to time.
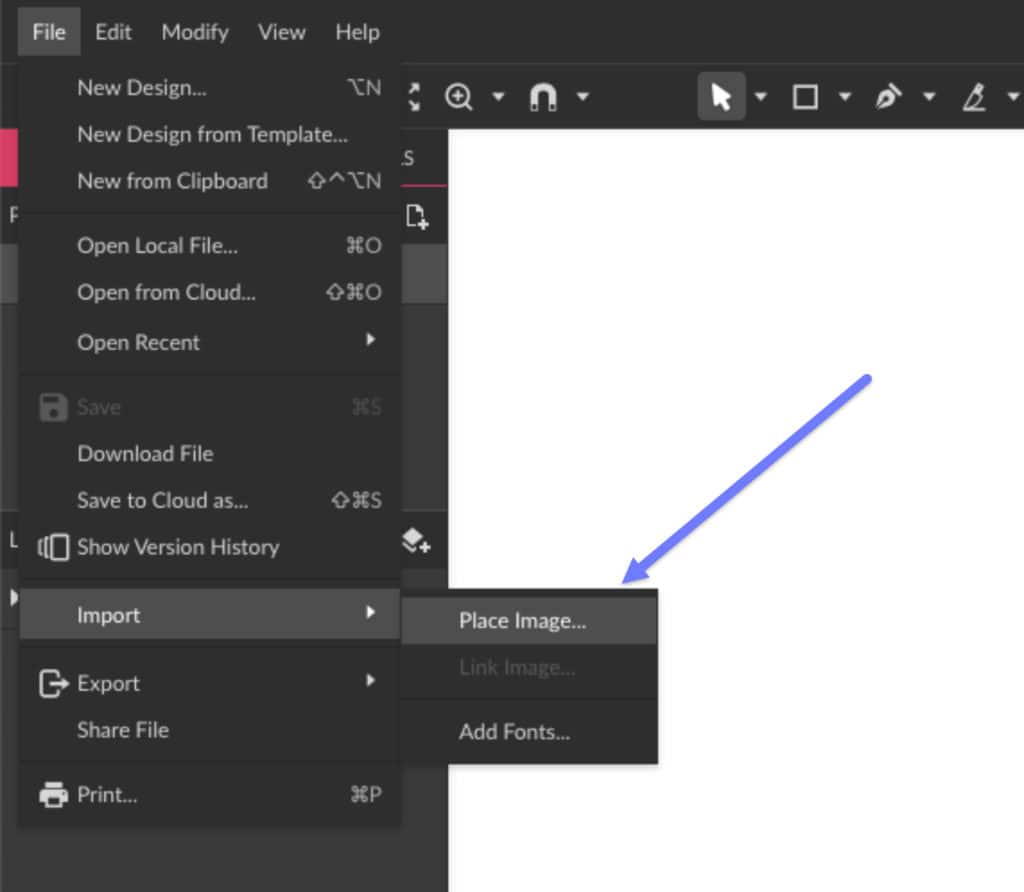
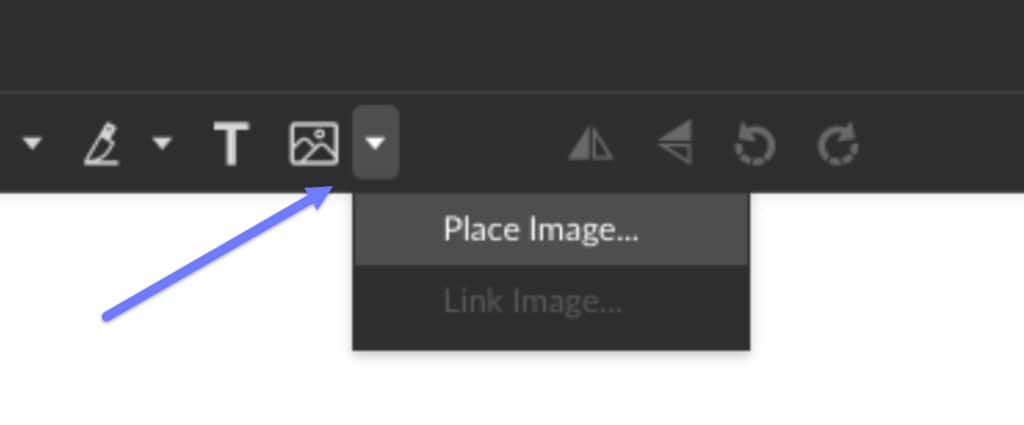
Once you have defined an image you want to use, import it into Corel Vector using File > Import > Place imageor use the Image button on the toolbar. You can also drag the image directly from the folder where it’s stored in your computer directly to the canvas.
Import and place your logo
If you already have a logo to use, import it into Corel Vector as well. The logo needs to have a transparent background, so either use a PNG or a vector format (SVG, EPS, PDF or AI).
If you don’t have a logo yet, check this tutorial to learn how to create one.
This is the logo and image we will use in this tutorial:
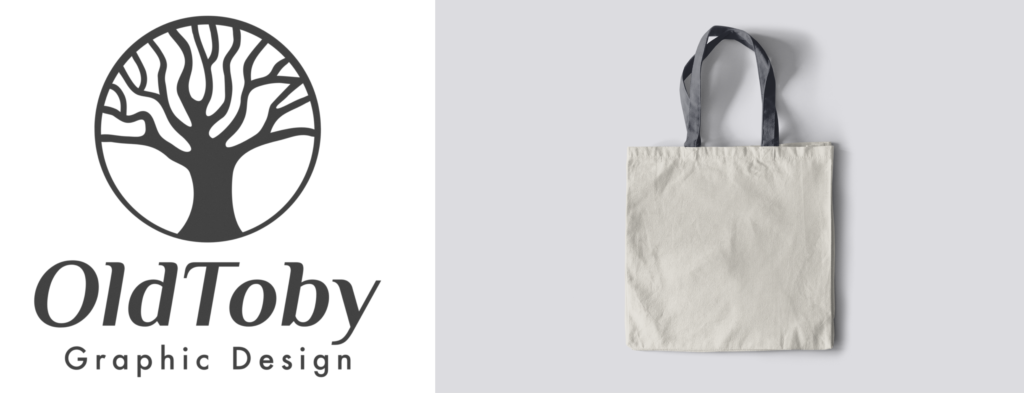
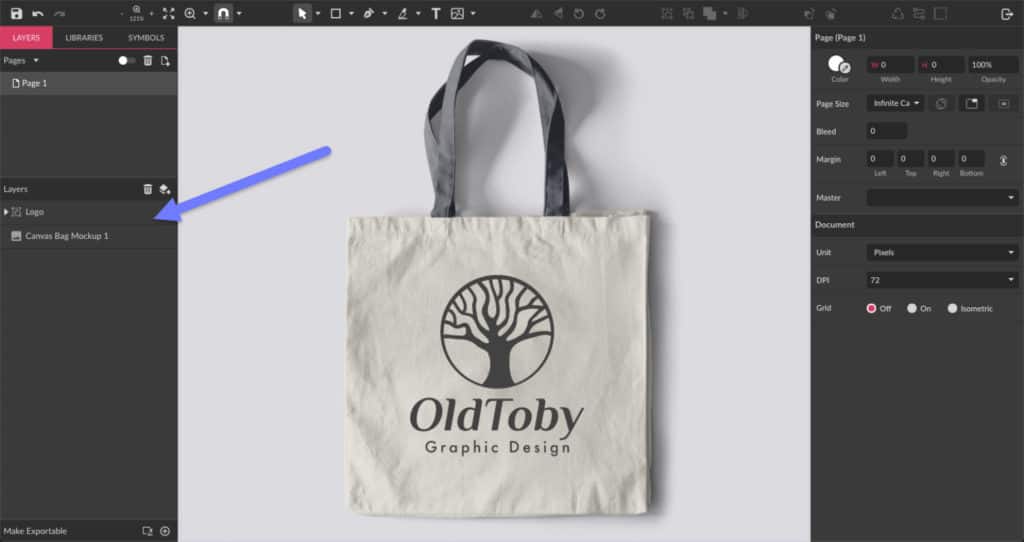
After you have imported both logo and image, simply place the logo on top of the image. Make sure that the logo layer is on top of the image layer on the Layers panel to do that.
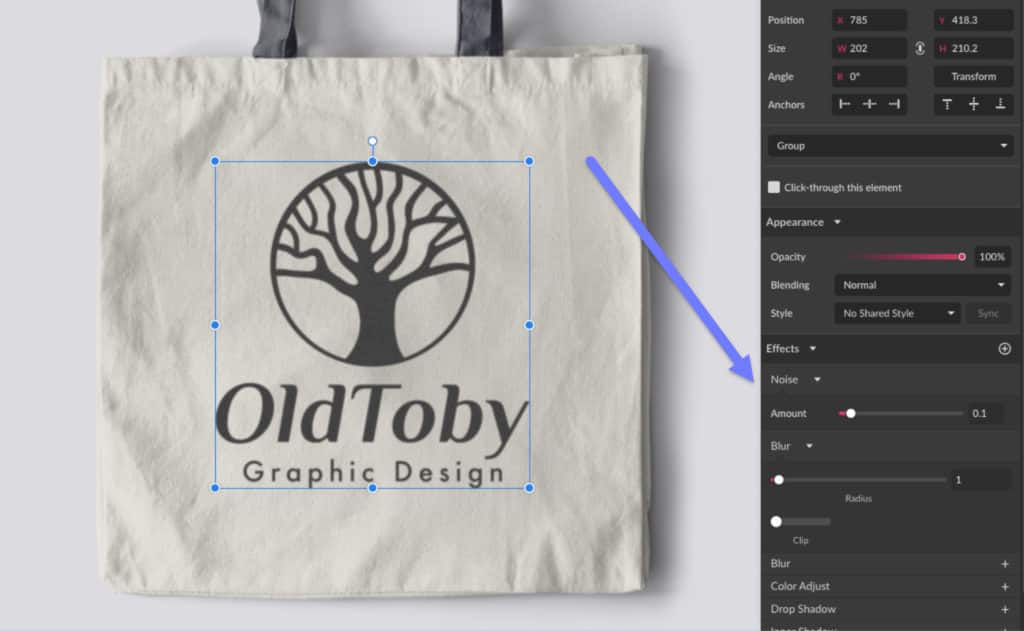
We can use effects to make the logo a little more realistic, as if it was really applied to the material of the bag. Let’s add Noise and Blur effects. These can be found at the bottom of the Inspector panel under Effects.
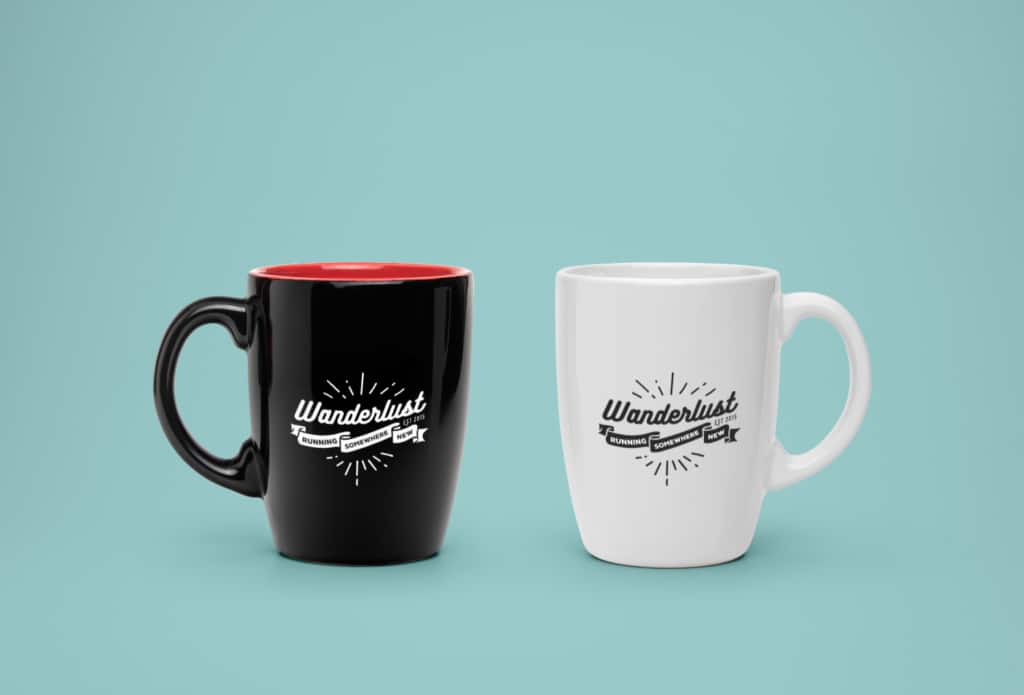
With this super simple technique, you can create many kinds of professional looking mockups.

Other formats
Another common way to create mockups, besides using images, is using a vector mockup, such as .svg or .ai. In this tutorial, let’s use this .svg phone mockup.
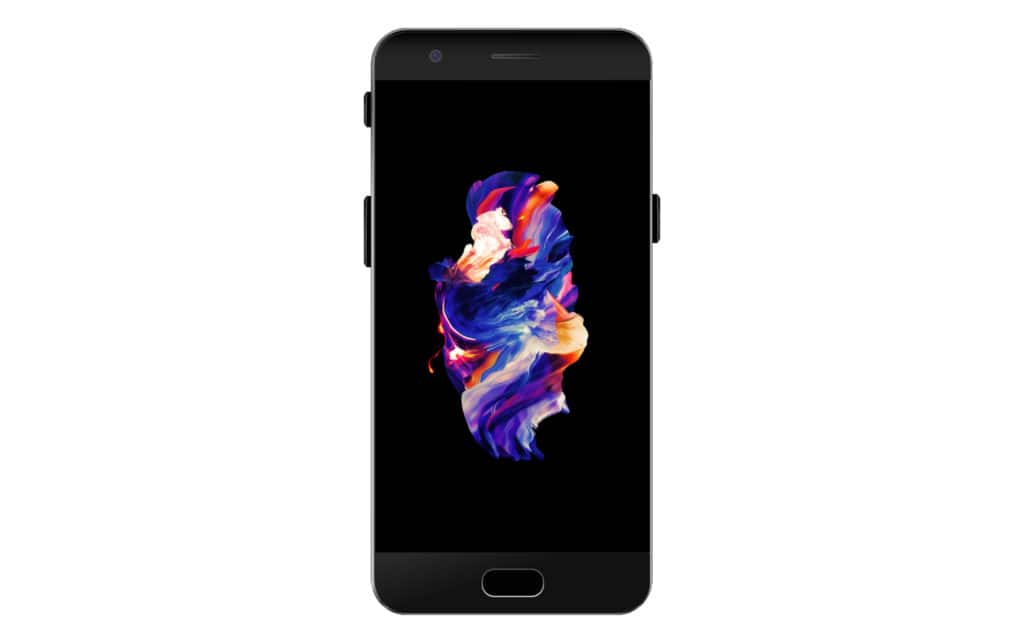
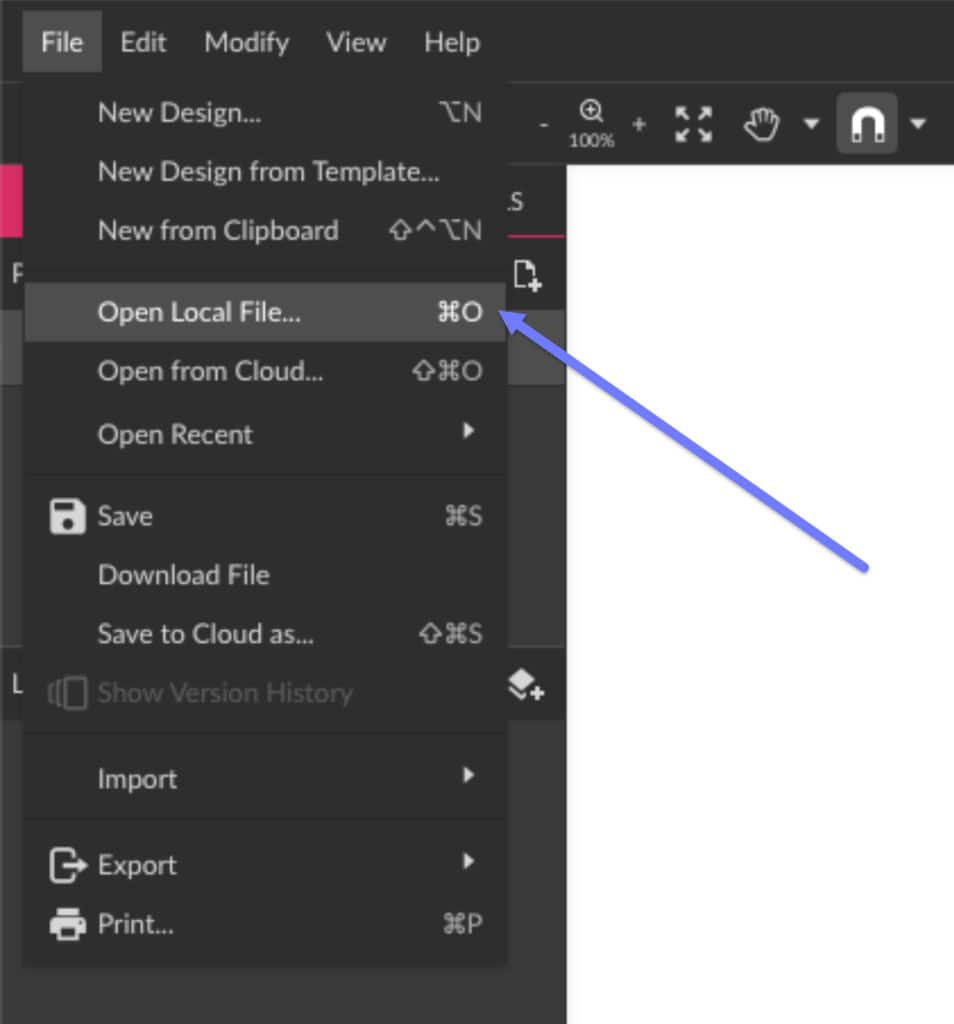
SVG files can be opened in Corel Vector via File > Open Local file or simply by dragging the file onto the canvas.
Import your app design to Corel Vector so we can place it in the phone mockup. If you don’t have an app screen designed yet, be sure to check this tutorial on creating an app UI with Corel Vector.
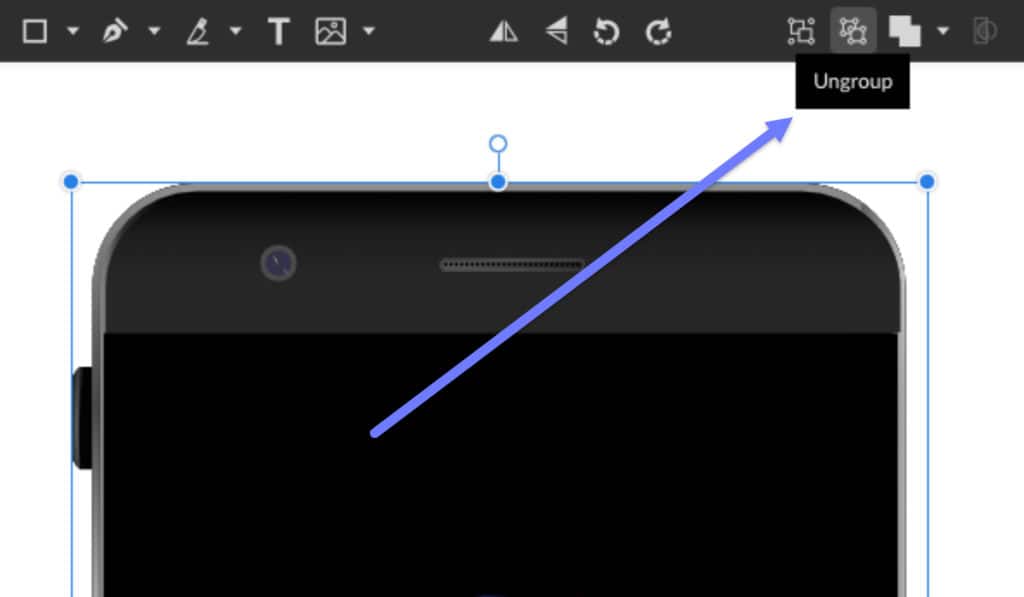
The SVG object will most likely be imported as a group, so be sure to ungroup it using the Ungroup button on the toolbar. This will make it easier to work with this mockup.
On the Layers panel, locate the layer where the image you need to substitute is located. This is where you will place your own design.

Delete the current image content and replace it with your own app screen design, clipping it to the screen shape by dragging the app layer to the top of the image layer. Your app UI mockup is done!

Print on Demand Mockups
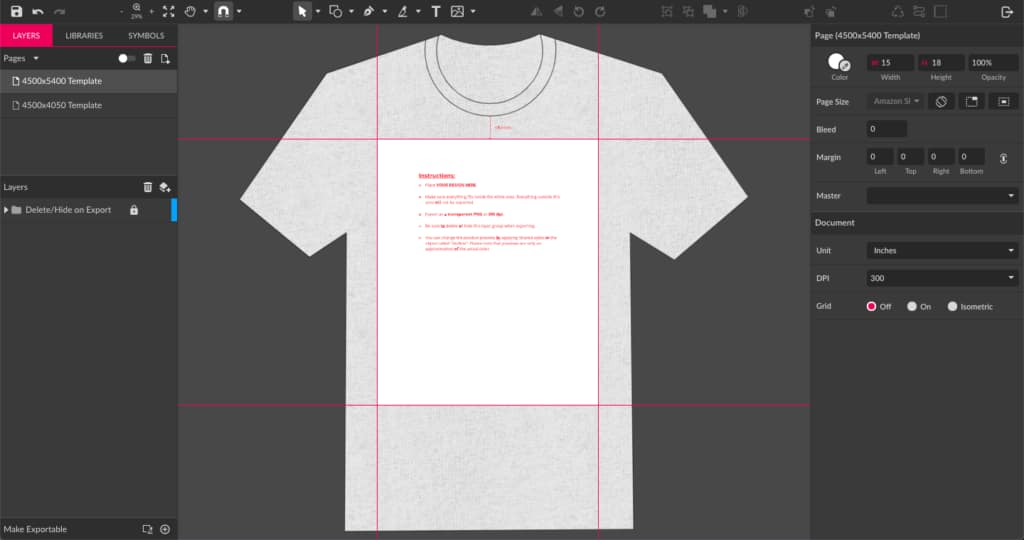
Print on demand (or POD) is a business model where you sell your own custom designs on products like mugs, phone cases or t-shirts. Did you know that Corel Vector offers pre-made mockups for PODs? That’s right! You can find them on the Welcome Screen along with the other presets.
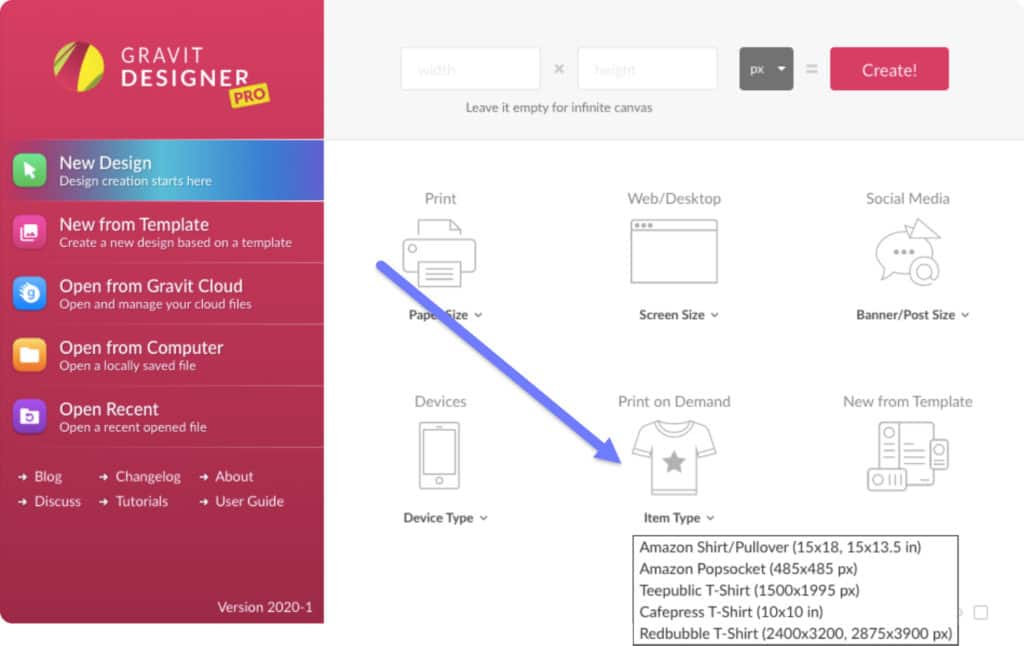
You can choose between Amazon shirts, pullovers and popsockets, as well as shirt models from Teepublic, Cafepress and Redbubble. Once you open one of the models, like the Amazon shirt for example, you can see the mockup with instructions and the defined area where the design should go.
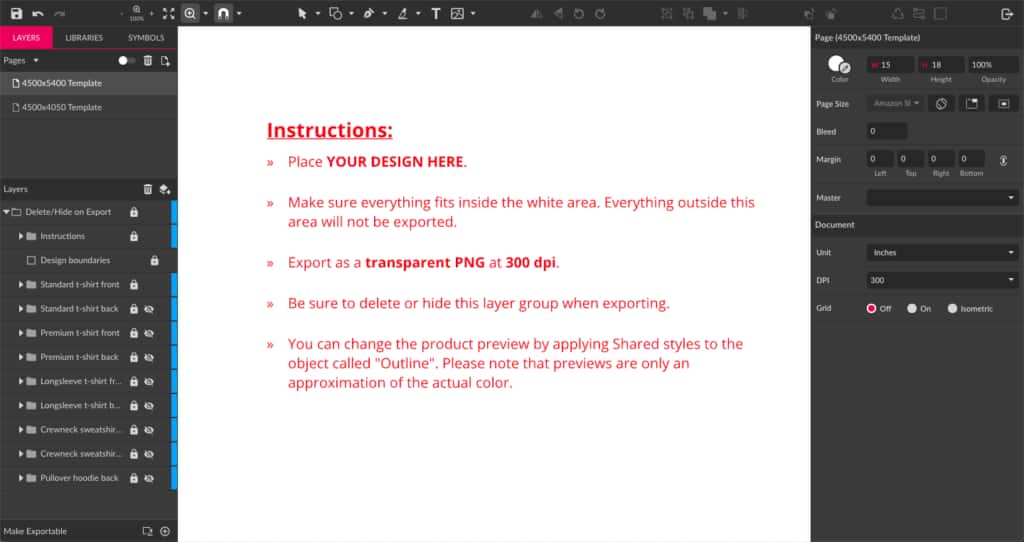
Unlock the master folder on the Layers panel to check all the other models available. It’s possible to hide the instructions and the white rectangle of the design area to better visualize the final result.
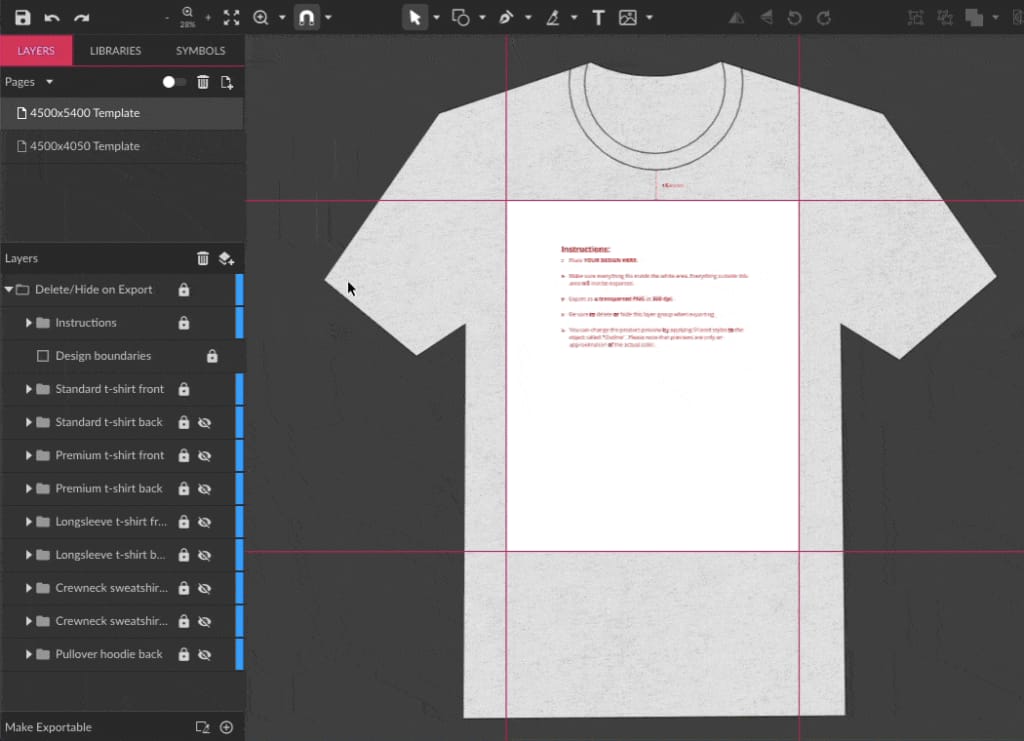
To change the color of the mockup, use the Shared Styles available on the Inspector panel.
Import your design and simply place inside the indicated boundaries, and your Print on Demand shirt mockup is ready.

Check out this video for more details on how to use Corel Vector’s POD presets.
Download your FREE 15-day trial and see how easy it is to design your creative projects with this web-based vector graphics app that empowers you to create on any device.
