
How to Create a Social Media Post
Creating engaging and relatable social media content has never been more important than nowadays. A quality and catchy image can be the difference on a strategy for getting more followers, sell more and even to grow a whole business.
You can get started using a professionally designed template as a starting point or start from scratch as we will do here. In this tutorial, you can learn how to create a social media post using Corel Vector.
Download a printable copy of this tutorial (PDF, 2 MB)
*Corel Vector is a newly updated version of the Gravit Designer Pro web-based graphic design app.
Download your FREE 15-day trial and see how easy it is to design your creative projects with this web-based vector graphics app that empowers you to create on any device.
Create a New Document
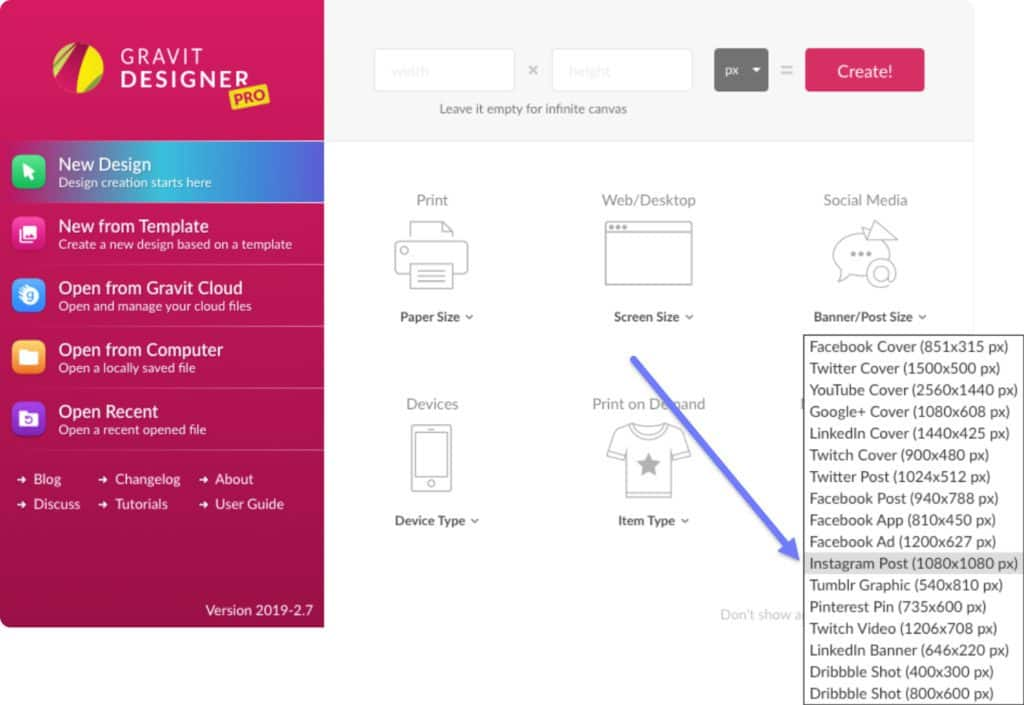
Start by creating a new document. Corel Vector has a series of preset sizes on the Welcome Screen, including Social Media. For this tutorial, choose the Instagram Post preset size.
Define the Content
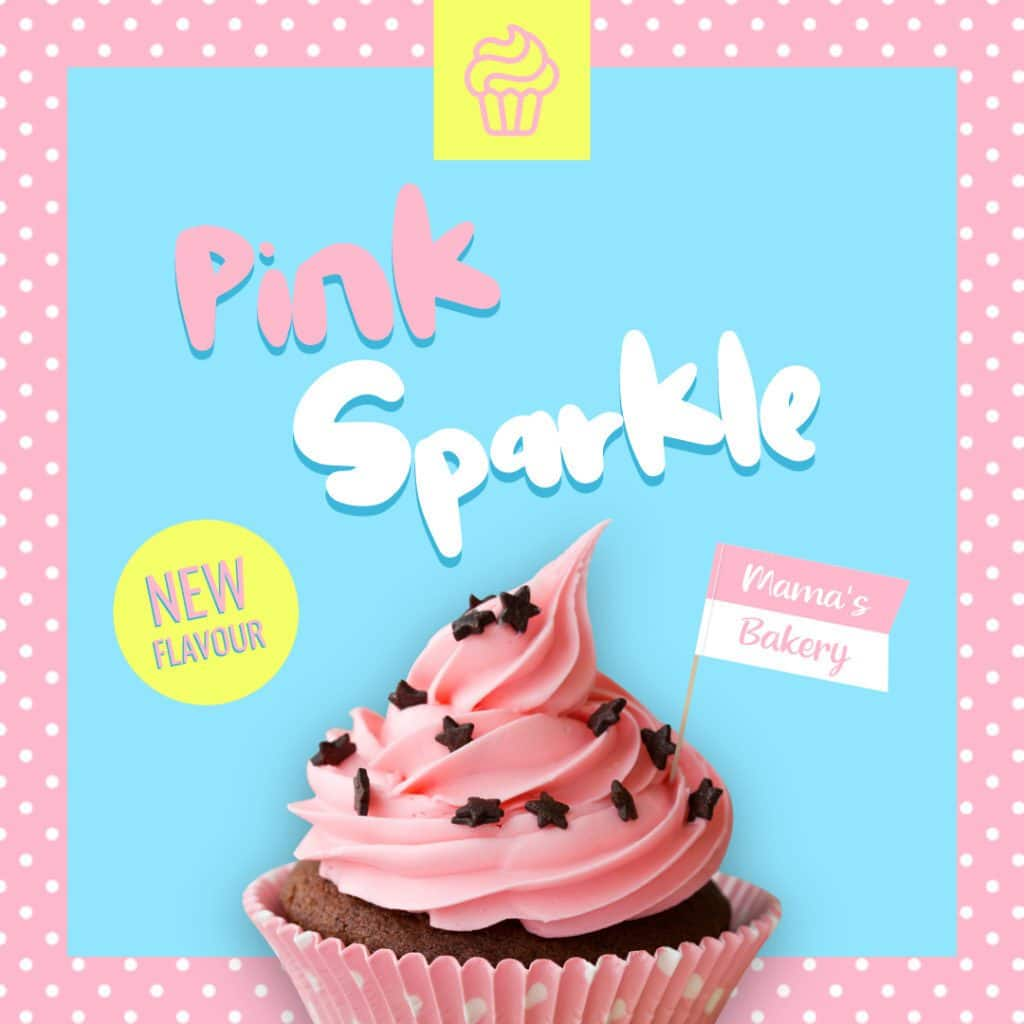
You probably already have your brand, color palette, text and images in mind to create this post, so be sure to use your source material and keeping brand-consistent. For this tutorial, let’s use a post for a bakery as an example, and our content will be meant to showcase a new flavor of cupcake with images and some text. If you don’t yet have a logo, learn how to create a logo with our tutorial.
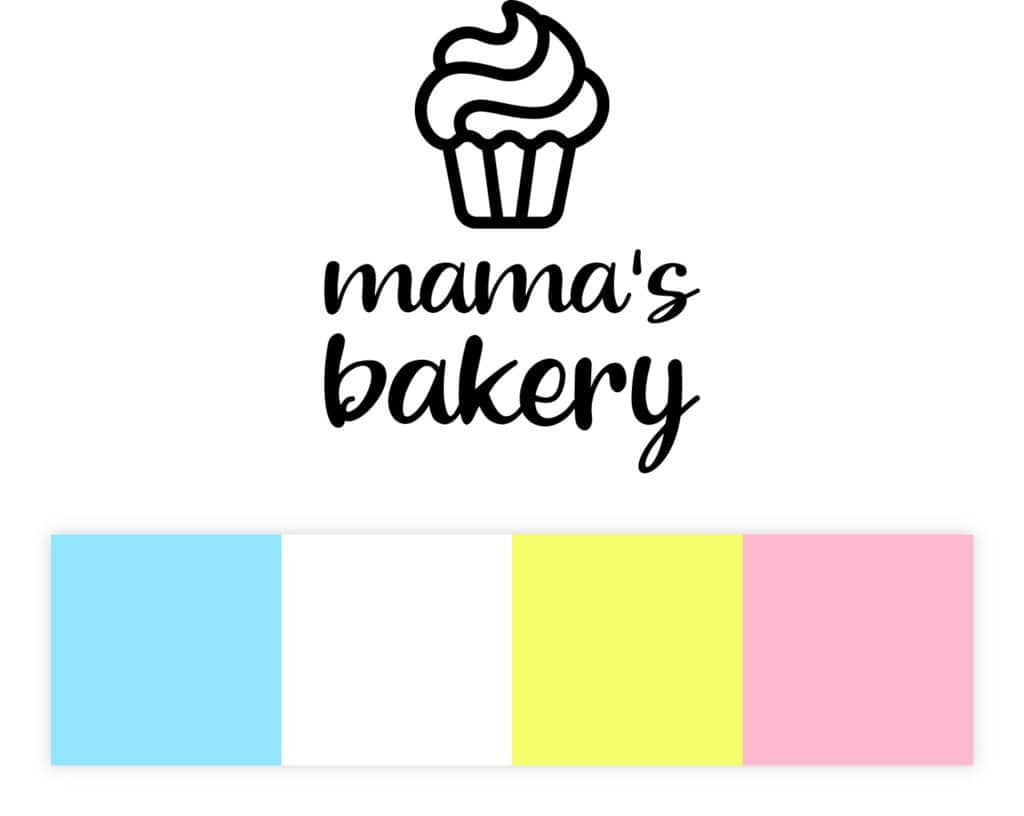
This is our fictitious logo and the color palette we will use.
Start with a Background
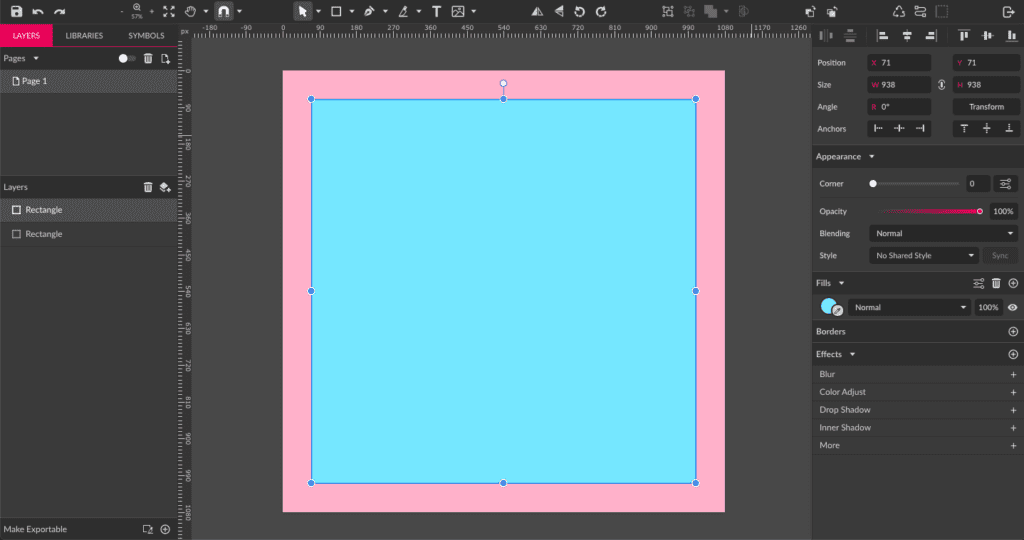
Start by creating a rectangle with the Rectangle tool (R), filling the space of the canvas. Use the pink color (#FFB9CD) from our palette.
After that, create another rectangle, a little smaller than the size of your canvas. This will create a sort of frame to make the background look more detailed. Use the blue color (#91E5FF) from the palette.
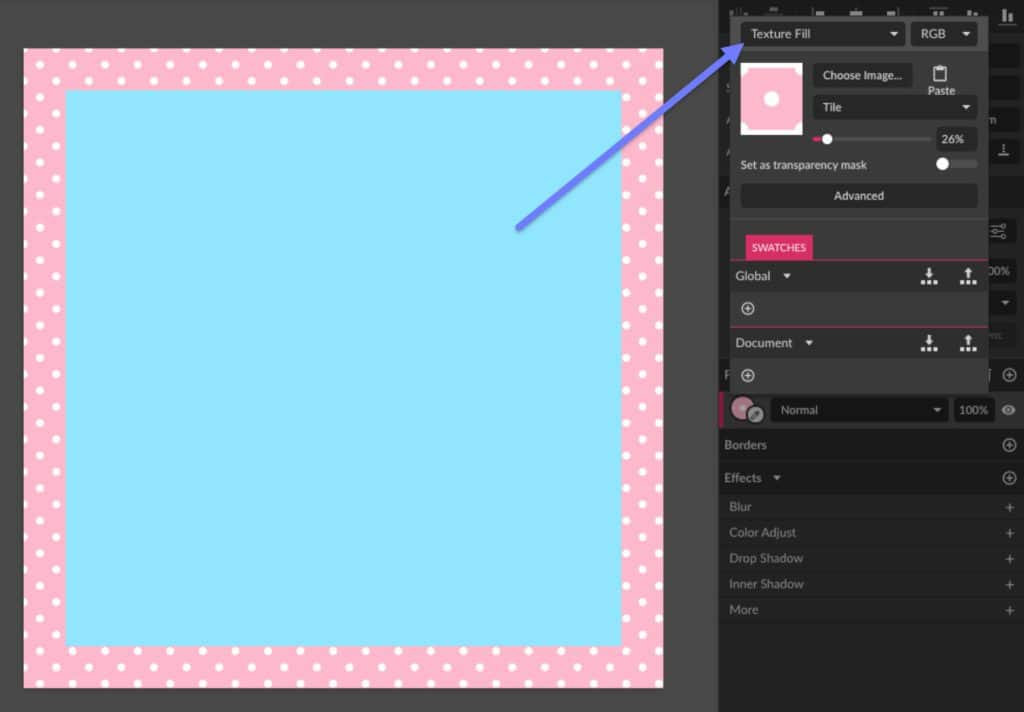
To make the pink frame more interesting, let’s use the Texture Fill options to create polka-dots. Click here for more details on how to create seamless patterns with Corel Vector.
Main Image
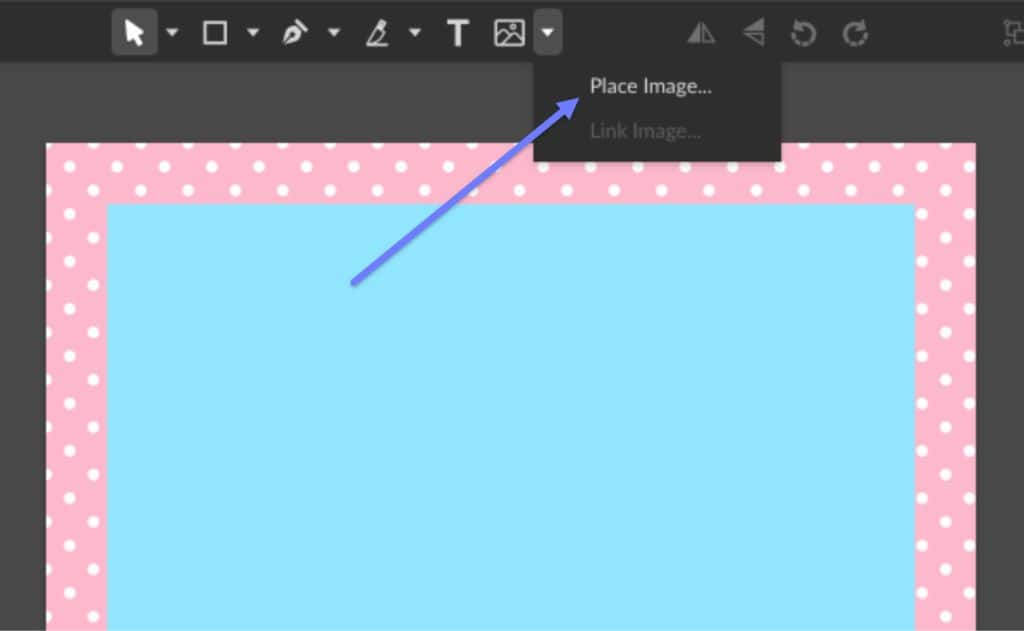
Next step is to add an image of a cupcake that will be used in this post. You can click the Image icon on the tool bar and then Place Image… or simply drag the image from your personal folder to the canvas.
The image used in this tutorial is this picture of a cupcake, for which we will create a mask to cut the background off.
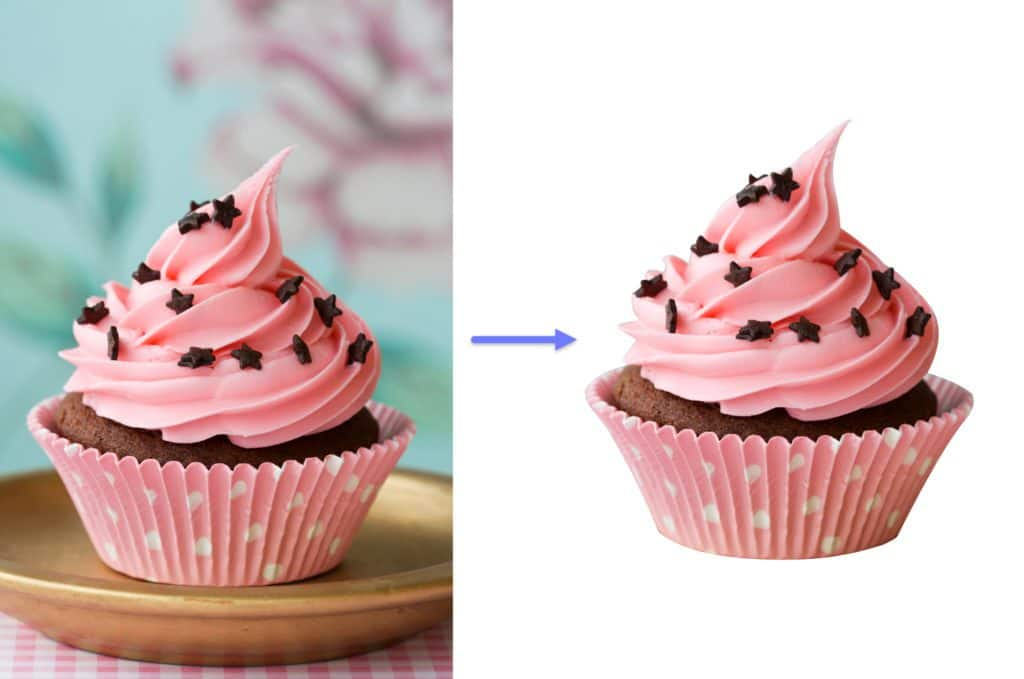
For more details on how to cut the background from an image, click here.
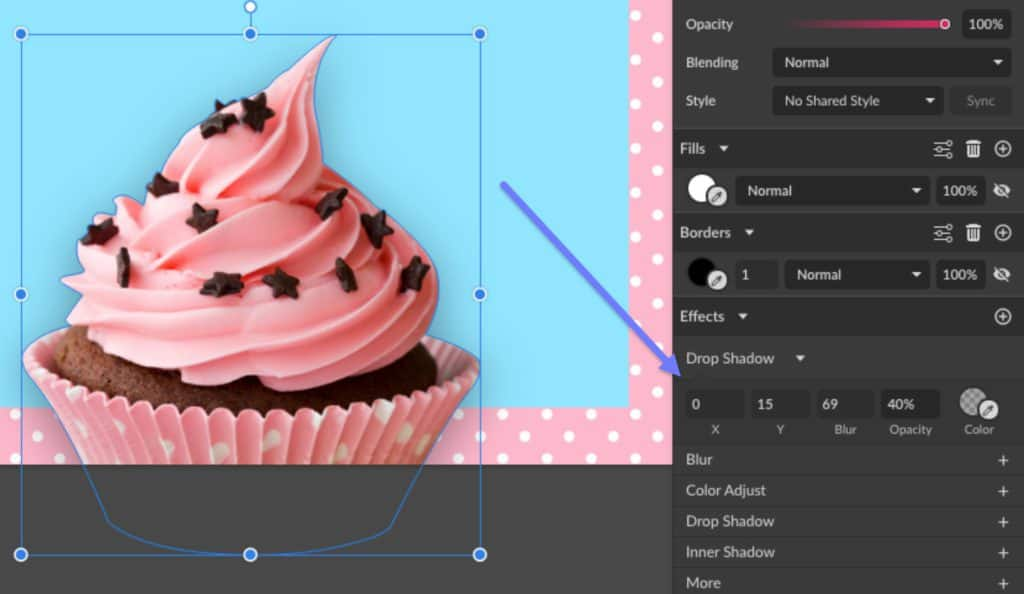
The cupcake will be placed at the bottom of the post.
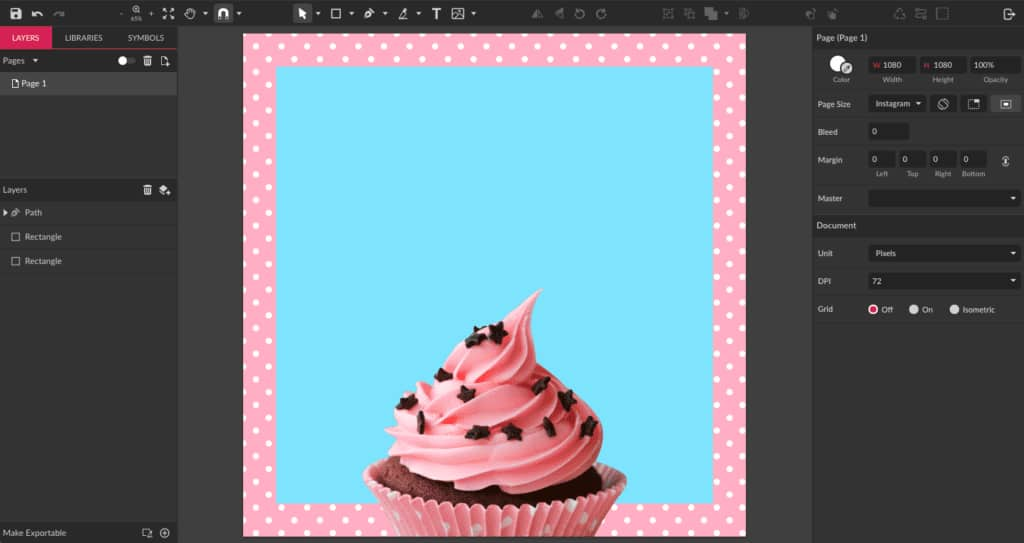
Add a Drop Shadow effect, at the bottom of the Inspector panel, to create a little contrast with the background.
Text Information
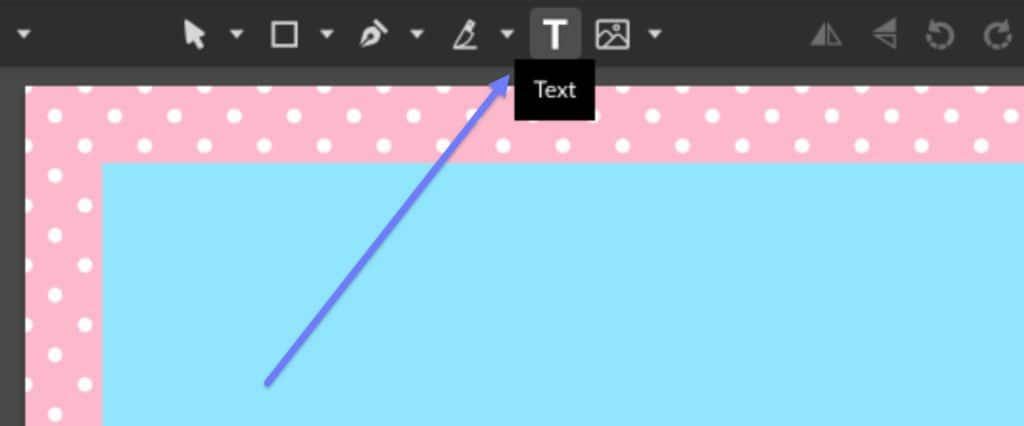
In this fictitious post, the main text will be the name of the new flavor of cupcake. Use the Text tool (T) to create the text.
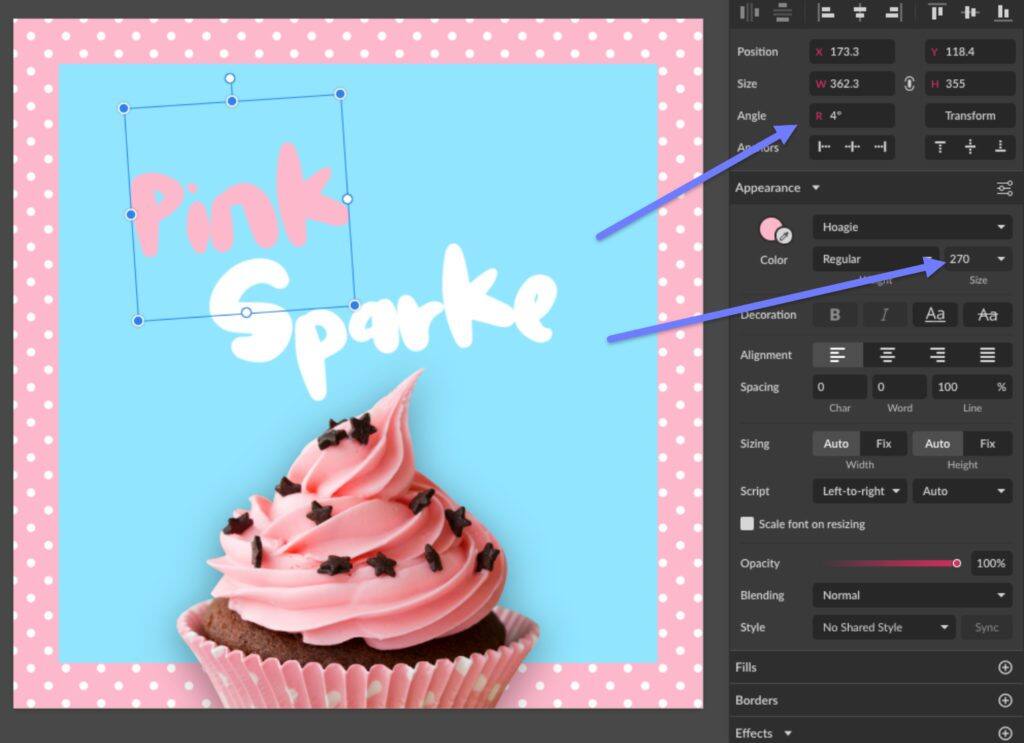
Let’s use a font called Hoagie to type the flavor name. This is not a Google font so it needs to be imported. You can do that through File > Import > Add Fonts.
After you type the text, using pink and white from the palette, set the font size to 270 on the Appearance panel and rotate the text 4 degrees at the top right options.
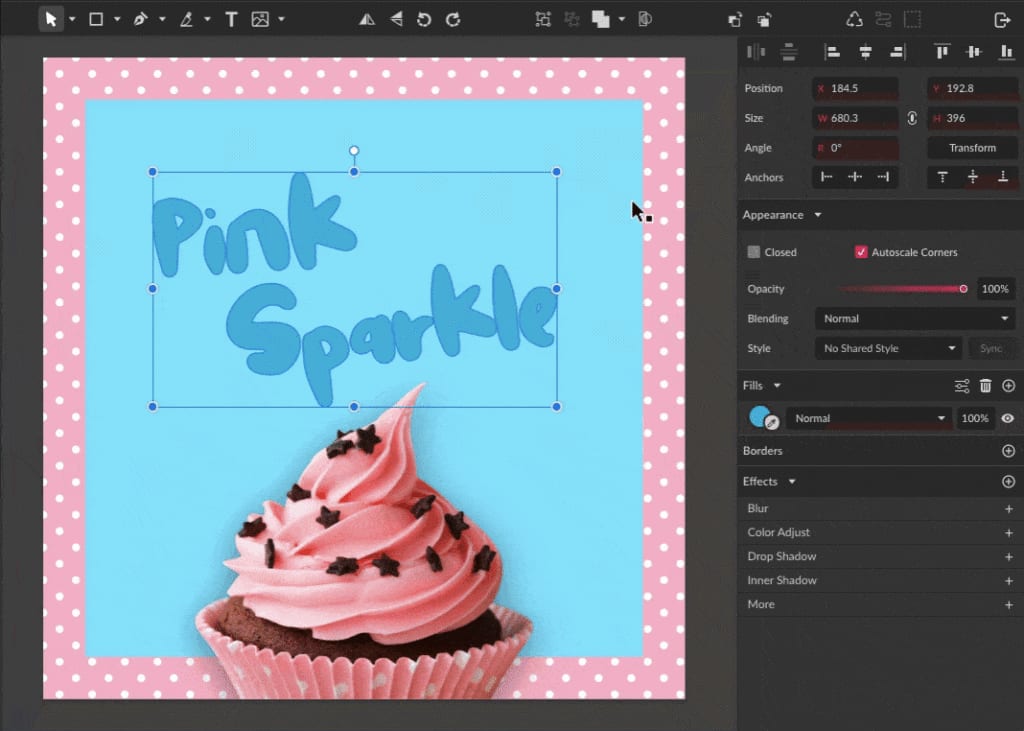
You can convert the text to curves after that so it’s easier to work with it. To do that, select the text and Right-click > Convert to Path.
Text Details
Select the text, copy and paste it. Change the color of the copies to a darker blue (#3DB6DB), and place the copies behind the originals using the Send Backward button from the toolbar. Using the keyboard keys, place the copies a little off so they look like a shadow. This will create a nice contrast with the background.
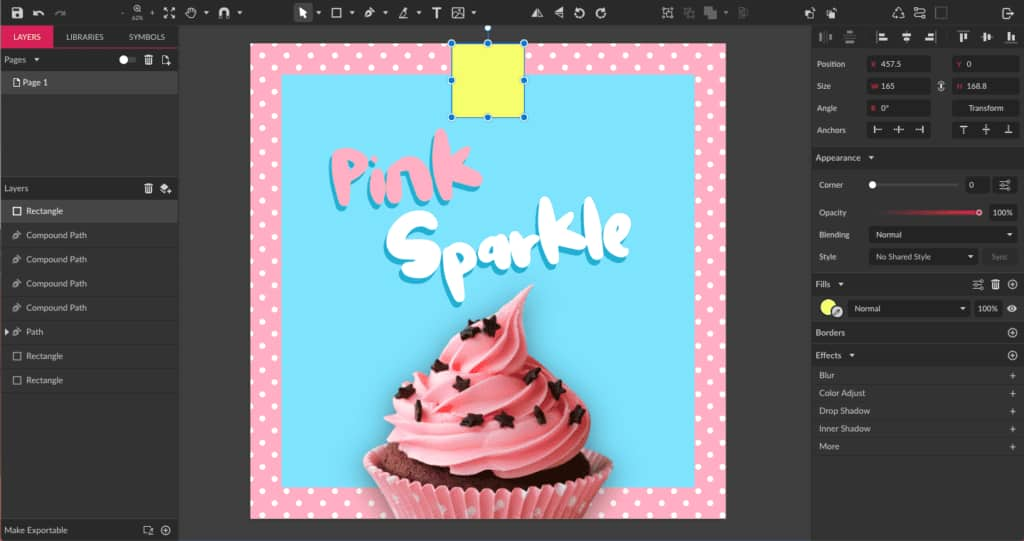
Add the Logo
The next step is to include the company logo in this post, always remembering to keep brand-consistent. Let’s divide our logo to use well all the space available for the post. Start by creating a yellow rectangle (#F5FF68) at the top.
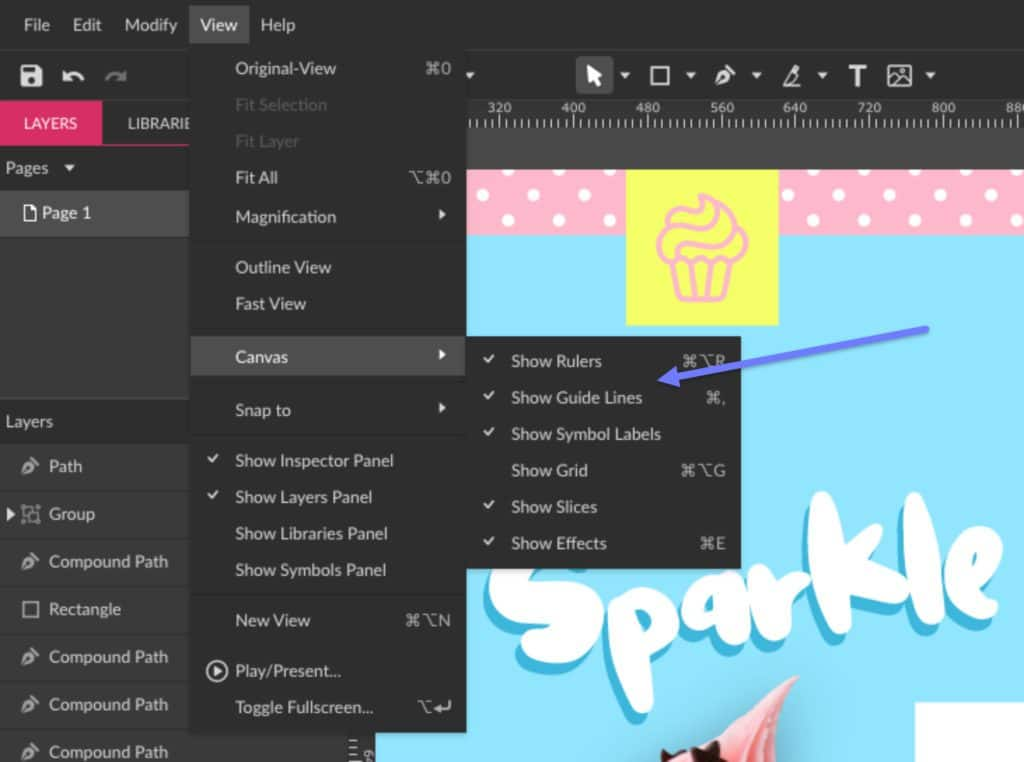
In this rectangle we will put the icon part of the logo, using the pink color.

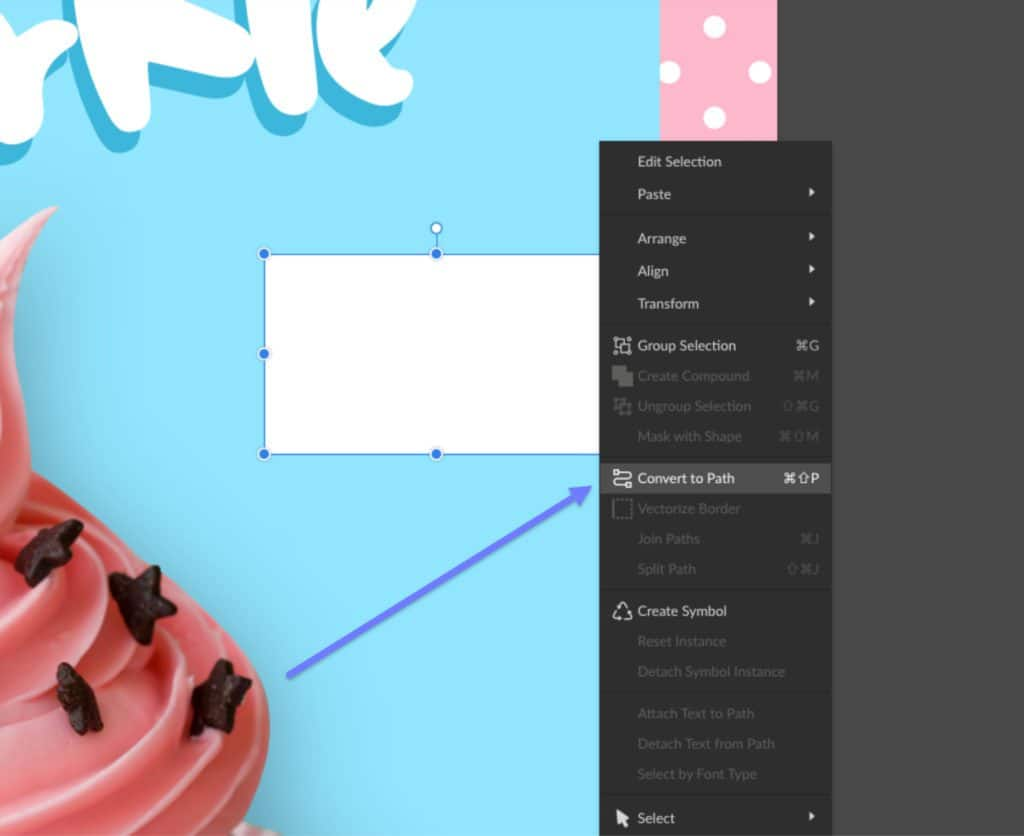
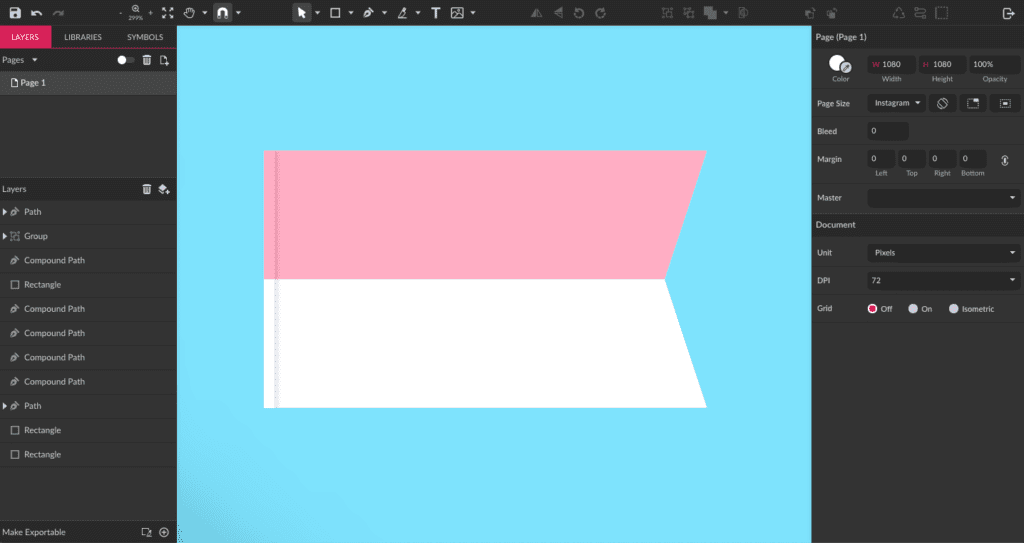
For the text part of the logo, you will create a little flag that will be stuck in the cupcake. To create this flag, start by creating a rectangle and converting it to a path through Right-click > Convert to Path (Ctrl+Shift+P).
Activate the Rulers and Guide Lines view, then, with Snapping active, drag a guide line exactly to the middle of the rectangle.
With the Subselect tool (D), create another anchor on the right side, using the guide line to find the exact middle, and drag this anchor a bit inward.
Tip: Press Shift while dragging an anchor point to drag it on a precise straight line.
Create a second rectangle, using the guide line to mark the middle. Color it pink and clip it to the original one, and then the flag will have two colors.
You can hide the guide line after that.
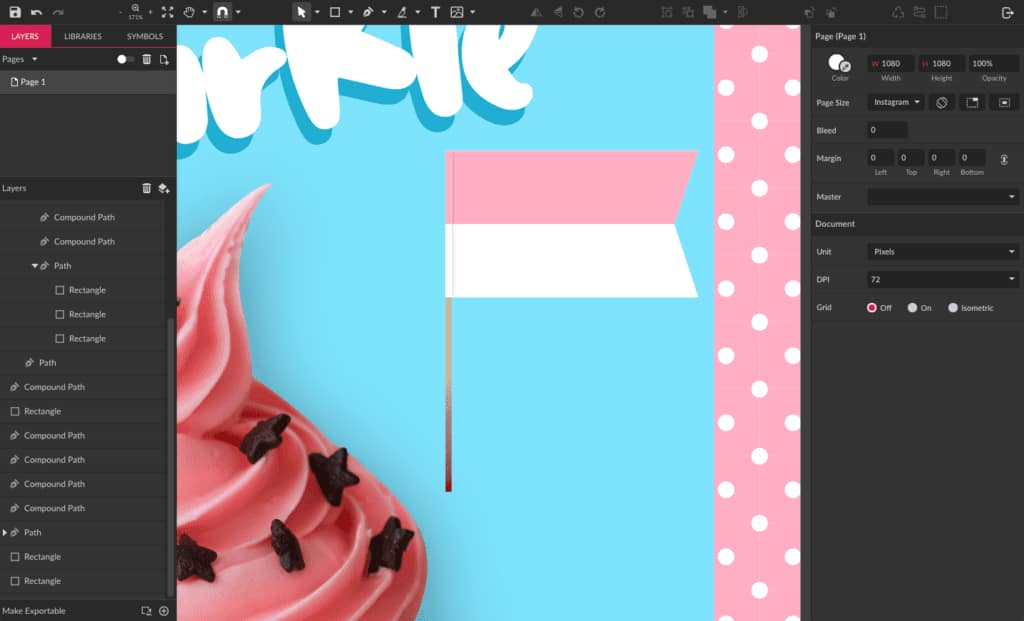
Create two more small rectangles with the same width, one the same height as the flag and one with half that height.
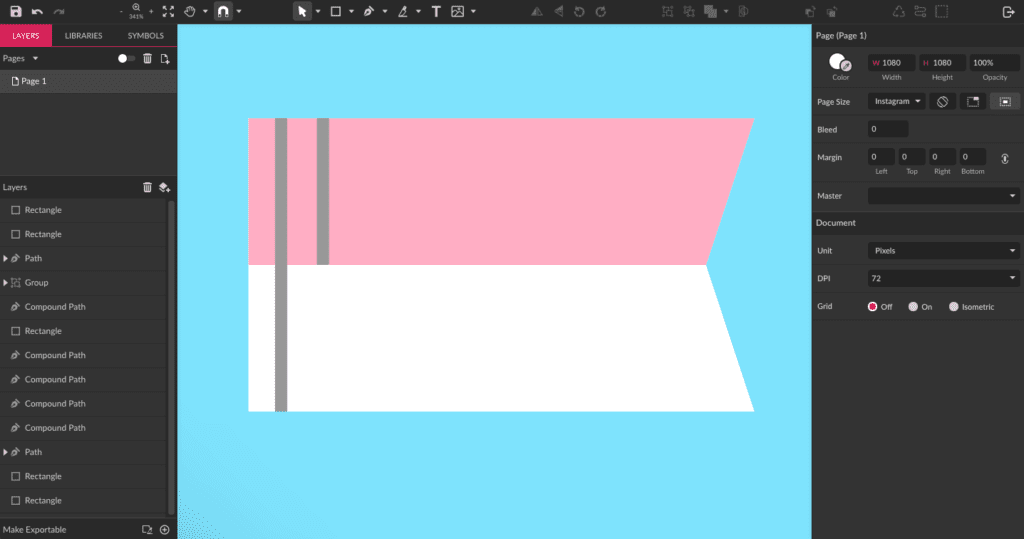
The taller rectangle will be white with a Drop Shadow effect. Align it to the left and clip it to the flag shape.
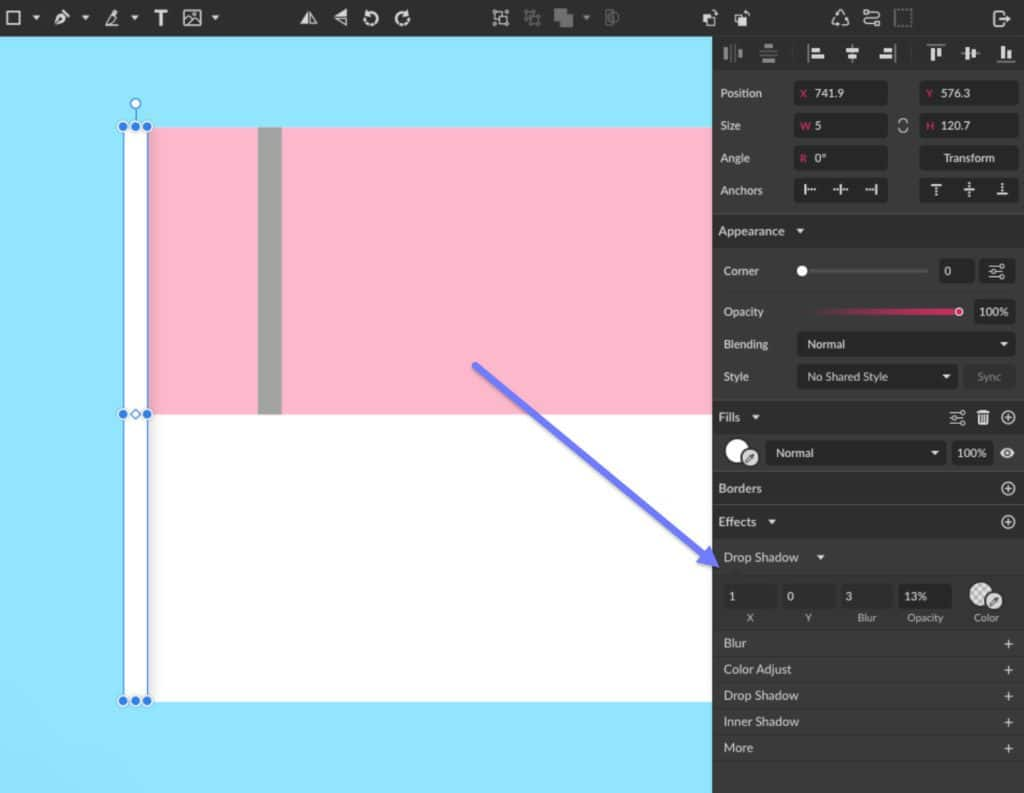
Color the second rectangle pink, then align it to the left and clip it to the flag shape as well. This will create a small “fold” on the flag.
Create one last thin rectangle and place it behind the flag, to represent a stick.

Use a Linear Gradient to color it similar to wood. At the bottom part of the gradient, use a darker pink color to match the cupcake part where the flag will be positioned.
To finish the flag, add the text part of the logo with inverted colors.
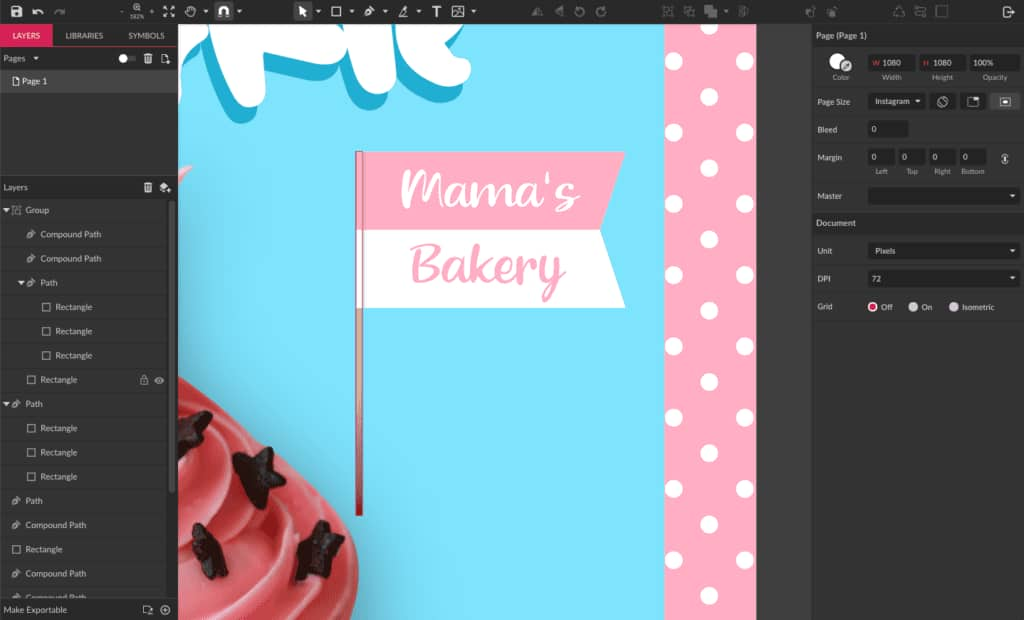
Rotate the flag a bit and place it on the cupcake, and your logo flag is ready.

New Flavor Badge
The last details to add on our Instagram post is a badge announcing the new cupcake flavor. Start by creating a yellow ellipse and place it on the left.
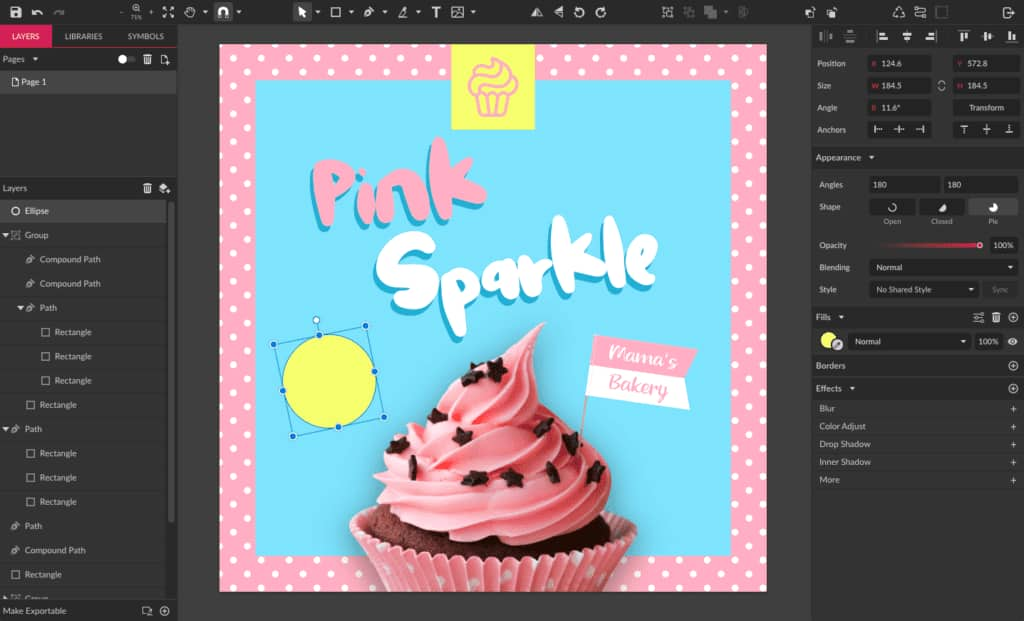
Add a text “New Flavor”, using the Google font Oswald and the pink color from the palette. Center this text on the yellow ellipse.
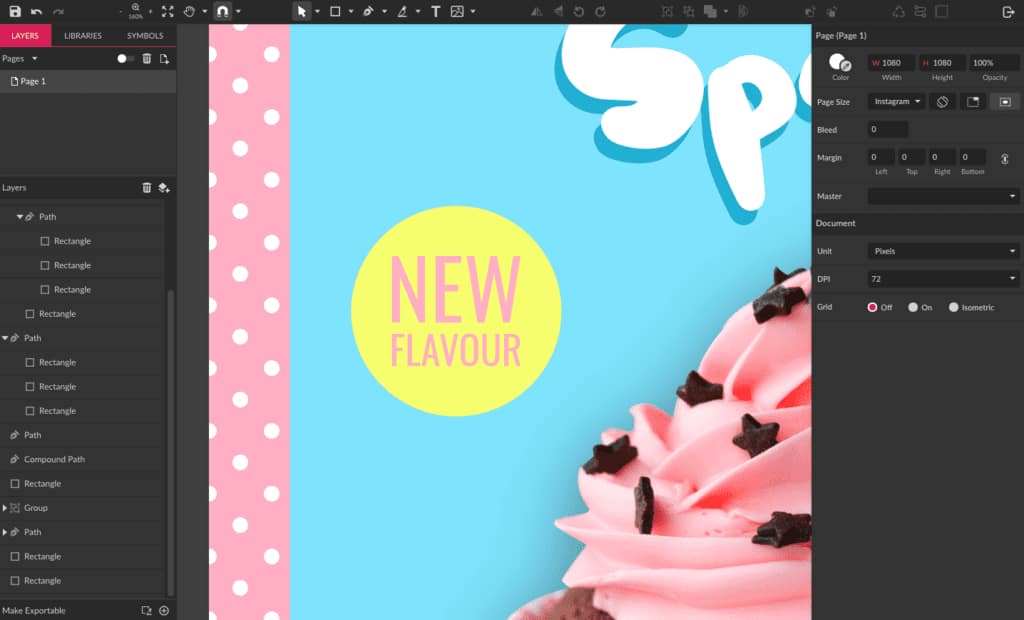
Similar to what you did on the other text, make a copy of this one, and color the bottom one with the darker shade of blue. Position it a little off, so it creates a contrast with the background.
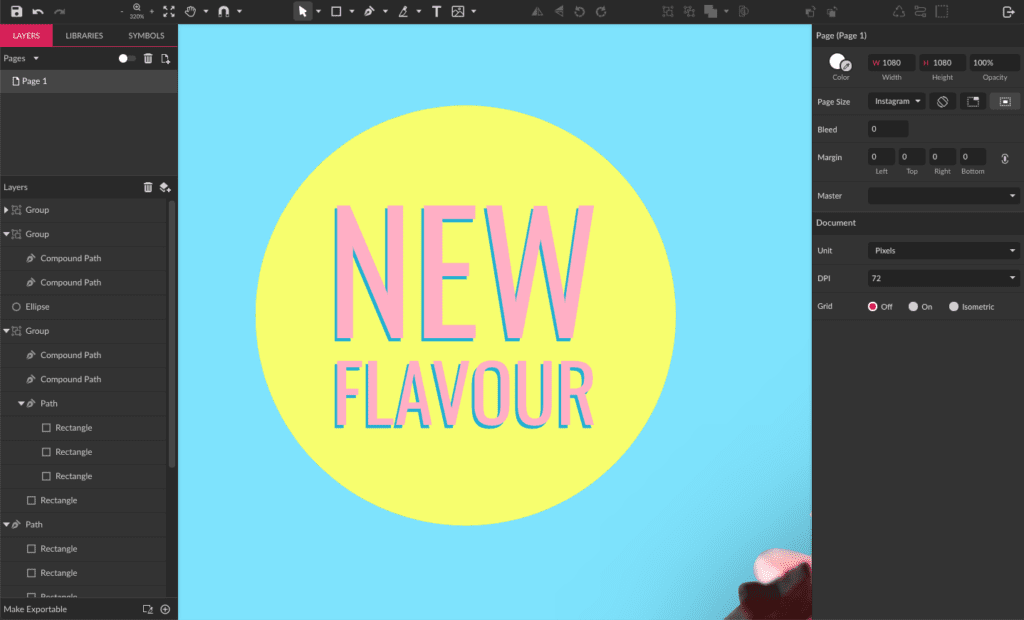
Rotate the badge, and your Instagram post is ready to be exported.
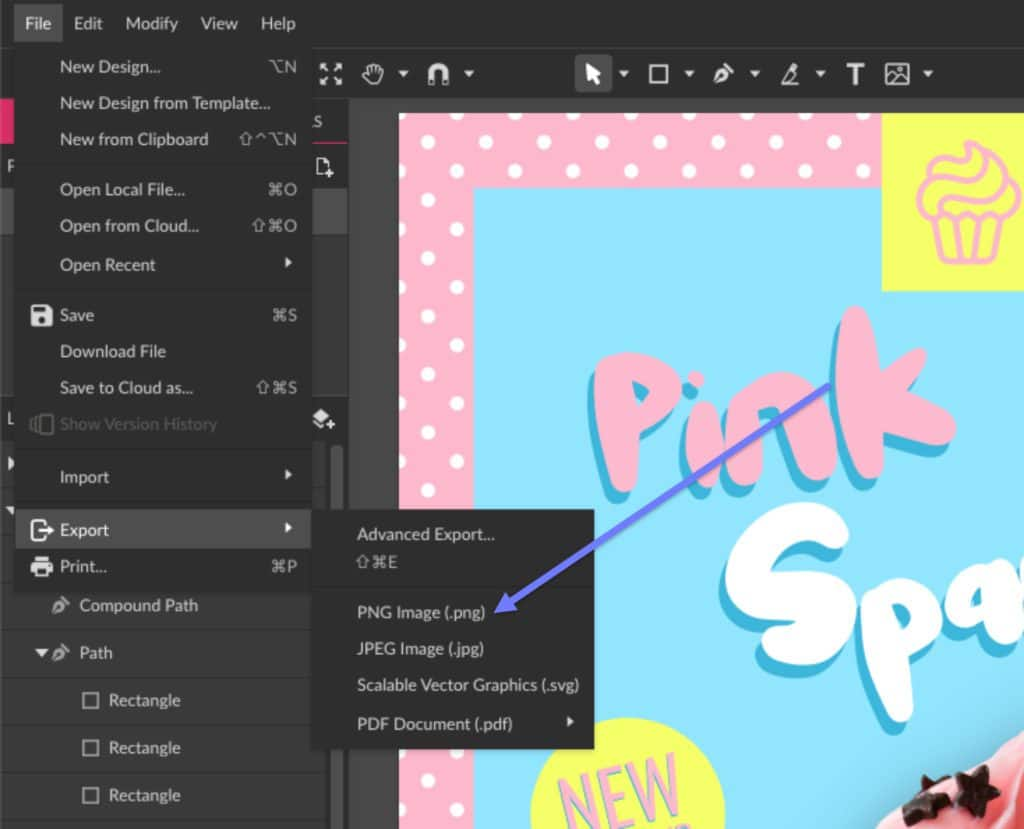
Export your Post
Now that your post is ready, export it and use in your social medias. To do that, go to File>Export and choose the PNG format for a higher quality.
Your social media post is ready!
Last Tips
- Avoid using too much text on your post, as the attention span of users for each post they see tends to be very short. Keep it short and let mostly the visuals convey your message.
- Be authentic! No one likes salesy and overly promotional posts, so remember to keep it human and relatable.
- Use high quality images. It won’t matter much if you’re conveying an amazing message and design, but your images are pixelated.

Comments (3)
Reader Interactions
Comments
I don’t read very good, do you have these templates in a video i can watch?
Hi Robert, unfortunately this tutorial is only available in written format.
Hi!
Social Media Post is very important for all business, Creative graphic designer will support good social media design, Which may help your business to the next level.
Good Information.
Thank you,