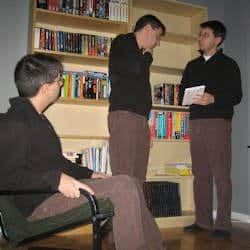
Ever wonder how other people take pictures of themselves with themselves? I am going to tell you how I do it. I’ve broken it down into 3 parts. Now, I do skim over some of the details in some places, but there are some links to help you along the way. Trust me, it’s not as hard as you might think. Let’s get started.
Step 1: The Plan
To be successful at creating a picture with 2 or more of yourself in a photo you need to plan it out. Think about where you will be and what the different “yous” will be doing in the picture. If you are doing this for the first time start with something simple, like posing for a photo or a having a conversation.
Things to consider:
- The background: if your background is static, it will make it easier to edit
- Time of day: Getting the shadows right will add to the realism of your final product.
- Change of clothes: A nice touch is to change your clothes to make it look like you are 2 different people.

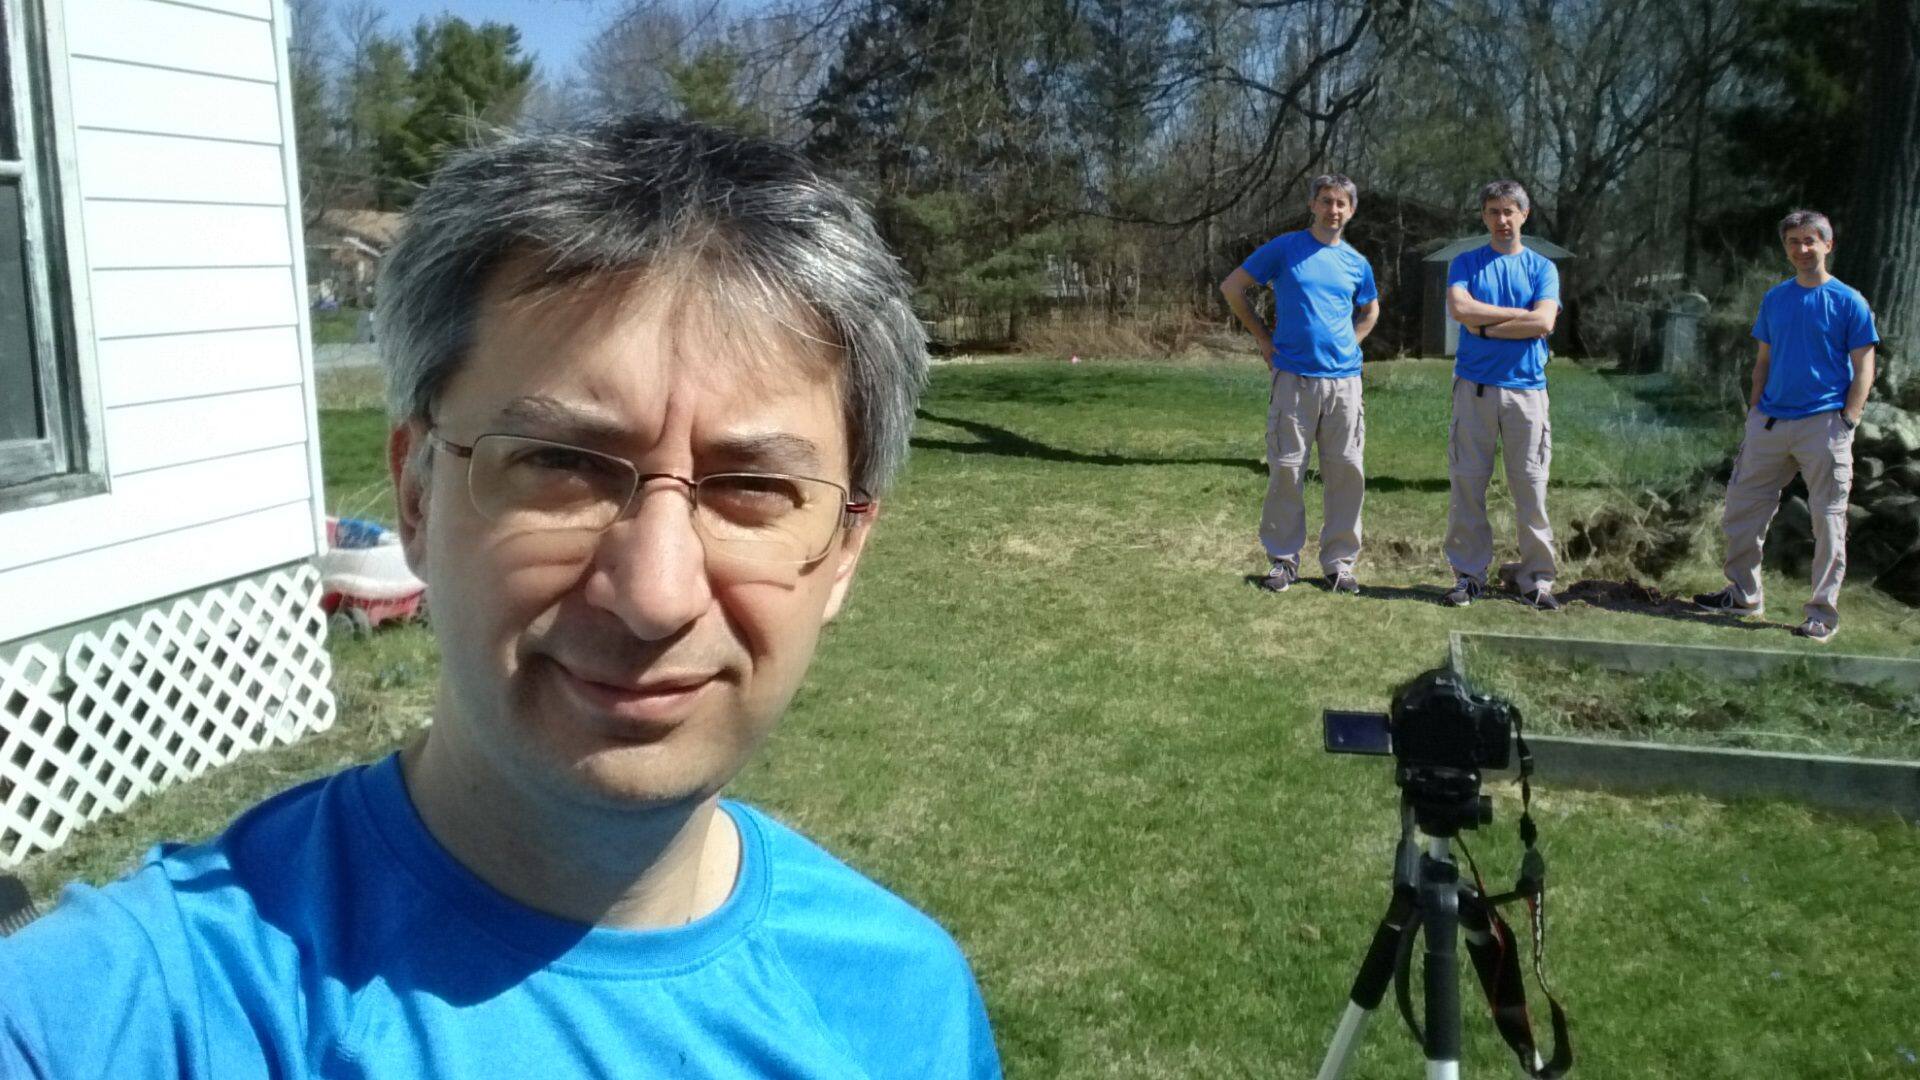
In my example, I am just keeping it simple. A family photo under a tree. I am going for 3 to 5 of me posing together. I am planning to have my standing points far enough away from each other so that if it was really happening we wouldn’t be touching each other.
Step 2: The Set-up and Photos
You are going to need:
- A place to take photos
- Tripod or something to rest your camera on
- Camera
- Timer or a friend
Go to the place you want to take your picture and mark off the places you want to be standing. Try out some of your poses to get a better feel for how your picture will look in the end.
Next, take your camera and frame your shots, make sure all of your body in each pose will be in the shot. Having a friend at this point is helpful so that you can use them as a double to make sure that you will be in the frame.
Get your tripod set up or place your camera somewhere it’s not going to fall or move much (having your camera still while taking the photos makes editing later much easier).
If you are comfortable with changing your camera settings, then adjust all the settings and get the shot in focus, then switch to manual focus so that the camera doesn’t refocus when you start taking your pictures. BUT auto works just fine too.
Now snap your shots. If you have a friend to help you, get them to take the pictures. If not, use your camera’s timer. Take lots of photos so you have a good selection to work with.
Step 3 – Edit
You will need to know how to:
OK, this is where the fun happens. Look through your photos and find a few that look like they are going to work with your plan. Open those up in your photo editor. I am using PaintShop Pro, but anything that lets you edit using layers will work.

Open your images in your photo editor and pick an image to start with. This will be your main image, we’ll call it image 1.
Go to the next image (image 2), select it (Ctrl + A) and copy it (Ctrl +C). Now go back to image 1 and paste image 2 as a new layer (Ctrl+V).
Now your image 1 should have two layers. Working in the layer that has image 2, use a selection tool (I used the free hand one) to outline yourself. Invert your selection so that you have selected everything BUT yourself and delete. This will get rid of the background and you should now have a not bad-looking image of two of you.
Next, just make sure your new you is matched up to the background. Shift them around until it looks good.
Now you just need to clean up the edges and the details. I use the eraser and turn down the hardness (I was using settings around 50 to 60). This will give your edges a softer, more natural feel and blend the two images together. Play with the settings a little so that you can see the difference (Crtl + Z = undo, use it anytime you make a mistake).
Repeat this process until you have all the different variations of yourself in image 1.
TIP: If you need to erase part of the image on top but need to see underneath it, try adjusting the opacity of the layer so that you can see the layer underneath.

Once you have done a couple simple ones you can start to get creative and try some that are a little harder. And with a little planning, you could fool your friends into thinking that you have a twin.
Let your imagination run wild and most importantly have fun!
Need some help?
If you are not sure how what layers are, or how to use them in your photo editing projects, check out our tutorial series Working with Layers.
If you haven’t used the selection tools or eraser tools before, watch our tutorial on Removing Objects from Photos before you get started.
And if you are brand new to photo editing and don’t have any software, you can download a free 30-day trial of PaintShop Pro.


2 Comments