
PhotoMirage has a number of preset crop sizes that make it really easy to share your animations on social media sites. In this tutorial we’ll first show you how to use the Crop tool to trim unwanted edges from your image. The Crop tool is totally non-destructive so you can always undo any cropping to get back to your original image. We’ll also explore the Crop Presets for standard photo and video sizes, as well as the Crop Presets that are optimized with the proper size dimensions for social media sites like Facebook, Instagram, YouTube and more.
Thanks for watching! We hope you found this tutorial helpful and we would love to hear your feedback in the Comments section at the bottom of the page. You will find a written version of this tutorial below, and a printable PDF copy to download on the Download Resources tab above.
Download your FREE 15-day trial of PhotoMirage and start creating stunning animations from your photos, digital designs and artwork in just a few simple steps.
Download these free resources:
Written Tutorial (PDF, 334.6 KB)
PhotoMirage resources
User Guide (PDF, 4 MB)
Keyboard shortcuts (PDF, 518 KB)
PhotoMirage Tutorials
Tools and resources

PhotoMirage animation software
With PhotoMirage you can effortlessly transform any image into a captivating animation in only a matter of minutes.

PhotoMirage free trial
Download your FREE 15-day trial of PhotoMirage and start creating stunning animations from your photos and images.

PhotoMirage gallery
Visit the PhotoMirage gallery and upload your animations. Browse the gallery for inspiration and see what other users are creating.
Keyboard shortcuts
Shave time off your most frequently performed tasks with this handy reference sheet for all the PhotoMirage keyboard commands.
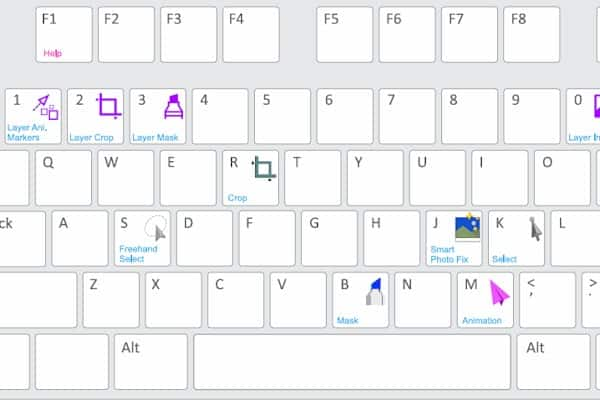
Using the Crop Tool in PhotoMirage
If you want to trim unwanted edges from your image, you can do that right from within PhotoMirage. To start, open the image you want to crop and select the Crop tool. This will display the Crop Box over your image.
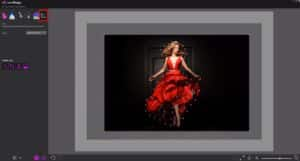
- To reposition the Crop box, click and drag in the center of the box.
- To resize, click and drag a corner of the Crop box in or out.
Be default, the Crop box maintains the original proportions of your image – resizing will move the width and height at a fixed rate to match these proportions. But you can also choose from a number of preset sizes in the dropdown on the left, which correspond to the preferred resolutions for various social media networks or popular photo and video sizes.
In this example we have selected the Instagram crop preset, and resized and moved the Crop box over the area of the photo that we want.
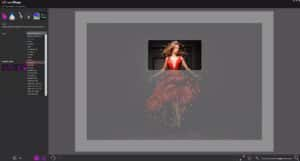
TIP: You can also adjust the Crop box manually by using the Free form preset.
To preview what your image will look like after the crop, select the Crop Visibility layer icon.

If you have the full version of PhotoMirage, it supports saving to the .cpm format. This format is nondestructive, meaning that if you reopened your saved file, you could undo or change this crop freely, without needing to keep a backup of the original file.
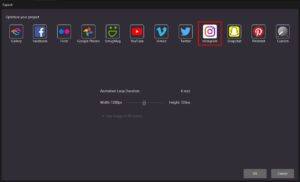
Once you are happy with your crop, press the Play button to preview your animation. When you are ready to export, click on the Export icon at the bottom and PhotoMirage will automatically choose the export option that matches the crop preset you selected.
Download your FREE 15-day trial of PhotoMirage and start creating stunning animations from your photos, digital designs and artwork in just a few simple steps.
