
In this blog post, scrapbooking guru Carole Asselin shares her tips for creating a word album and a FREE download so you can make your own.
Word albums are a very unique way to display photos or stories inside a custom album in the shape of a word. The word picked will vary depending on the occasion. It could be the name of the newborn, a favorite activity or sport, an important word for someone or any word that holds a particular meaning to you or someone else.
You can create word albums manually, from scratch or use the Word Album script in Paintshop Pro to speed up the process considerably. In the end, a word album will be made of various “pages” where all the letters will be layered to read the word on the right, while the left side is filled with a solid color where you can add photos, decorations, text, etc.
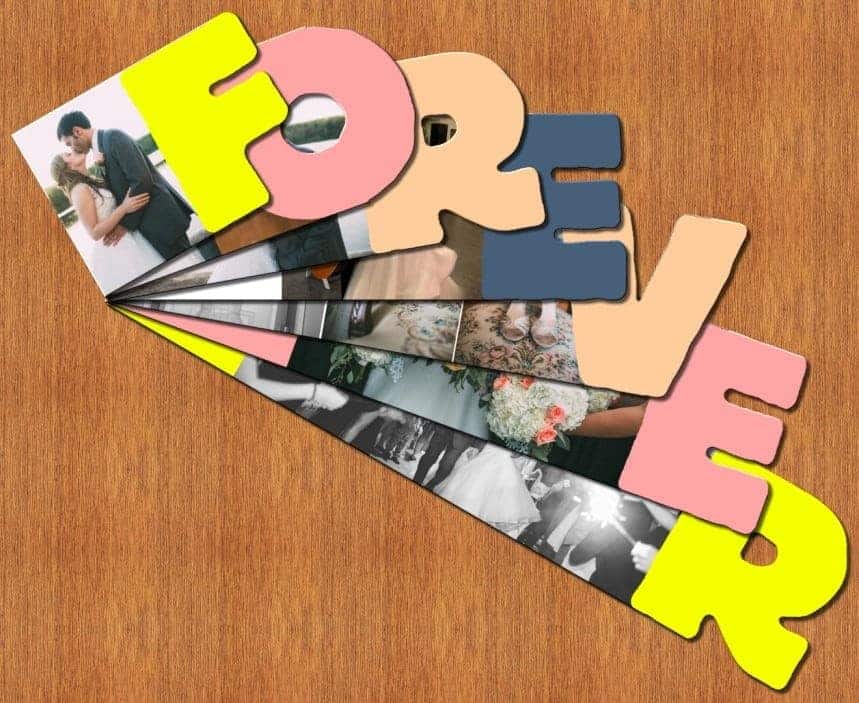
Let’s see how I created a word album for my daughter, using word album FOREVER. You can download the FOREVER world album free.
What is it?
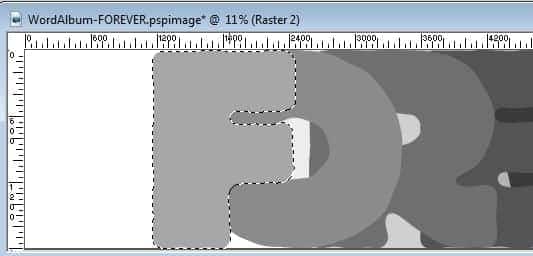
The Word Album comes in a .pspimage format that you can open in Paintshop Pro. There is also a .psd format for those who use other photo editing software. You will notice, in the Layers Palette, that each layer corresponds to a letter of the word. They are in different shades of grey, but that is only to help with the visibility. You will likely change that.

Changing the color of the letters
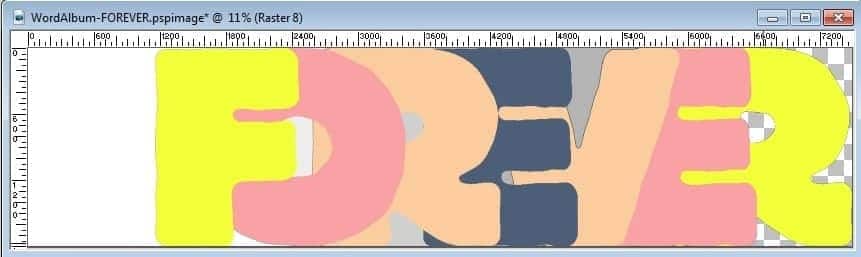
Unless you want a grey word, you will have to change the colors. You can choose solid colors, gradients, or patterns. It all depends on the result you want to achieve. I will be picking 4 colors that my daughter used in her invitation card: yellow, peach, pink and blue.
Using the Magic Wand set as below, I selected the F in the top layer.
![]()
Then, having picked the colors from the invitation with the Eye Dropper tool, I simply flood filled that selection, then deselected it (Ctrl+D). I just had to repeat the same process for each letter, for each layer, and I ended up with a colorful word. That is a great start.
At this point, you could stop and print all these pages separately. You would then end up with a blank album where people could add handwritten notes, wishes, stories, etc. But let’s go a bit further and make it into a photo album.
Adding photos
On the left side of each letter, you have plenty of space to add photos of your choice. That is the part that is the most creative. You can add one photo per page, or multiple photos. It is really up to you.
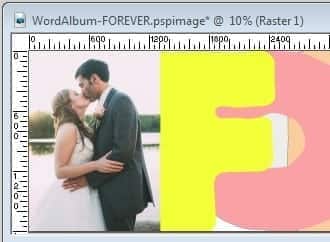
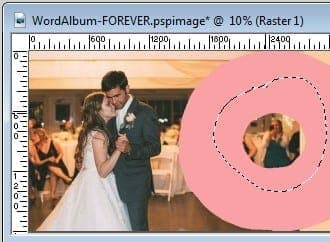
On the first page, I copied and pasted one photo as a new layer and moved it to the far left. In this example, the photo is overlapping the letter itself.
I could leave it with a straight edge, but I would like the letter F to show exactly as the font made it look. Using the Magic Wand, on the letter F, using the same setting as above, I select that area, activate the photo layer, and delete that section.
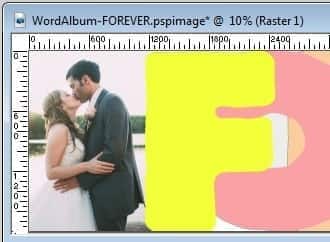
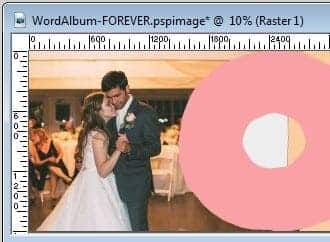
Once done, just merge the photo and the letter layers together. Let’s hide that layer now, so we can work on the next layer, the letter O and repeat the process.
For the O, I ended up with a part of the photo inside of the O, and since I don’t want it, I needed to select that area with the freehand selection tool, and then delete it.
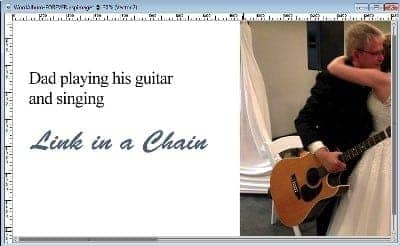
As the pages are getting longer and longer, the photos might not cover all the space. That is just a great opportunity to paint that area in the color of our choice, and add meaningful text.
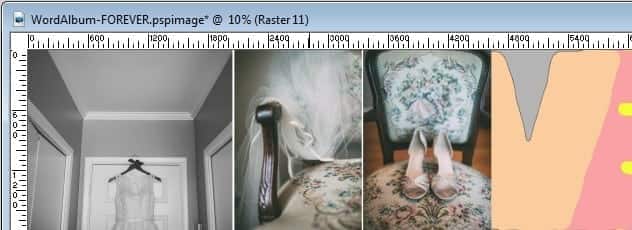
For other pages, there is room for multiple images.
Once each page is completed, it is time to print each layer individually.
Printing
The original file is very large, and would yield an album that is about 23 inches wide. That is likely not something you can print from your home printer so you can now resize the whole project to 40%. This will give a project that can be printed on a standard printer.
Separate each layer to print them individually. Use a thick stock card, or even some photo paper if you want.
Once printed, you have the final task to cut out the pages, including the details of the letters. If you have a cutting machine, it can help speed up that process.
All those printed pages can then be bound in any way you want. For a wedding theme word album, using white ribbons can add just that perfect touch.

0 Comments