
Welcome back to this blog series on Wedding Videography. In the last blog, we went over the basic list of gear you need to make a professional-looking wedding video. Now that you have the equipment sorted out, let’s move on to our Top 10 Helpful Tips that will make your production look like it was shot by a professional.
1. Arrive early. Make sure to arrive at the ceremony early with all your gear organized and labeled with your name and phone number (in case something gets left behind).
2. Be prepared. Find out in advance where the members of the wedding party will be standing during the ceremony. This will allow you choose the right position and angle to record from. Otherwise, you might not find out your angle is unsuitable until the bride is walking down the aisle, leaving you scrambling for a new position. You should also have a back-up plan for alternative positions in mind, just in case someone ends up in your field of vision. Make sure you can move to them discreetly, just in case someone ends up in your field of view. Finally, if the wedding is outdoors, make sure you have something to protect the equipment against the elements. You never know when it might rain.
3. Test your equipment. Plug your headphones into your camera and test the audio just before the wedding. Make sure that the microphone(s) is turned on and is equipped with fresh batteries. If you’re using a wireless lapel or lav mic, it should be affixed to the groom. More often than not his outfit will do a much better job of concealing it than the bride’s.
4. Be ready for the important moments. If you happen to be shooting an indoor wedding, focus your camera on the door before the bride enters. That way, she’ll be in focus as soon as she steps through it.
5. Keep panning and zooming to an absolute minimum. If somebody walks up to the podium to make a speech, slowly zoom out and move the camera toward them at the same time. Lock the tripod at this point and do the same thing in reverse as they leave the podium. If there are multiple speakers, stay locked on the podium until they’re all done.
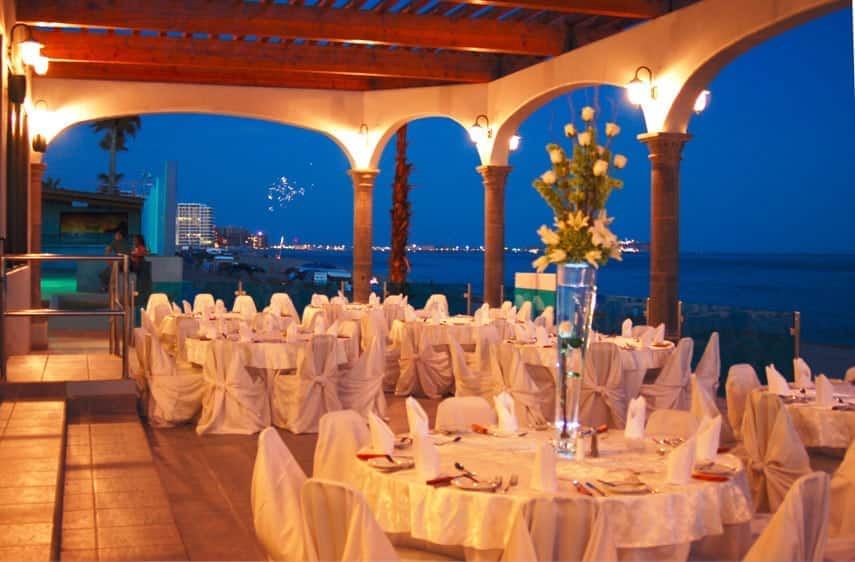
6. Don’t forget the little details. When the ceremony is over, get a lot of nice shots of the flowers, decor and any other eye-catching visuals that can be used to add some artistic flair to your video.
7. Get some background footage. When you show up to the cocktail hour and reception, take as many shots as possible of the place settings and other arrangements. These can be used later during the editing phase as background footage, interactive menus and filler.
8. Keep it casual. When at all possible, try to capture candid shots of guests enjoying themselves or laughing. Natural behavior can be tricky to capture with a camera in their face, so hang back a little bit and try to give people enough space to feel comfortable.
9. Use a direct feed for audio. Talk to the DJ or whoever is in charge of the sound and music for the evening. If they have a feed for audio that they can plug into your camera it will drastically improve the quality of your recording. Otherwise, take that wireless mic you had attached to the groom earlier and tape it to the podium. By doing this, you’ll get the best quality audio for the after-dinner speeches with very little feedback.
10. Work out your timing. Communicate with the bride and groom and the master of ceremonies. They want the video to look great just as much as you do. If you want to be able to eat your meal and relax, a good MC will work out cues with you ahead of time so that you know when you need to jump up and hit the record button without doing a nose dive across the dining room.
So there you have it – our Top 10 Helpful Tips for shooting professional-looking footage of the big day. Stay tuned next week for the third and final installment of this series on wedding videography, How to Edit a Wedding Video Production.


0 Comments