
Dfine is the final plugin available in the Google Nik Collection. This series of free plugins is compatible with Corel PaintShop Pro and makes a powerful addition to your editing workflow. Check out our previous tutorials in this free collection. We’ve got lots of advice on how you can incorporate these plugins into your workflow.
Dfine is a simple-to-use plugin that helps to streamline your workflow by making it easy to remove noise from your photographs. Dfine effectively removes noise without destroying those all-important edge details. You can also use the one-click automatic profile settings to remove noise from all of your photos effectively. If you prefer to have more control over the removal of noise, Dfine allows you to customize settings easily and create presets for noise removal.
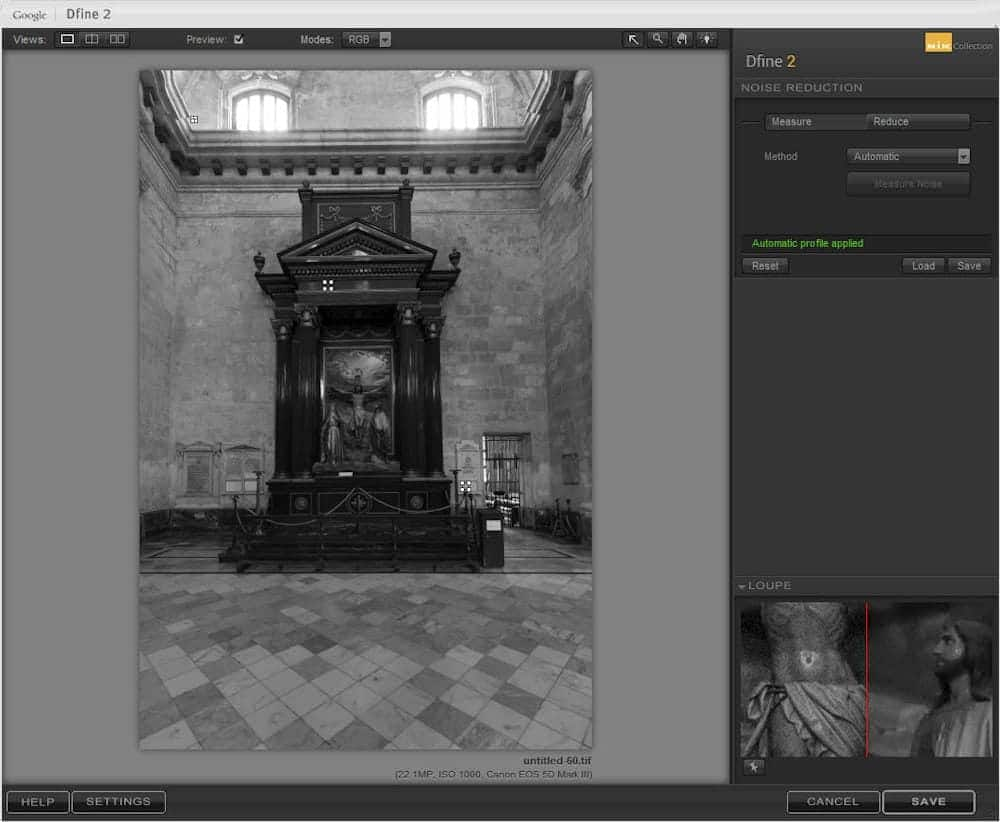
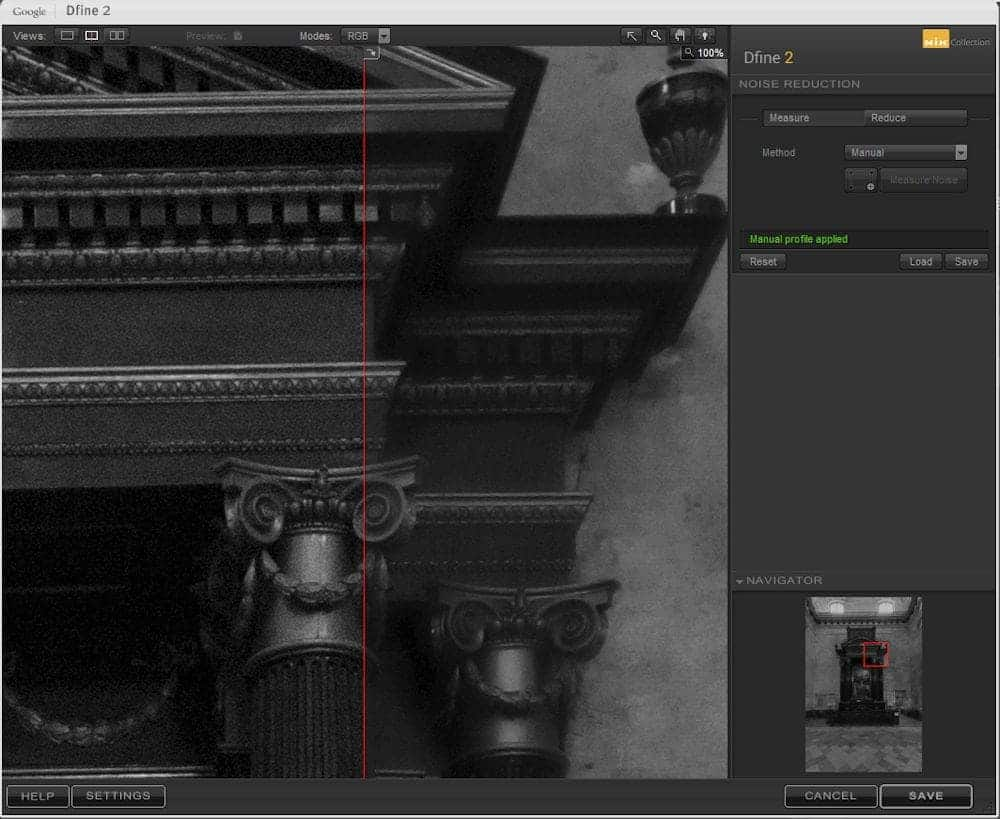
Dfine makes noise removal extremely convenient. The plugin automatically measures and calculates global noise reduction throughout the image. The small boxes scattered throughout the image screen show you where the program has sampled the noise to make this automatic reduction. For most shots, you will be finished with noise removal right after you open the image. The plugin does an excellent job of evaluating the image and removing noise. In most cases, it’s that simple.
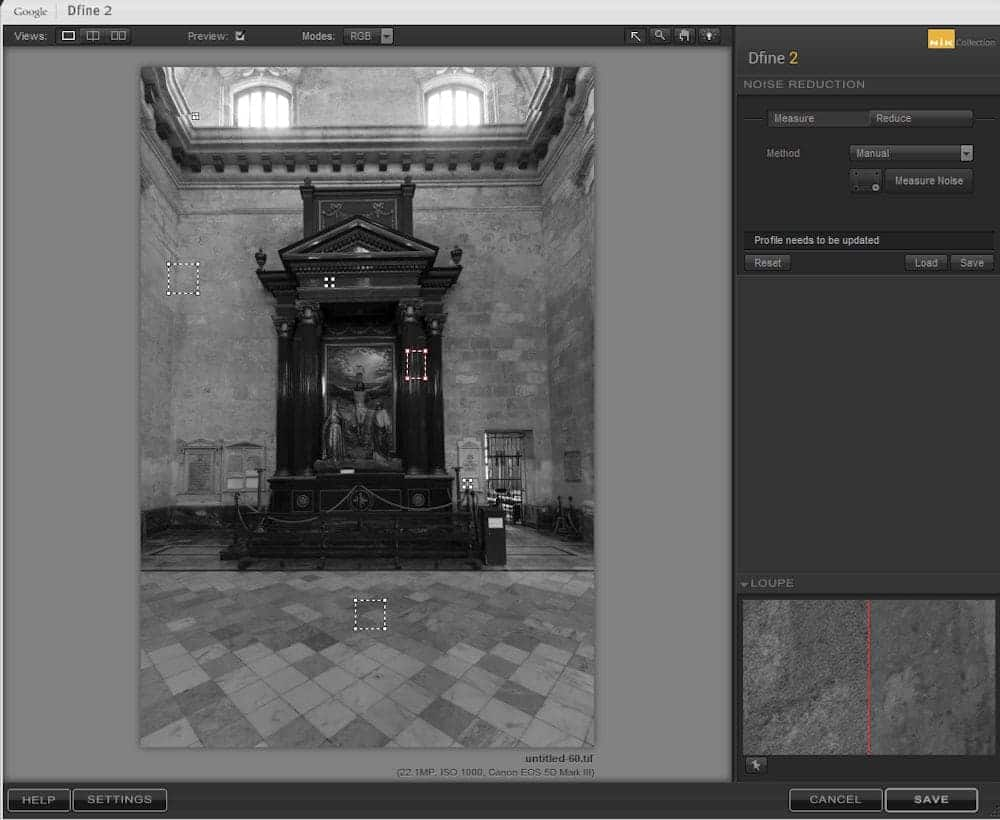
If you’re not happy with the automatic profile, you can certainly choose your sampling areas by clicking on the manual selection option. Simply choose the manual option by clicking on the interface.
There are times, however, when the automatic profile may not be enough. Perhaps the program has effectively removed the noise from most of the image, but some noise remains in certain parts of the image. Dfine provides you with the ability to utilize control points to help customize noise removal.
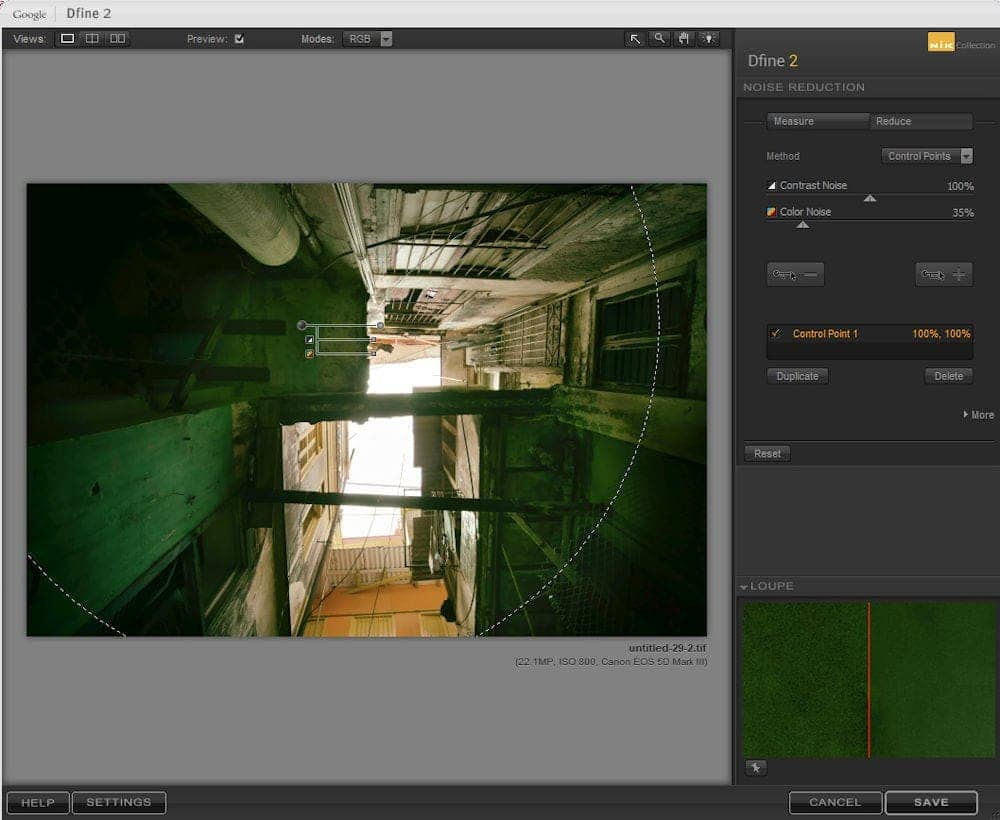
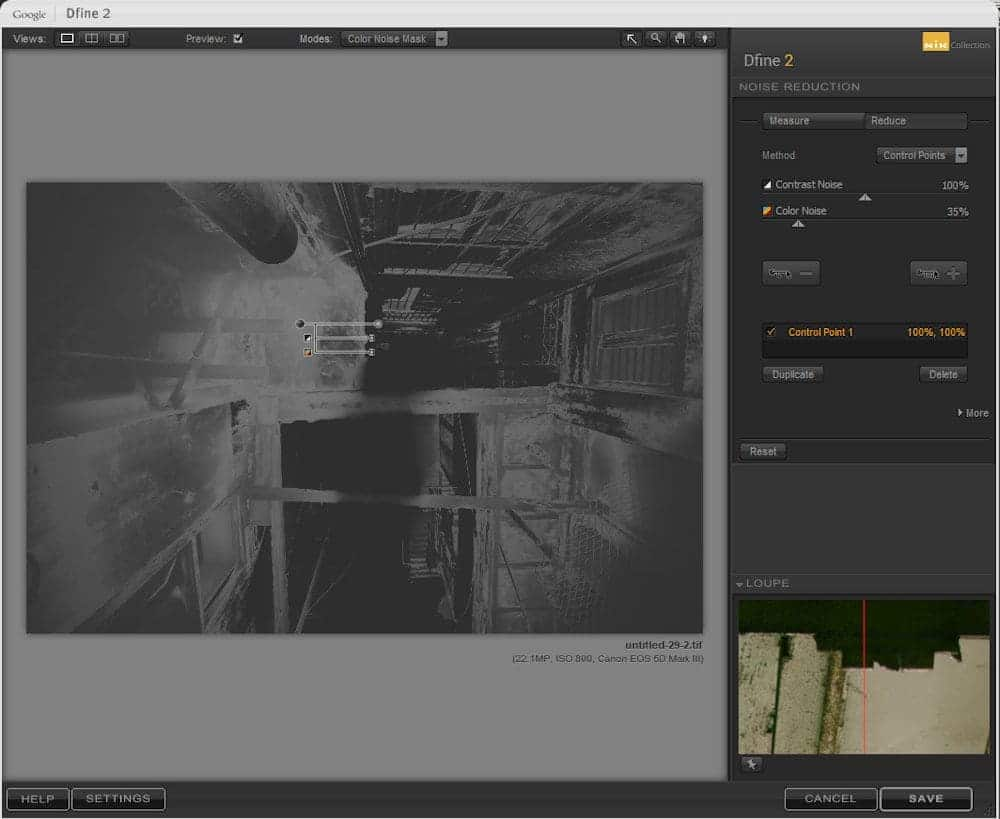
Using the control points to specify parts of the image which need noise reduction is a quick and simple process. By clicking on the Reduce button, you can adjust the amount of noise which is removed, and you can choose to remove contrast noise, color noise or both. The plugin offers you the option to remove noise or to leave noise in the image. By clicking on the + button, you can use a control point to remove noise from a selection. If you choose the – button, the selected area will not be affected by noise removal.
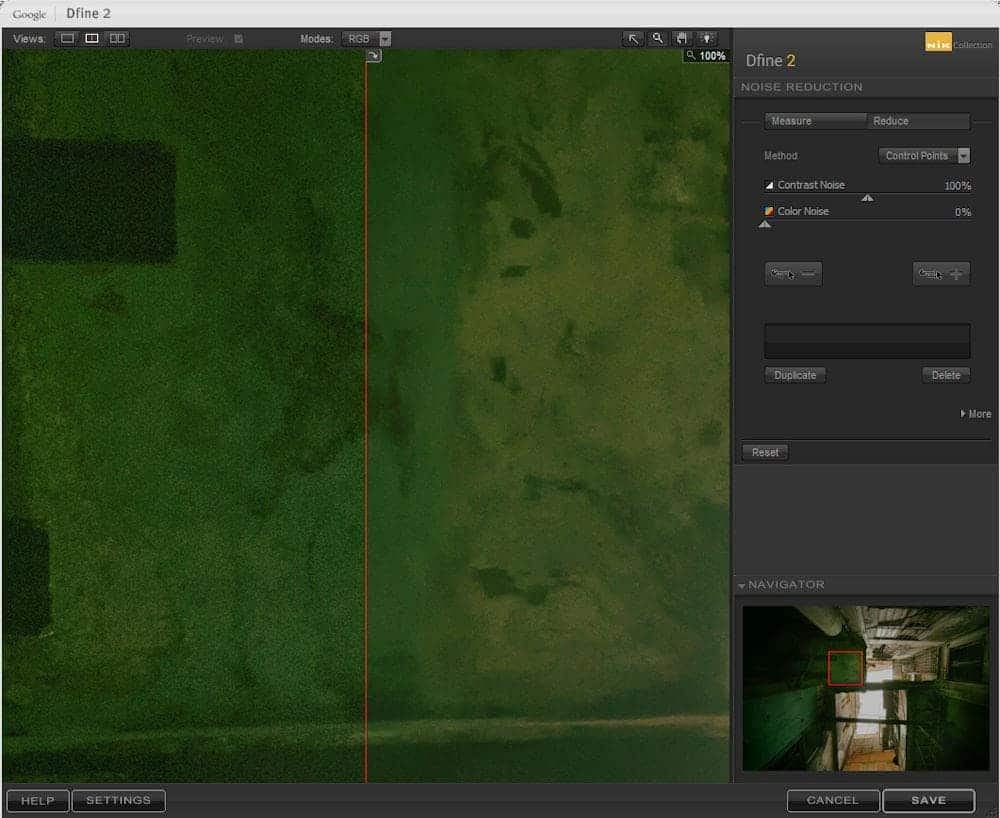
Just like the other plugins in the Nik Collection, you can zoom in to 100% and 300% to see your images in greater detail. It is always advisable to zoom in and study the effect your adjustments are having on the image. By zooming in to 100% you will be able to see how your control points and global adjustments affect the image.
Dfine also comes equipped with several modes. You will find these modes available at the top of the interface. You can choose to truly customize your noise removal by utilizing these tools to remove noise from the Red, Green, and Blue channels as well as Luminance and Chrominance. Dfine also lets you see the areas affected by your control points. Utilize the Contrast Noise Mask or the Color Noise Mask to view your image and see how Dfine has adjusted your image.
Just like other Google Nik plugins, Dfine is equipped with side-by-side comparisons as well as a split screen slider that allows you to see the changes you’ve made to the image. All of these features are extremely useful in allowing you to adjust your images.
The Google Nik Collection is a powerful addition to PaintShop Pro. It enhances your workflow and makes editing easy. The Nik Collection is available as a free download. Download it today and give it a try with PaintShop Pro. If you haven’t yet downloaded PaintShop Pro today is the day to try our free trial. PaintShop Pro is available for download without a subscription.
Exploring the Google Nik Collection
How to Use Plugins in PaintShop Pro
Using Analog Efex Pro to Get the Look of a Classic Film Camera
Using Color Efex Pro to Correct Color, Retouch and Create Effects
Using Sharpener Pro to Bring out Hidden Detail


1 Comments