Hello again Corel Photo community! Carole here, back again to continue exploring pictures tubes in PaintShop Pro. In my last guest post, we defined what picture tubes are and what types of tubes you’ll find in PaintShop Pro. But what is only half the story… How you use picture tubes is the other half and the really cool part—so let’s jump right in!
Single image tubes
As we’ve already seen, picture tubes can be created from single images and placed where ever you click—like the flower below. This type of single image can be quite useful when adding many identical picture tubes to an image, such as a string of pearls, or a sky full of stars.

Some picture tubes, while still a single image, are designed a little differently and are more suited for completely filling an area with a pattern, without leaving any distinguishable shape, such as grass, mud patches and water. Here is a single grass patch tube that has been used to fill the area quickly and easily.

A single image tube can also be repeated at regular intervals, like with the ribbon and the evenly spaced eyelets. Hint: To quickly place several evenly spaced tubes in a row, just click where you want the first one then, while holding the SHIFT key, click where you want the last one to go and watch them magically appear!

You can even get this same effect without having to stick to a straight line. Hold down SHIFT while clicking the left mouse button and use the picture tube like a brush and watch the image appear evenly spaced wherever you move your mouse, like this:

Set your tubes closer together and create even more interesting effects. Check what the neon tube can do. While a single tube does not look like much on its own, a continuous stroke of the cursor allows you to “draw” any shape or length to fit your project.

Random placement of picture tubes in a series
As I mentioned in the first part of this series, picture tubes also come as sets of images, usually of the same type, and fit best when placed randomly around your image. Like with other tubes we’ve explored, you can click multiple times to place the various tubes in the series, or you can click and drag your cursor to get that great effect. The grass blades in this image illustrate this very well. I just clicked on the left and dragged my cursor to the right and everything was placed for me instantaneously. I could do another layer on top of it or just keep dragging my cursor back and forth to make this field look fuller.

Choose the step to have your elements closer together or spread widely around. Another example of using these kinds of tubes, is using them as confetti or to create the effect of spilled beads on your project. This is a very commonly sought after effect in digital scrapbooking.

Other uses for these types of tubes could be covering a tree with leaves, placing multiple flowers in a garden or adding gifts beneath a Christmas tree.
Continuous placement of picture tubes in a series
By placing tubes from a series in a row or along a specific path, you can get some really neat effects. Here is sample of a picture tube that comes with PaintShop Pro. Just hand draw where you want the stitching to be and you automatically get the thread where you want. Use the Vector Tube and you can get something around a specific shape, just like I did below.
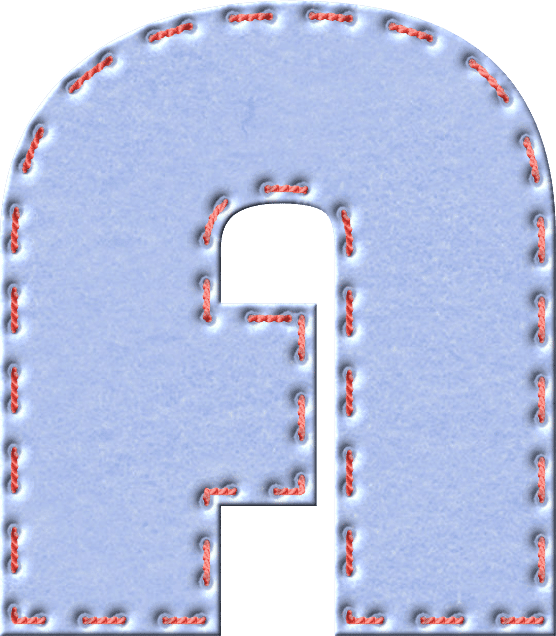
Remember the rope tube from my last post about picture tubes? When placing picture tubes based on where you place the cursor, you can use it in just about any shape and for any length you need. Create loops, attach elements, interlace them, etc. Here is a fun way to weave that same rope tube:

Picture tubes as directional images
Directional tubes are also very versatile as they too can be hand drawn, or placed along a path. The difference here is that these picture tubes must go in a certain direction, like footsteps, chain links, or zipper teeth. This is perfect to use a gold or silver chain as a frame.
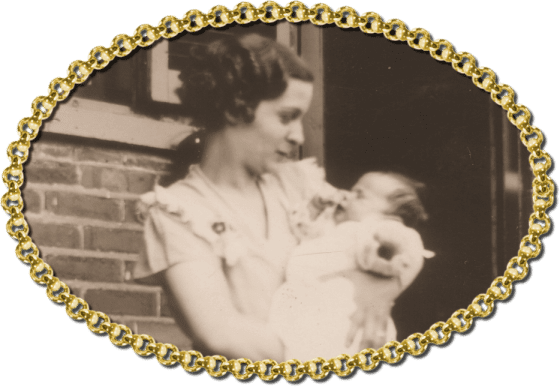
Or, even better, hand-draw or hand-write elements, just like you’re using a pen, similar to how I have below.

Whether you are creating a scrapbook page, a greeting card or embellishing a poster, picture tubes can be used in many creative ways. Have a look at the picture tubes already available within your version of PaintShop Pro—you might be surprised!
Still want more on picture tubes?
Watch our webinar on Working with Picture Tubes in PaintShop Pro to learn more about using Picture Tubes and how to create your own. If you want to find more picture tubes to use in PaintShop Pro, be sure to check out my online store.
And if you want to become a pro with picture tubes, stop by the Scrapbook Campus where you can get two full-length Master Classes: Picture Tubes with PaintShop Pro and Tubes with Direction.






10 Comments