
In this blog post, scrapbooking guru Carole Asselin shows you how to use the FREE water tags and rope tube in PaintShop Pro to add a touch of water to your summer or vacation projects.
Whether you want to write a word or a message, with just a few steps, you can get a very realistic result. Using the Eraser tool to hide sections that should not be seen is tedious and does not always yield a great effect. There is a simpler and more effective way to do that. In this tutorial, we will be using the free Water Alpha Tags, and the rope tube available in Paintshop Pro X8.
Pick the tags
The first step will be to open all the tags you will need to write the word, date or phrase. This will give you an opportunity to resize them to fit the space you have available, and determine a rough path where the rope will be drawn. I will be writing the word SPLASH with my water tags.
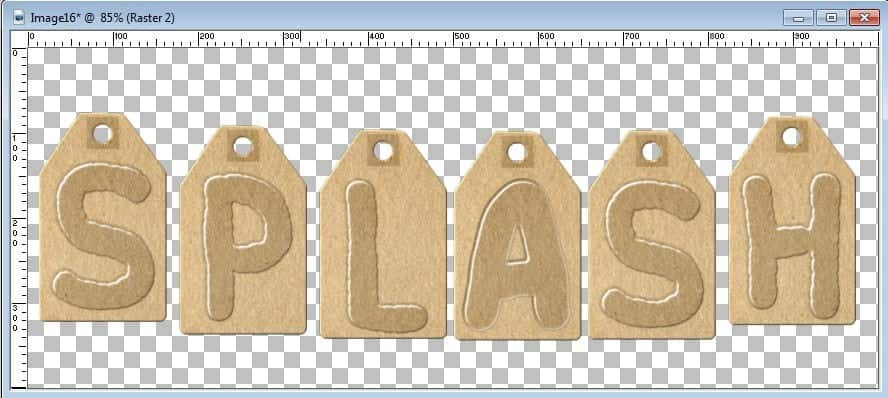
I needed to resize them as they were too big initially. Now, I can place them all side by side.
Draw the rope
Those tags include a hole where the rope should go. Even though I want to thread the rope through those holes, I will only draw the rope roughly through them. I will need to adjust the tag placement afterward anyways.
On a new raster layer, using a rope tube, either the one that comes with your PSPX8, or any other rope tubes, draw it the way you want along the line of holes. Adjust the size of the tube so that the rope could easily fit inside the hole with its shadow.
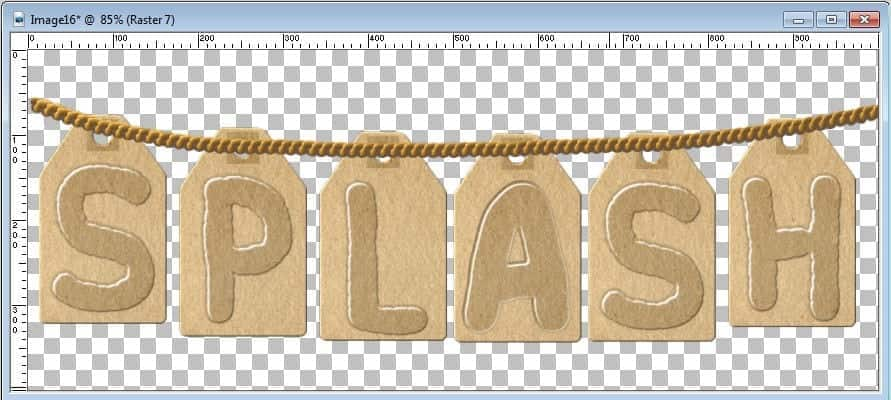
Add the shadow to the rope on the same layer. The shadow HAS to be added now as it will be very impractical to do it later, once the rope is threaded through those holes. Assuming that the element will be laying flat on a project, choose a setting of just a few pixels offset, high opacity and low blur.
Adjust the tags
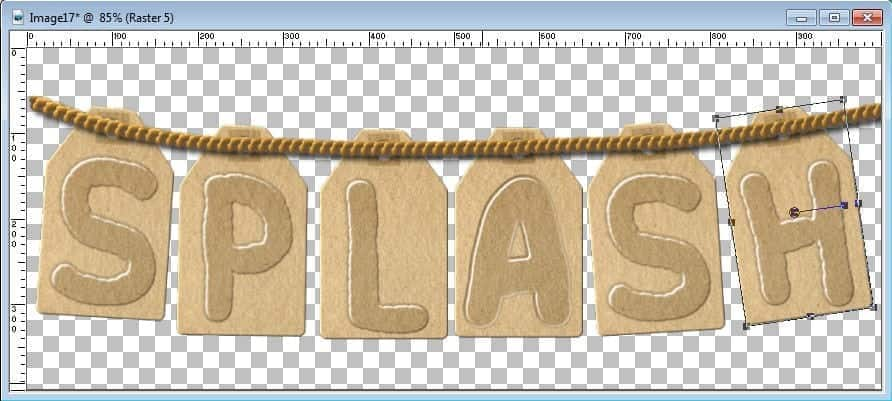
Now is the time to adjust the placement of the tags so the holes will line up with the rope. You can keep the tags straight, or rotate them using the Pick tool. Make sure the shadows also fit inside the holes. If you find that you drew the rope too thick, you might need to re-draw it.
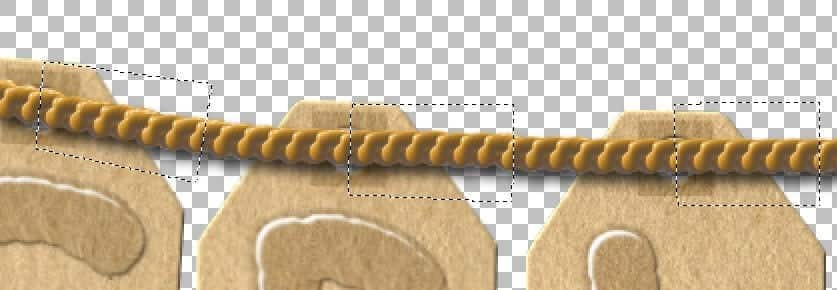
Select segments of the rope
Using the Freehand Selection tool set to Point to Point, select segments of the rope that you will want to see underneath the tags. The segments could be from one hole to the next, if you want the rope to appear to go in and out from one tag to the next, or the segments could go from the hole to the empty space between tags. The effect will be different, and it will depend on what you want to get as an end result.
Since you will want to select multiple segments, hold the Shift key while you select the next segments.
Cut the rope
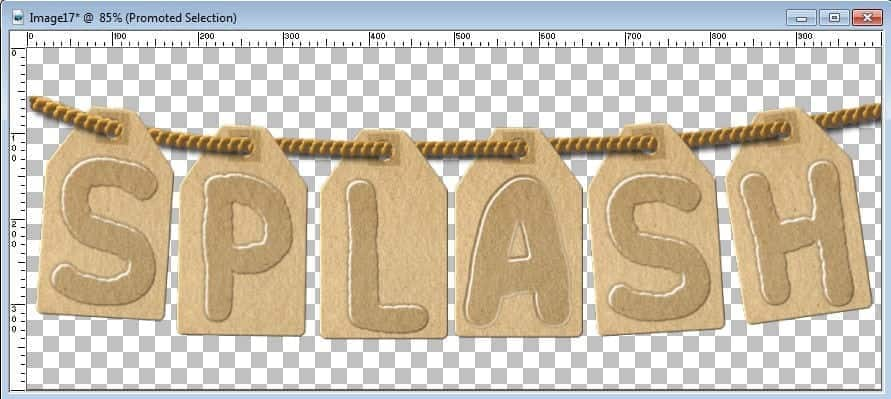
Once you have all the segments selected, promote that selection to a layer (either using Selection > Promote selection to a layer or using the right-click on the layer, and select Promote selection to a layer).
Without deselecting, reactivate the initial rope layer and hit the Delete key to remove that segment. On your project, nothing will be obvious yet. Deselect.
In order to make sure the initial rope and the cut out pieces will be perfectly lined up, link both layers together.
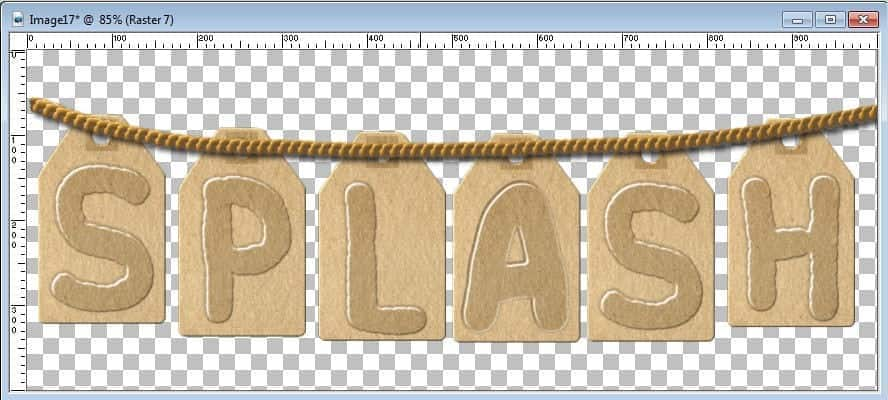
Finally, the magic happens when you rearrange the layers by moving the promoted selection layer under all the tag layers.
Finish it off
The last step is simply to add the proper shadow to the tags. This shadow will complement the dimensional effect of the rope that is already shadowed.
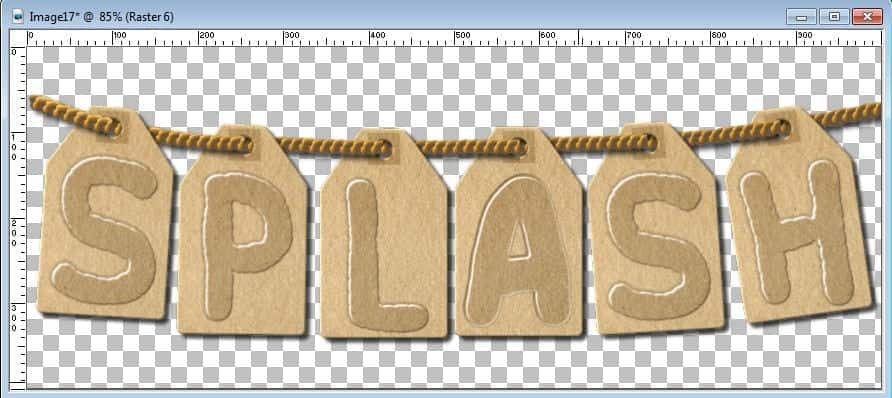
This technique gives a little bit of play if, for example, you need to move one tag by a few pixels. If you had used the Eraser tool, you would have to keep all the layers exactly at the same point, with no option to tweak their placement.
Using the same tags, you can colorize them, and you can even use another rope, like one of the Twisted Rope Tubes available in the Discovery Center.
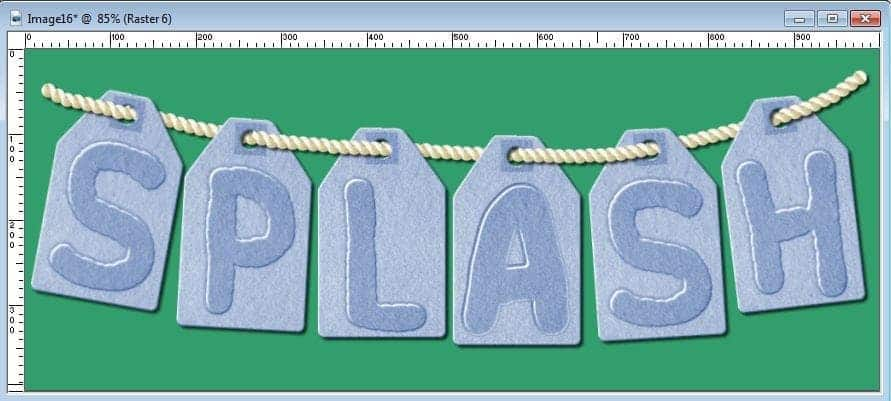
It is time to add a touch of water to your summer or vacation projects. Use them for scrapbook pages, posters, cards, and more.


1 Comments