Creating Symmetry
The Symmetry drawing mode introduced in CorelDRAW 2018 makes creating symmetrical objects and designs easy and fun. Draw in Symmetry mode from the get-go, or create symmetry from existing objects.
To draw in Symmetry mode
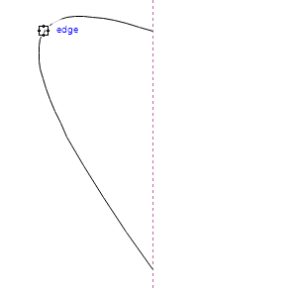
- Click Object > Symmetry > Create New Symmetry. A symmetry line appears in the drawing window.
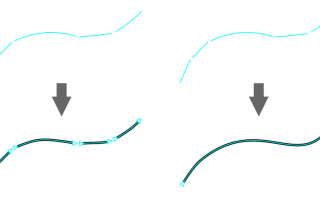
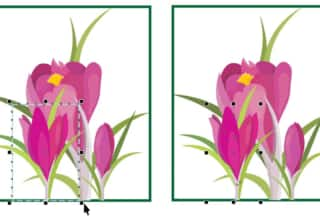
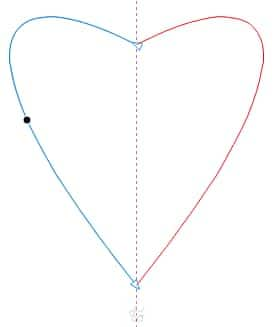
- Draw a curve or a shape. In the following example, the 3-point curve tool
 is used to draw a curve. The curve is automatically duplicated and mirrored.
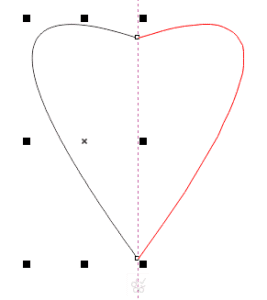
- You can edit the shape of the curve with the Shape tool
 . If you want to fill the shape with color, click the Fuse curves button
  on the property bar, and click a color on the onscreen color palette. Note that the end nodes of the curve and its copy must meet on the symmetry line for fusing to work.

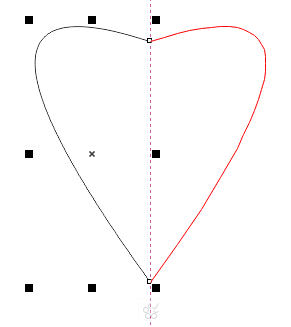
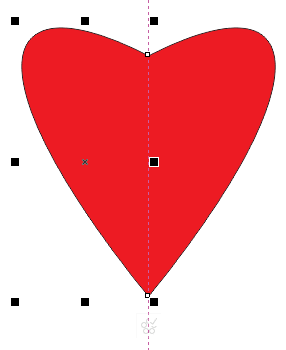
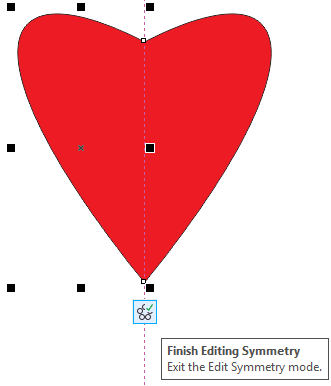
- Click the Finish Editing Symmetry button.
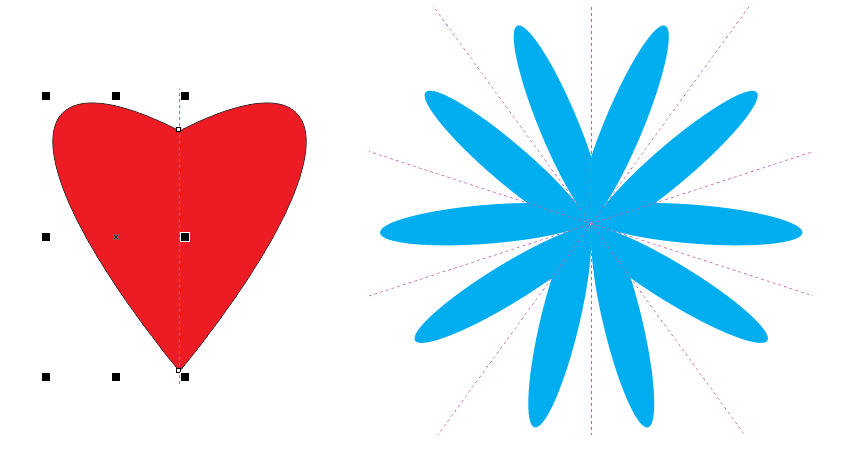
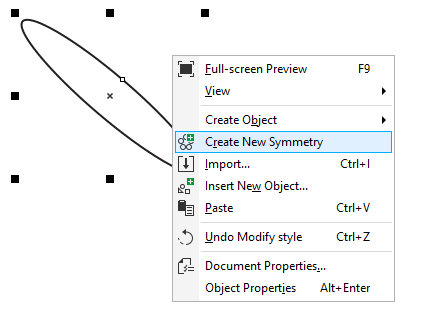
To create symmetry from objects
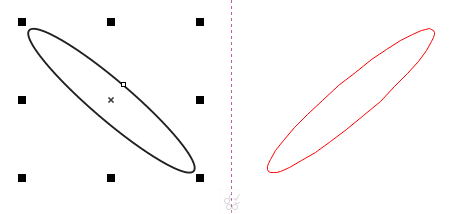
- Right-click an object, and click Create New Symmetry.
 A symmetry line appears in the drawing window, and the primary object is duplicated and mirrored.
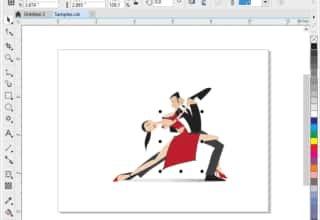
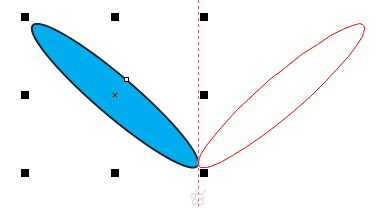
- Edit the primary object. In the following illustration, the object is moved to the symmetry line, and filled with color. You can also move the symmetry line instead of the object.

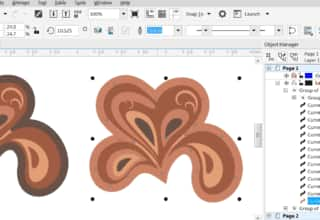
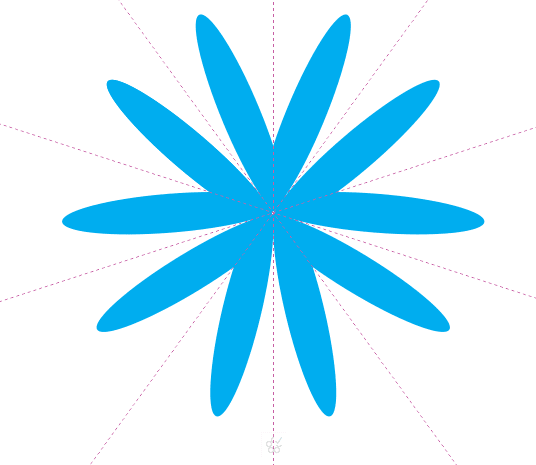
The object copy is displayed in wireframe mode. This view lets you identify the primary object easily. To show a full preview of the object copy, click the Show full preview button on the property bar . To create a more complex design, simply increase the number of symmetry lines in the Mirror lines box
  on the property bar.
 This example uses 5 symmetry lines and full preview. The outline of the primary object has been removed.
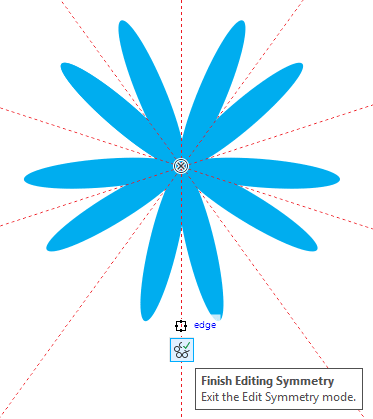
 - When you have finished editing, click the Finish Editing Symmetry button.
 Watch this short video to see the Symmetry drawing mode in action.
Learn more about symmetrical drawing in the CorelDRAW Help.
RELATED TIPS