Modifying a contour effect interactively
The Contour tool creates a three-dimensional effect by creating a series of concentric curves that progress to the inside or outside of an object or text.
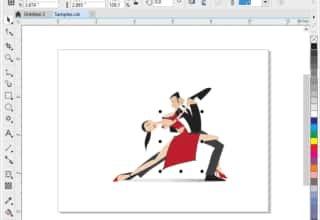
To contour an object
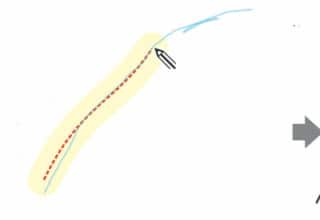
- In the toolbox, click the Contour tool
 .
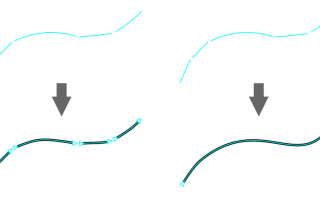
. - Click the object and drag towards its center (to create an inside contour) or away from it (to create an outside contour).

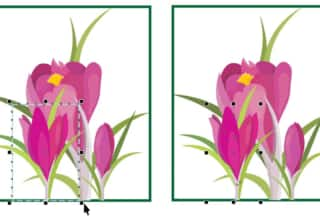
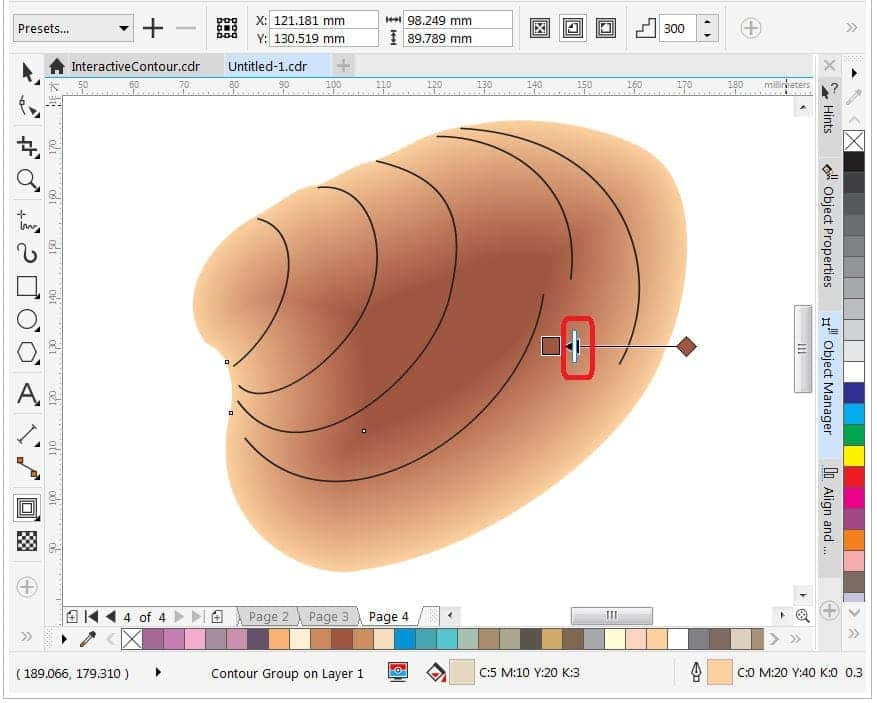
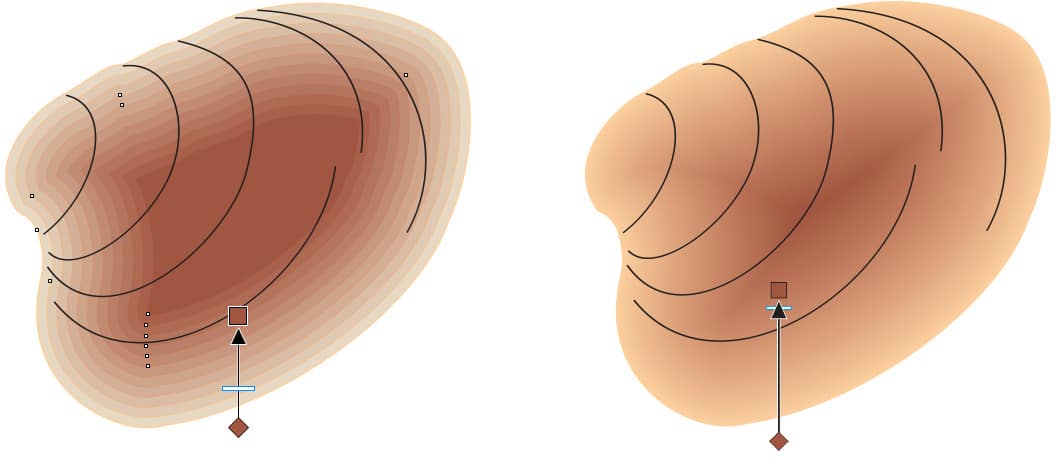
- To adjust the number of steps and the degree of offset in the contour interactively, move the slider in the drawing window.
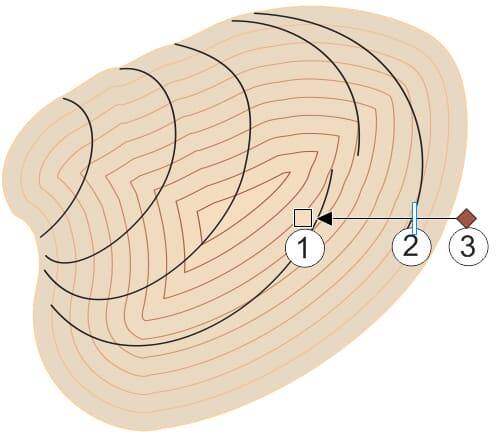
The smaller the offset (the distance between contour lines) and the higher the steps, the smoother the color progression.

Tips
- When the offset is very small, the Fill color and Outline color handles may overlap. Zoom in to access the interactive controls more easily.
- To change the outline color for the contour, drag a color from the color palette to the diamond-shaped handle.
- To change the fill color for the contour, drag a color from the color palette to the square handle.
Learn more about contouring objects in the CorelDRAW help.
RELATED TIPS