
Make a Custom Logo
Build a custom logo from scratch, starting with basic shapes and lines that are transformed into design elements with a few simple tools and tricks.
Watch this 2 minute video for an overview of the process; the steps are written out below.
See what’s new in CorelDRAW Graphics Suite!
Start your FREE 15-day trial and embark on a design journey with powerful tools for vector illustration, layout, photo editing, typography, and collaboration.
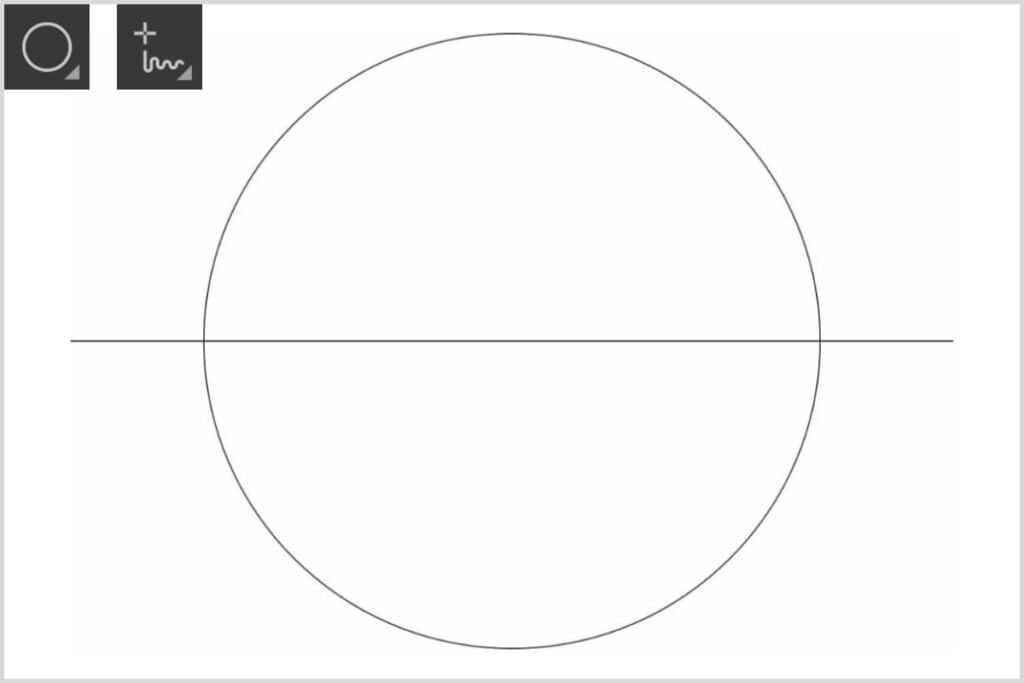
Step 1: Start with basic shapes
- Select the Ellipse tool. Hold down the Ctrl key, click and drag to draw a circle.
- On the property bar, change the Object Size fields to 3”.
- Select the Freehand tool. Click once to the left of the circle, press and hold the Ctrl key, then click to the right of the circle. This will create a horizontal line that cuts across the circle.
- Use the Pick tool to select the line, hold down the Shift key and select the circle also.
- Press the E key, then the C key. This will align the centers of the line and circle horizontally and vertically.
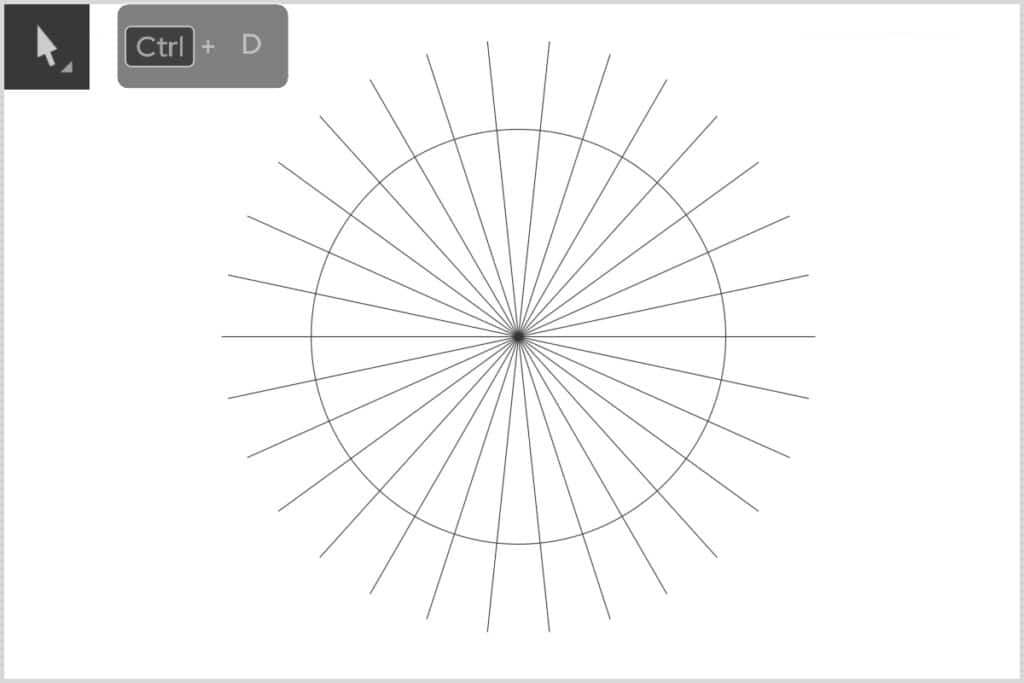
Step 2: Create a Sun Rays background from a single line
- On the property bar, adjust the Duplicate Distance values to 0.
- Select the line with the Pick tool and press Ctrl + D to duplicate it.
- On the property bar, set the Angle of rotation to 12.
- Press Ctrl + D 13 more times to create the rest of the rays. The Smart Duplicate feature will automatically rotate each duplicate line by 12 degrees.
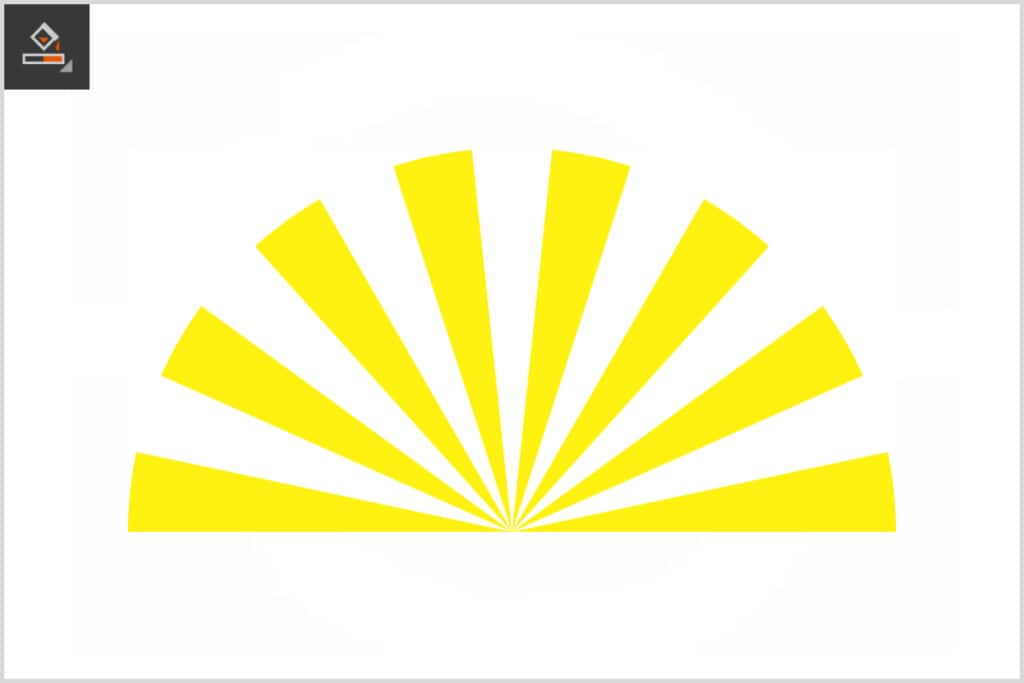
- Use the Smart Fill tool to fill alternate rays with yellow or your choice of color. Before filling, make sure the Fill Options are set to Specify and the Outline Options are set to No Outline (on the property bar).
- Select the Pick tool, hold down the Alt key and marquee-select the lower lines, then delete them.
- Delete the original line also.
- Marquee-select the yellow rays and press Ctrl + G to group them together.
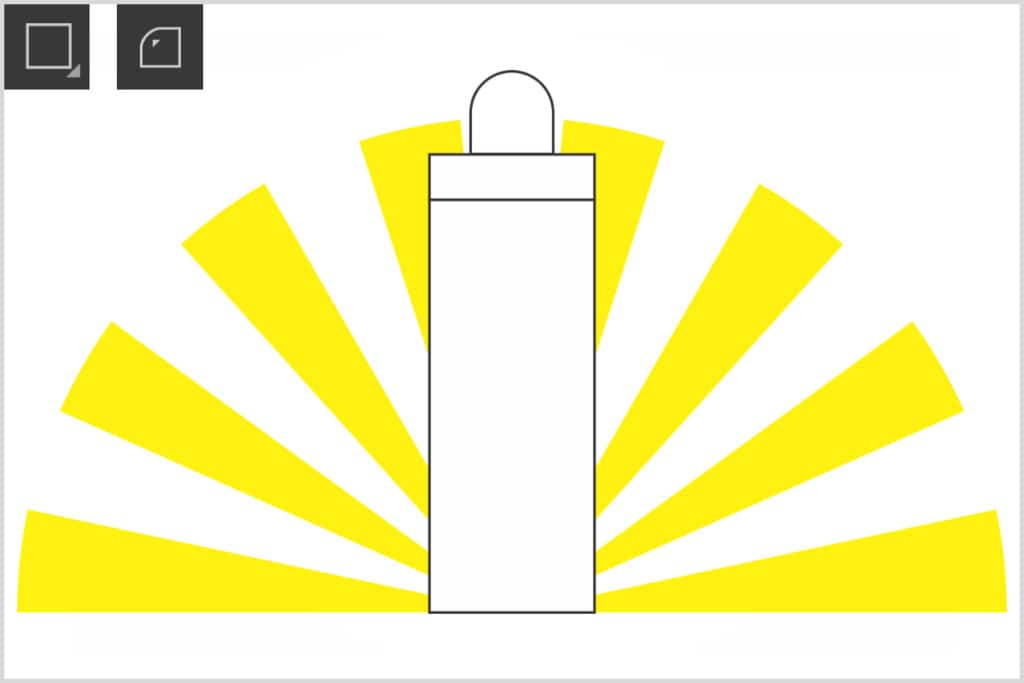
Step 3: Create the lighthouse with rectangles
- Select the Rectangle tool, click and drag to draw the first rectangle.
- On the property bar, disable the Lock Ratio icon then set the width to 0.5” and height to 1.25”.
- Use the Pick tool to select the rectangle, hold down the Shift key and select the rays. Press the C key, then the B key to align the centers and bottoms of the rectangle and rays.
- Create a second, smaller rectangle on top of the first one. TIP: using snap or alignment guides can help with precise positioning.
- Press Ctrl + D to duplicate the second rectangle. Change the size of the duplicate to 0.25” x 0.25” and position it on top of the second rectangle.
- On the property bar, click the Round Corner icon and change the top left and right Corner Radius fields to 0.2” (make sure the lock icon is disabled so the bottom corners don’t change as well).
- Fill the first 2 rectangles with white (or your choice of color) and click the No Color swatch to remove the outline.
- Fill the third rectangle with red (or your choice of color) and remove the outline.
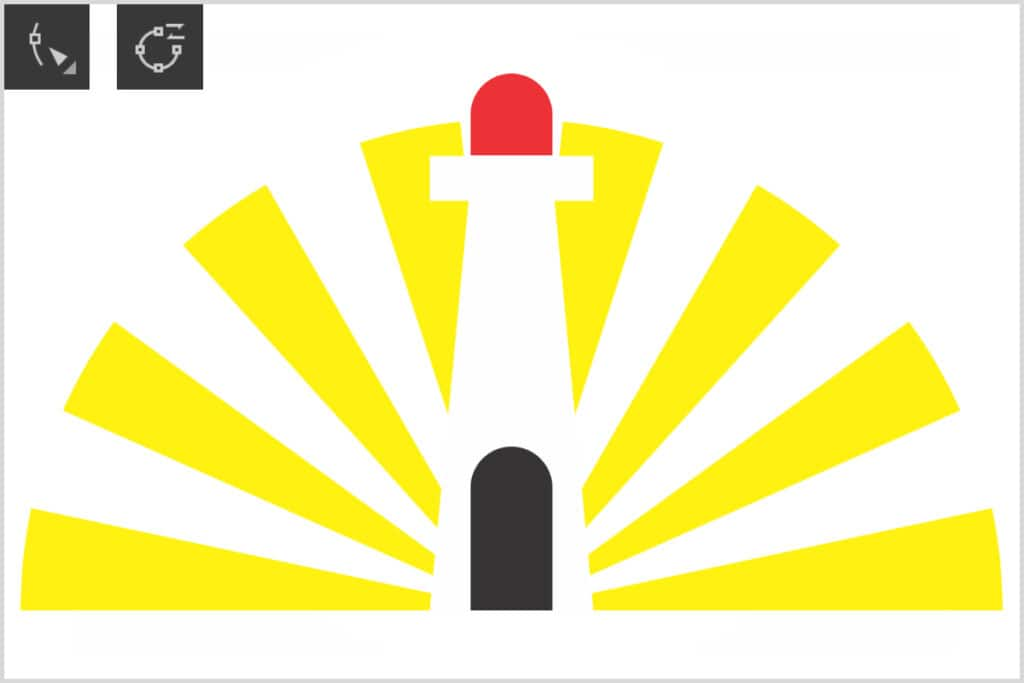
- Select the bottom rectangle and click on the Convert to Curves icon on the property bar.
- Switch to the Shape tool. Drag the top left node inwards then do the same for the top right node.
- To create the fourth rectangle which will be the door, duplicate the top rectangle with rounded corners. Drag it down to the bottom of the base
- Change the height to 0.5” and fill with black (or your choice of color).
Step 4: Add text to complete the logo
- Select the Text tool and type the company name (ours is Lighthouse Energy).
- On the property bar you can change the font and size (we used Cooper Black).
- Change the font color to the same red as the rounded rectangle at the top.
- On the property bar, change the width to 3” so that the text is the same width as the rays.
- Use the Pick tool to adjust the position of the text, if necessary.
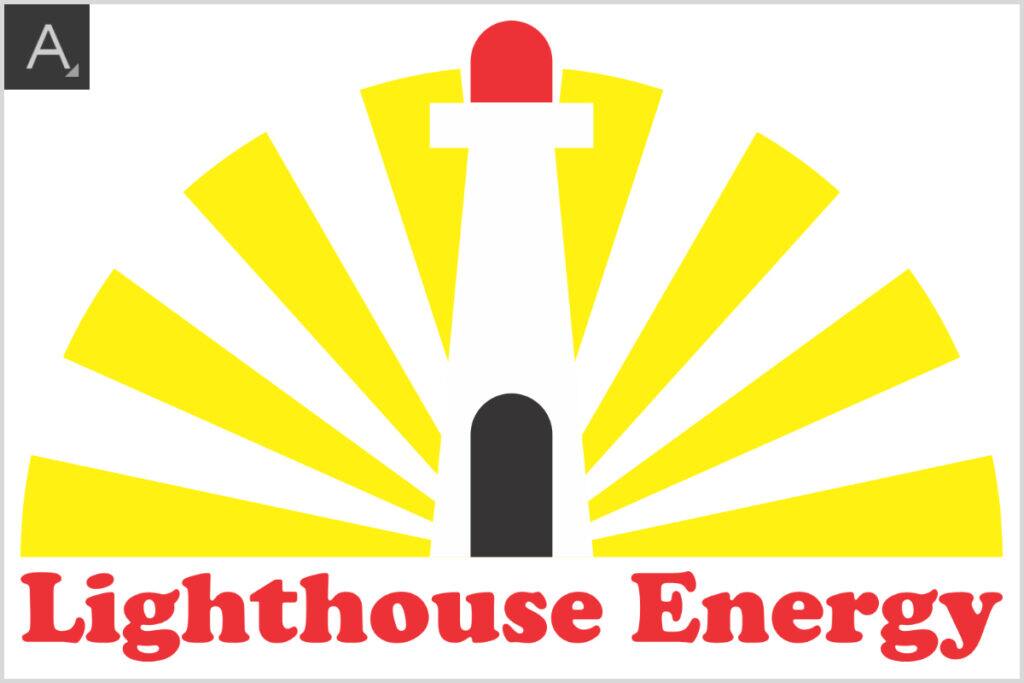
Now your logo is complete. You can save it as a CDR file to preserve the objects and layers for future editing, and export it in a variety of formats including JPG, PNG, PDF etc.
Additional Resources
If you’re not familiar with the tools used in this project, watch the full tutorials below to learn more.
How to Use the Ellipse Tool

How to Draw Lines and Curves

How to Use the Fill Tools

How to Use the Rectangle Tools

How to Align Objects

How to Use the Shape Tool

How to Use the Text Tool

See More Tutorials
Browse the full collection of tutorials for CorelDRAW and PHOTO-PAINT, from beginner to advanced, creative projects, and more!
What’s New in CorelDRAW

CorelDRAW Tools

Working with Text

Need more help? Watch the in-depth tutorial.
In this 11-minute video, we walk you through each step of the process to design a custom logo.
See what’s new in CorelDRAW Graphics Suite!
Start your FREE 15-day trial and embark on a design journey with powerful tools for vector illustration, layout, photo editing, typography, and collaboration.
