
CorelDRAW’s Text tool can create two types of text: artistic text is great for when you only need to add a word, or a line or two, and paragraph text can be used when you have more to say. In this tutorial, you’ll get an overview of both types of text, as well as the various formatting options available with the Text tool and Text docker.
Thanks for watching! We hope you found this tutorial helpful and we would love to hear your feedback in the Comments section at the bottom of the page. You will find a written version of this tutorial below, and a printable PDF copy to download on the Download Resources tab above.
CorelDRAW’s Text tool can create two types of text: artistic text is great for when you only need to add a word, or a line or two, and paragraph text can be used when you have more to say. In this tutorial, you’ll get an overview of both types of text, as well as the various formatting options available with the Text tool and Text inspector.
Thanks for watching! We hope you found this tutorial helpful and we would love to hear your feedback in the Comments section below. You will find a written version of this tutorial below, and a printable PDF copy to download on the Download Resources tab above.
Start your FREE 15-day trial and embark on a design journey with powerful tools for vector illustration, layout, photo editing, typography, and collaboration.
Download these free resources:
Written tutorial for Windows (PDF, 924 KB)
Written tutorial for Mac (PDF, 956 KB)
CorelDRAW Graphics Suite resources
Quick Start Guide (PDF, 2 MB)
Keyboard Shortcuts (PDF, 3.5 MB)
CorelDRAW and Corel PHOTO-PAINT user guides
For CorelDRAW Graphics Suite subscription and perpetual licenses (2018 to 2024), languages include English, Português do brasil, 简体中文, 繁體中文, Čeština, Deutsch, Español, Français, Italiano, 日本語, Polski, Русский
CorelDRAW Community
CorelDRAW learning center
Facebook
X (formerly Twitter)
YouTube
What’s New in CorelDRAW Graphics Suite
CorelDRAW Tools
Working with Text
 CorelDRAW Graphics Suite
 Ultimate Vector Bundle Vol. 1
 CorelDRAW Standard 2021
 Ultimate Vector Bundle Vol. 2
 Corel Vector
An Overview of the CorelDRAW Text Tool
This tutorial will provide an overview of CorelDRAW’s Text tool and its various options, as well as an introduction to the Text docker.
Click on any of the images below to view full-size.
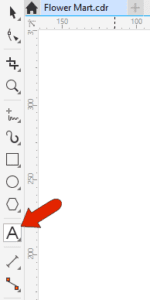
The Text tool can be found on the toolbar, or you can press F8 to activate it.
The default font and size for paragraph text are listed in the Property Bar.

Setting Text Defaults
The two types of text you can create with the Text tool are artistic text and paragraph text. There are a few ways to set defaults for both types of text, and one place for this is the Object Styles docker. Under Default Object Properties, you can set the default for several types of objects, including artistic text and paragraph text.
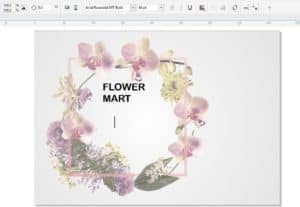
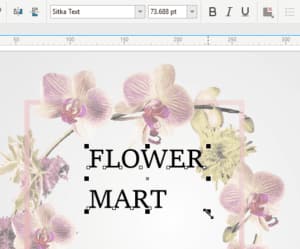
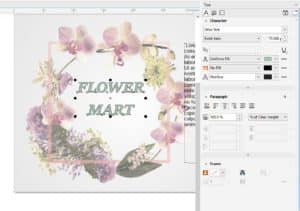
When you click once where you want to place the text, the text that’s about to be created will be artistic text. The default font and size for artistic text will be listed in the Property Bar. Start typing, pressing Enter where you need line breaks, then click outside to finish.
Use the Pick tool to select this artistic text. The Property Bar has options to set the position, size, scale, and rotation angle of the text. You can also mirror in both directions.
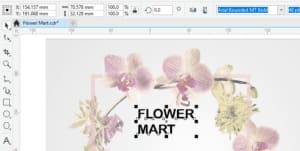
You can change the font and set a font size in the Property Bar or drag a corner handle to change size.
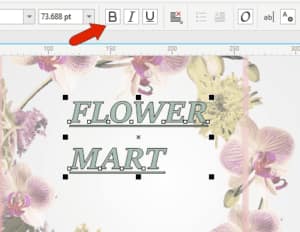
Left-clicking a color swatch on the Color palette fills the text, and right-clicking a color creates outlines. If the font family provides these options, you can also choose the bold, italic, or bold-italic variation of the font face. For any font, you can also choose to underline.
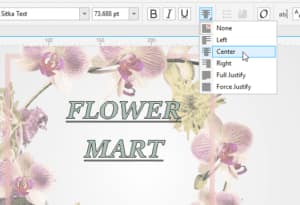
The Horizontal alignment icon can be used to left-justify, center, etc.
Paragraph Text
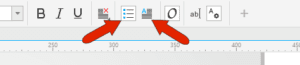
The next two icons on the Property Bar are relevant for paragraph text, which is generally used for larger amounts of text. To create paragraph text, go back to the Text tool, and click and drag a rectangular frame that will contain the text. Now the Property Bar shows the default font and size for paragraph text. You can type in the text or paste in text that was copied from another source.
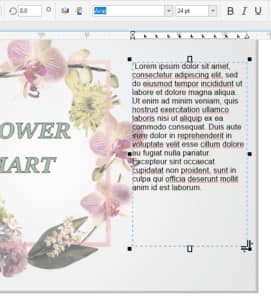
Click outside to finish, then select the paragraph text. Now in the Property Bar you can add bullets or drop caps.
Text Options and Editing
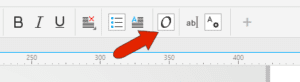
If the OpenType icon is enabled, then you’ll get an indicator when an OpenType font feature is available for selected text.
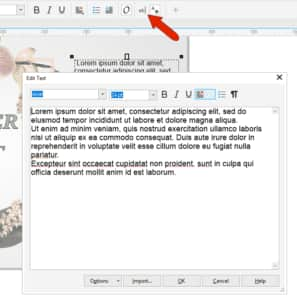
The Edit Text icon opens the text in an editor in which you can make all of the previously mentioned changes.
The Text Docker
The Text icon opens the Text docker. You could also find this by going to Window > Dockers.
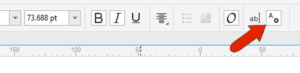
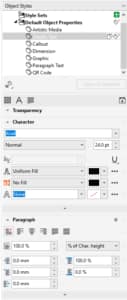
The Text docker has many additional options for setting properties of selected text, and the artistic text is selected. The three sections of this docker are Character, Paragraph, and Frame.
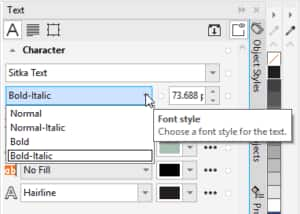
Under Character, you can set the font or font family, as well as size. If a font family is selected, then the font styles will be available in the drop down below.
The small boxes to the right of each field are relevant for text created from a text style. The next field is for kerning and would be enabled if you were editing text and had characters selected.
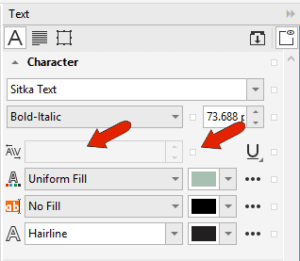
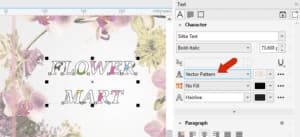
The next field is for setting character fill. You can keep uniform fill and change the color or change to a different type of fill such as bitmap pattern or fountain fill.
Background fill is similar, with options that apply to the area surrounding the characters.
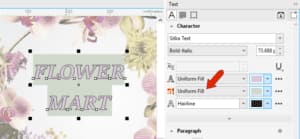
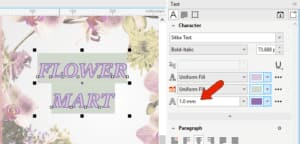
The last character option is outline, where you can set a thickness and color for character outlines.
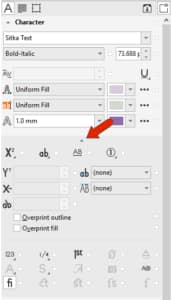
Clicking the arrow at the bottom of the Character section opens more character options, such as superscripts, capital spacing, strikethroughs, and other style features available for the current font.
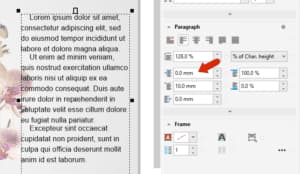
Options in the Paragraph section are more relevant to paragraph text, though they will work with artistic text as well. The paragraph text is now selected. The icons along the top control horizontal alignment, and just below those you can adjust the vertical spacing.
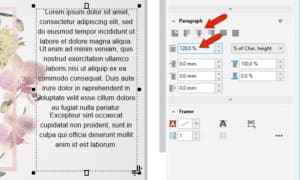
The next three options are for indenting paragraphs – left indenting for all but the first line, left indenting for the first line, and right indenting for the whole paragraph. The two fields to the right set the spacing above and below paragraphs.
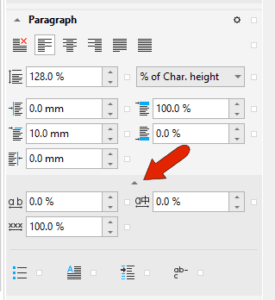
Expanding the paragraph section displays options for character, word, and multi-language spacing. Below those are options for bullets, drop cap, tabs, and hyphens.
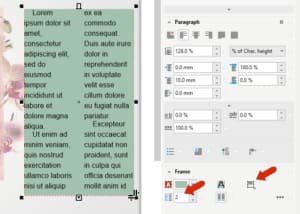
Frame options are also more relevant to paragraph text, though some of these options will also work on artistic text. You can set a background color for the entire text frame, or align to the baseline grid, which aligns text frames to one another so that text will be easier to read.

You can also set the vertical alignment or divide the text into columns.
This overview of the Text tool and Text docker options is a great start for learning how to work with text in CorelDRAW. Please continue with the tutorials in this series on text, to learn about many more text options and features.
Start your FREE 15-day trial and embark on a design journey with powerful tools for vector illustration, layout, photo editing, typography, and collaboration.
