Hey slideshow enthusiasts! In this blog post I’m going to show you some tips for working with text in FastFlick instant slideshow maker. Most slideshow templates for FastFlick include at least one textbox that you can use to add your own titles, captions or closing text. If you’re an experienced FastFlick user, you are probably already familiar with the text editing options available in the program. But what if you want do more?
First, here’s a quick overview of the text editing tools in FastFlick.
Once you have selected your template (Step 1) and moved onto Step 2 where you add your media, you’ll see that beneath your scrubber there are purple and white segments along the timeline.

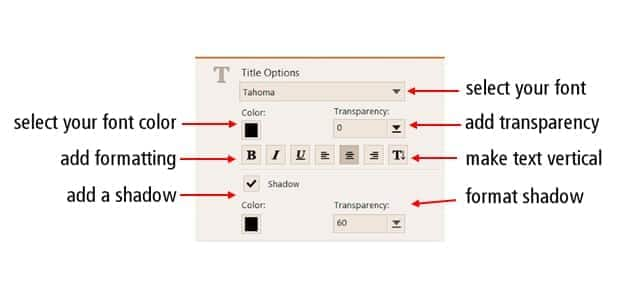
The purple segments represent where the textboxes are. Move your scrubber to a point above a purple segment and the text editing icon will be enabled, so you can make the following changes to your text:
Once you have your text looking the way you want it, you can change the size, position and orientation of your textbox by using the small circles (called handles) in the corner. Click on a white handle, hold down your mouse and drag it in or out to change the size of the textbox. The pink handles allow you to rotate the textbox. And if you hover over the center of the textbox, your cursor will turn into the little hand icon, allowing you to drag the textbox to a different position on the slide.

These text editing options allow you to really do a lot with your captions and titles, giving them just the right look to suit your slideshow. In most cases, you won’t need to do anything more. But in certain projects, you may want to do something different.
If you also own a copy of VideoStudio X7 or later, you can bring your FastFlick slideshow into VideoStudio and make your edits using the numerous tools available in VideoStudio. Just click on the green Edit in VideoStudio button and it will open your project in VideoStudio.
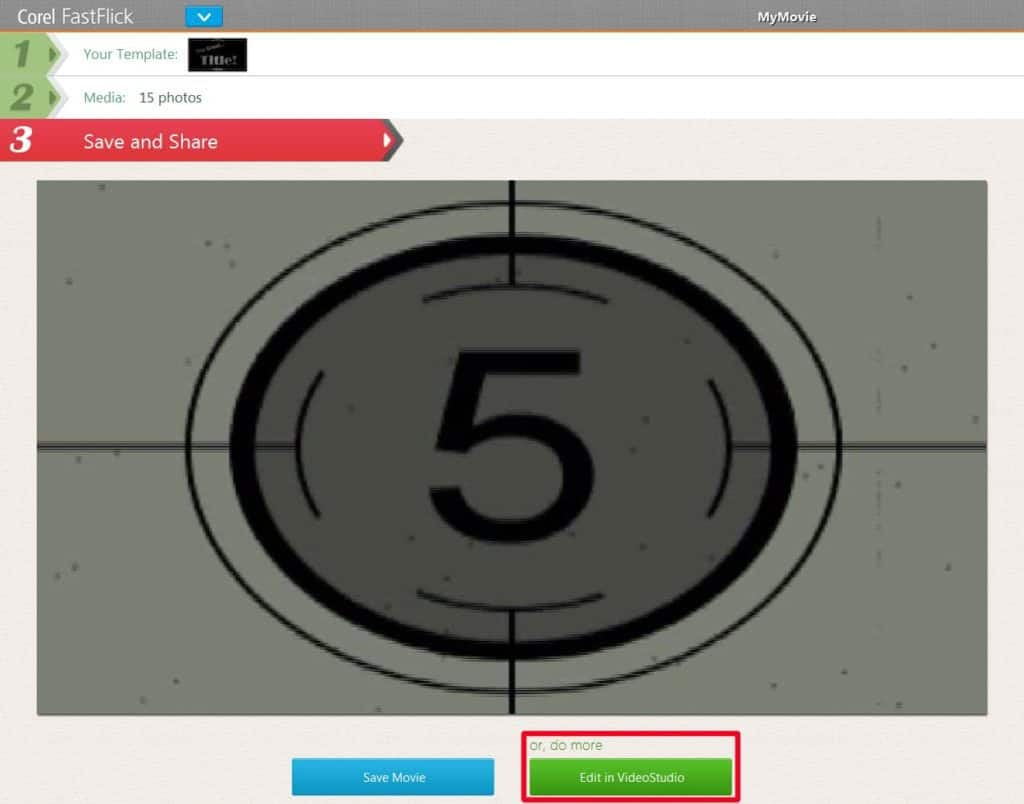
If you don’t own a copy of VideoStudio, you can download a free 30-day trial and check out all the ways you can edit and enhance your slideshow projects.
Not ready for the advanced editing? Well here are a couple little tricks I used when creating a slideshow using our Silent Film template. This template has a number of textboxes already, but I wanted to use some title slides instead, to give my project a more authentic look to match the movies of that era.
So the first thing I had to do was remove the textboxes. You can’t actually delete textboxes from FastFlick templates so I had to find a workaround.
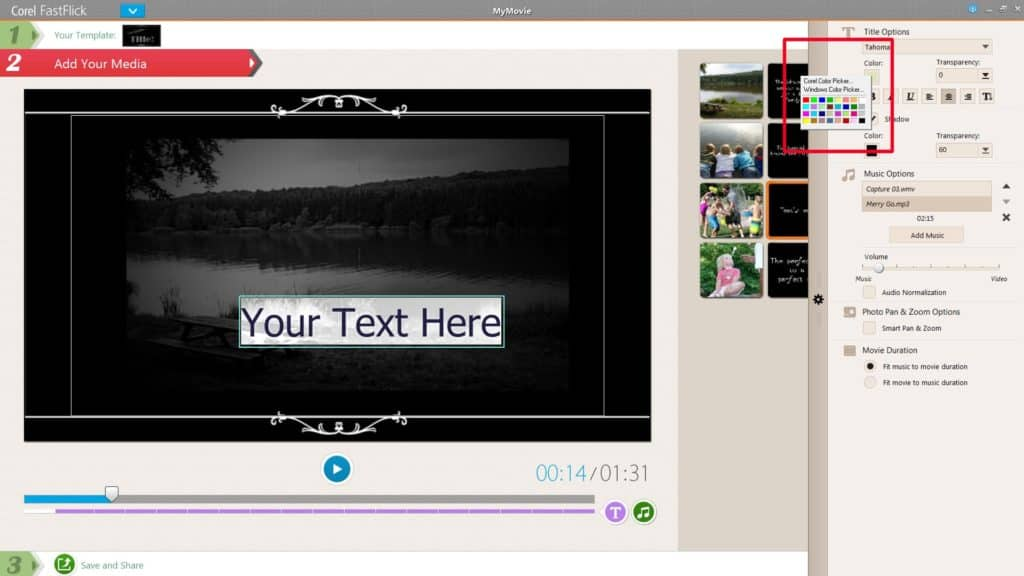
First, I changed the text color to black, so it would blend in with the background of the template.
Next, I decreased the size of the text box and moved it off the image and onto the border of the slideshow.
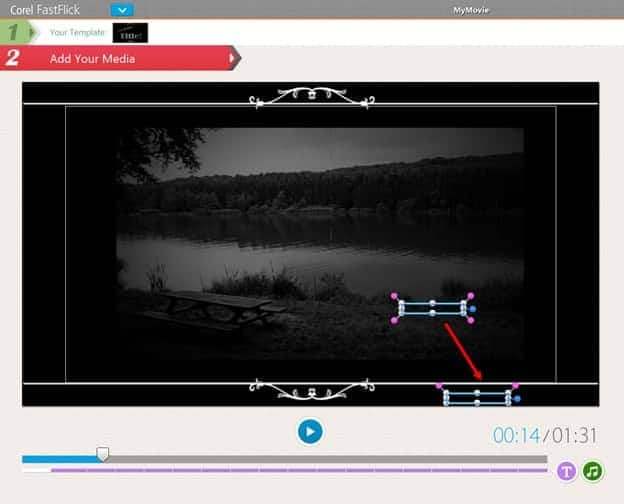
Then I simply clicked on another area of the screen to deselect the textbox and voila! Textbox has been hidden.
I repeated this process for all the textboxes in the template except for the title at the beginning and the caption at the very end.
But I did want to have some text in my slideshow, just in a different format. I wanted it to look like an old-fashioned title slide like you see in silent movies. So I created these title slides as images and just brought them into FastFlick like I did with my photos.
I used PaintShop Pro to create these images, but you can do the same with any photo editing or graphics software. If you don’t have a photo editing program, you can download a free 30-day trial of PaintShop Pro and give it a try.
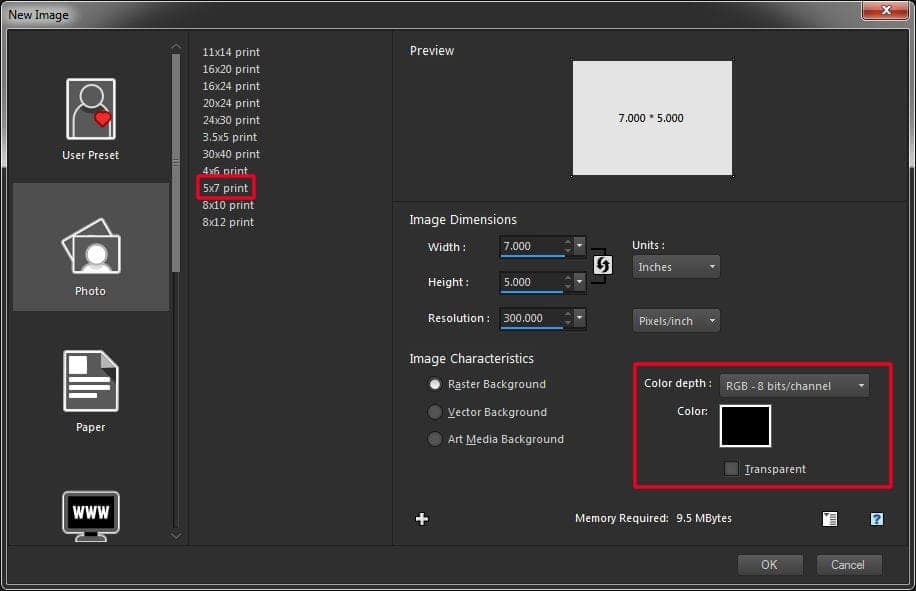
Open PaintShop Pro in the Edit window and go to File > New. I created a new image using the 5×7 photo preset, with a black background.
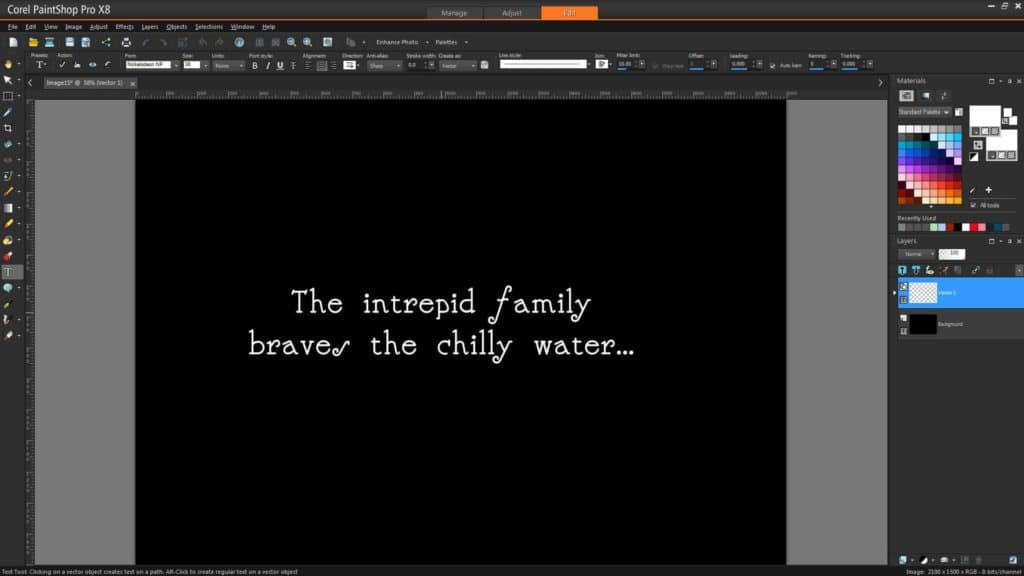
Then I selected the Text tool and entered my text. For this project I am using a font called Nickelodeon. You can download this free font from dafont.com.
Then just go to File > Save, and save your image as a JPEG file. Once you have created your title slide images, go back into FastFlick and add them to the media library.
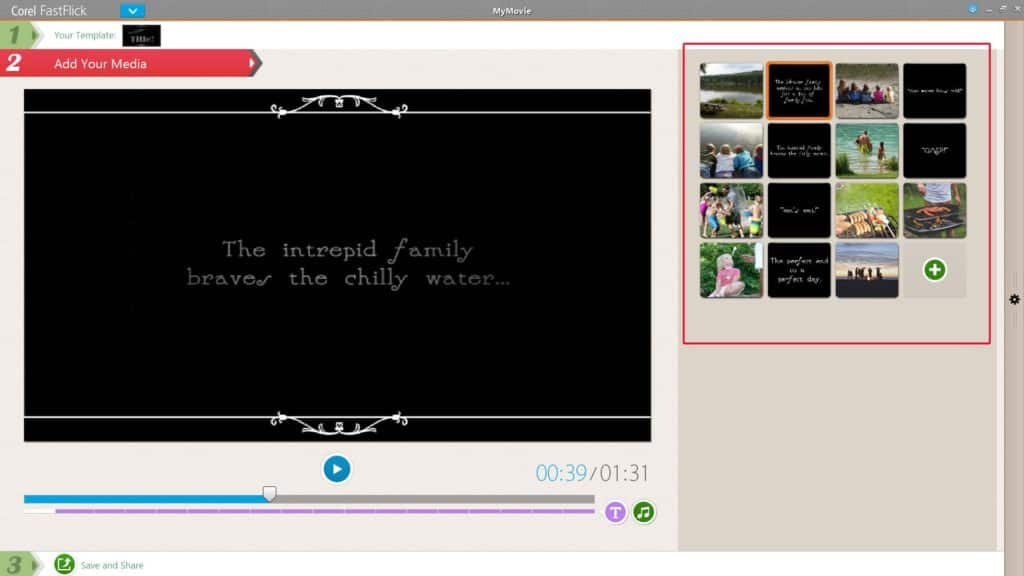
Now you can finish off your slideshow and go on to Step 3, which is Save and Share.
Check out my completed project below and get started creating your own Silent Film!


2 Comments