Shutterstock image by iurii
Motion tracking sounds robotic but in reality it can bring your videos to life.
Sometimes focus needs to be on one person only. No distractions.
It’s quick and easy to make videos focused and appealing. Whether the crowning toast at your best friend’s wedding, or an end-of-season football highlight reel you can make every second of your video dedicated to what’s most important.
If you want to de-emphasize the background in your video, use motion tracking to follow your subject. Did you want to immortalize the moment you bent it like Beckham? You got it.
But there are uses for motion tracking that are less obvious. It’s an effect with amazing versatility. So to help you out, here are 4 Reasons to use Motion Tracking in VideoStudio.
#1 Animation Effects

Image by Florian Kurz from Pixabay
Do you dream of shooting lasers from your eyes like Superman? Or shooting webs like Spiderman?
Well motion tracking on animation effects allows you to do just that. If you’re running across rooftops shooting supernatural energy in your video at evil minions from the nether, you need your animation to keep up.
By making the animation follow a path, you can create all sorts of wondrous effects. In a few clicks, you can have an animation beam you out of trouble. There are also animated tilts, motions, and transitions which you can use to add that story-book feel to your video. We even have a video tutorial on the subject!
#2 Athlete Tracking and Overlays
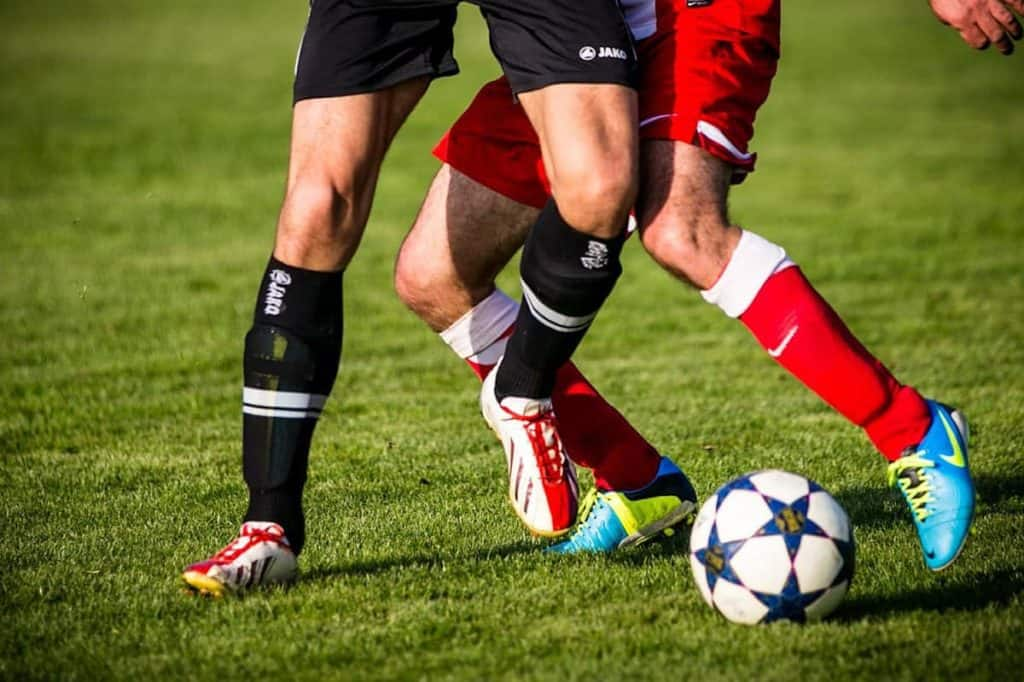
Image by Phillip Kofler from Pixabay
Athletes always need to review themselves in action to grow and learn as competitors. But watching raw sports video is challenging. All those intricate details to watch while running, jumping and criss-crossing the field.
With motion tracking you can transform any video from an eyesore into a slick sports show. All the cable sports shows use this. The big yellow 1st & Ten line in broadcast football games? Motion tracking. The circle around the player as he weaves flawlessly through his opponents to the goal line? Motion tracking.
Place the motion tracker on the person you want to highlight, add the image, and suddenly they become the star of the show. You can have anything follow them, their name, position, stats, a spot light, or even just an arrow.
Now you have yourself a professional highlight reel. What better way to highlight your star athlete when it comes time to start trying out for those scholarships!
And if you want to add text to follow along, check out this tutorial on Motion Tracking Text in VideoStudio.
#3 Censoring Faces and Personal Information
Business owners are often looking for video without recognizable people in the background.
There are copyright issues with using someone’s face in an advertisement so you can use motion tracking to turn anyone in the background into an unrecognizable blur. It’s called a mosaic effect and it’s used in countless media types to protect individuals and companies rights.
Censoring a video with motion tracking is useful for hiding logos for which you don’t have permission to show. Hats, t-shirt logos, or trucks driving by in the background. It can be a huge job to get your video free of copyrighted images but motion tracking practically does it all for you.
Motion tracking can also be useful when uninvited guests make themselves seen in your videos. Whether photo-bombers or a distracting passer-by, motion tracking can send them packing. Check out this video tutorial for censoring a video with motion tracking!
#4 Remove Shaking
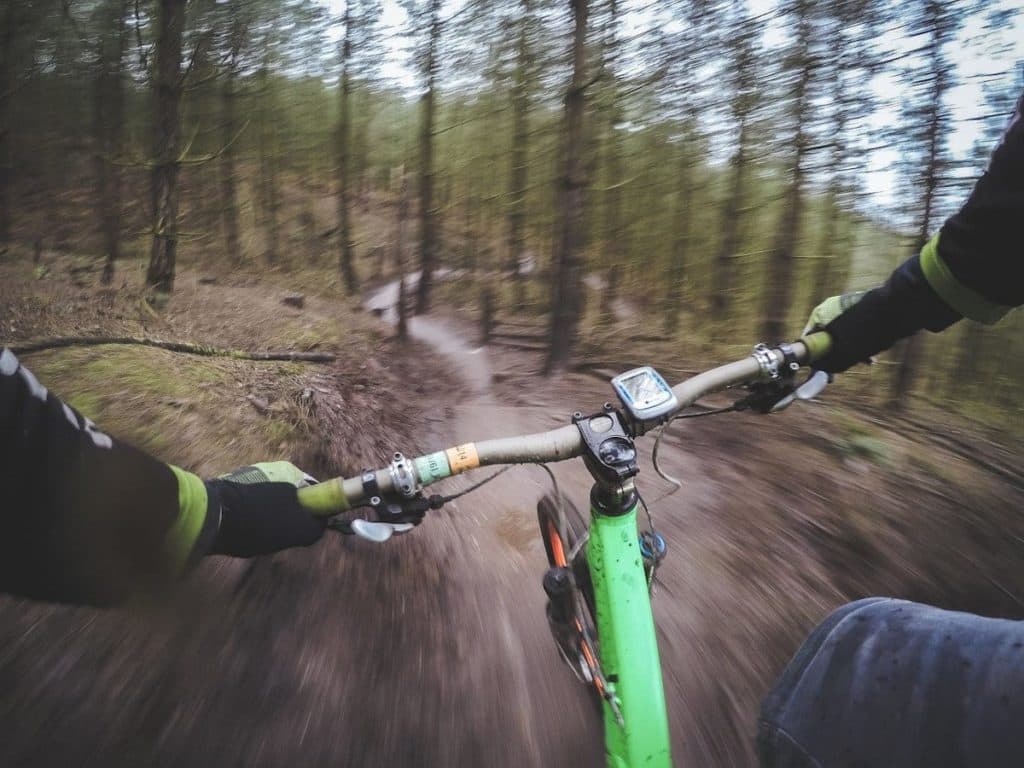
Image by Free-Photos from Pixabay
You captured awesome shots of the action! Except you had to run to keep up with it and watching the footage makes you queasy!
OK, so you won’t be using the Motion Tracking tool to stabilize your video (at least not in name you won’t), but did you know that the same technology that allows us to track motion is the same technology that allows us to stabilize shaky footage?
In motion tracking, you identify the subject you want to follow through the frame, and the software tracks it as it moves through the shot. For stabilization, it’s the opposite, you identify the spot that you want to remain centered in view, and the the whole frame moves around to compensate. The result is a non-shaky video!
Be sure to check out the tutorial on video stabilization in Corel VideoStudio and get yourself straightened out!


4 Comments