Designing a vehicle wrap is one of the most advanced projects you can undertake with CorelDRAW. It’s great for small businesses, or anyone who wants to give their vehicle a special flare. This tutorial will show you how to design a vehicle wrap that you can be proud of.
Start your FREE 15-day trial and embark on a design journey with powerful tools for vector illustration, layout, photo editing, typography, and collaboration.
What’s New in CorelDRAW Graphics Suite
 CorelDRAW Graphics Suite
 Ultimate Vector Bundle Vol. 1
 CorelDRAW Standard 2021
 Ultimate Vector Bundle Vol. 2
 Corel Vector
In this tutorial you’ll learn how to use a vehicle template, how to work with PowerClip frames, and how to create and export a vehicle wrap or graphic.
1. Open CorelDRAW and the Welcome Screen will appear. Select a new document and make sure that the color mode is set to RGB.
2. The document dimensions should be set large enough to fit the vehicle dimensions. In this example, the vehicle is 202.8 inches in length by 78.7 inches in height, so we’ll create a page size of 210″ by 80″.
3. CorelDRAW has an extensive catalog of vehicle templates that you can choose from. In this example I’ll search for the term “Dodge Mini Van” and it will provide some templates.
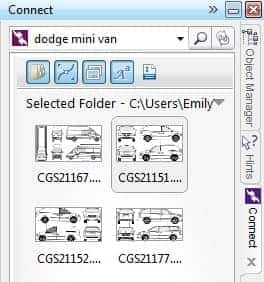
4. Choose the template that matches the vehicle and drag and drop it onto the screen.
5. To work with a single template out of the bunch, select the image and use the key combination CTRL + U on your keyboard to ungroup. Now you can delete the image you won’t be using.
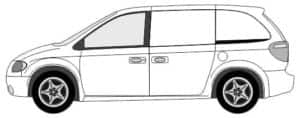
6. Select the vehicle and then resize it to the proper dimensions in the Interactive Properties bar.

7. In this example, I will also remove any parts of the image that may interfere in the designing of the wrap, such as lines indicating trim on the vehicle.
8. You can select the car color buy expanding the group, choosing the curve at the bottom of the list in the Object Manager and then left clicking on a color in the Color Palette. In this example, we will be working with a white van and adding a splash of color to the back corner and so I will set this color to No Fill.
9. Next, convert the curve into a PowerClip frame. To do this, right-click on the curve in the Object Manager, select Frame Type > Create Empty PowerClip Frame.
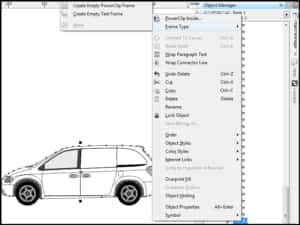
The PowerClip frame will appear with an X across it when it has been created.
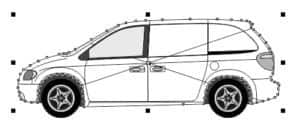
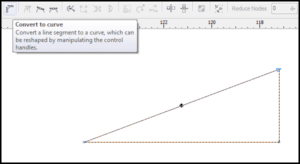
10. To add a splash of color, draw a large rectangle and then from the Arrange menu select Convert to Curves. You can select one of the corner nodes and delete it to create a triangle shape.
Any straight line can be converted to a curved line by selecting the line with the Shape tool and clicking on the Curves button in the Interactive Properties bar. Now it’s just a matter of artistic preference. In this example I will add some color and transparency to the object.
11. Add the color splash onto the vehicle by dragging it into the PowerClip frame.
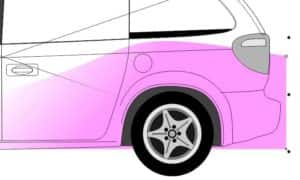
12. Next, import the design and any images that will be used. When those are dragged into the PowerClip, you will be prompted to hold down the letter W on your keyboard while dragging the image over. You can click on the Edit PowerClip button to adjust the images in the frame.

13. Now, you can design the name of the company. Make sure to create each line of text separately so that it will be easier to position later. In this example I will create a line of text for “Flowers By” and a separate line for the owners name “Carrie”. The font used below is Gabriola and the Style Set is #7. The phone number will also be written in Gabriola font but left with the default style so that it’s easier for customers to read.
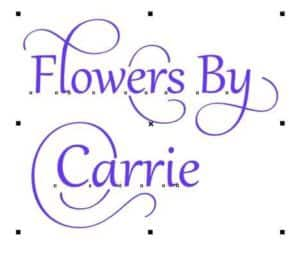
14. When you have finished creating the text, it too can be dragged into the PowerClip frame by holding down the W key while placing it over the design.

15. Since the image of the van outline will not be printed, the PowerClip frame can be extracted and sent to be used to create the wrap.

Start your FREE 15-day trial and embark on a design journey with powerful tools for vector illustration, layout, photo editing, typography, and collaboration.

