
Start your FREE 15-day trial and embark on a design journey with powerful tools for vector illustration, layout, photo editing, typography, and collaboration.
Download these free resources:
Written Tutorial (PDF, 3 MB)
CorelDRAW Graphics Suite Resources
Quick Start Guide (PDF, 2 MB)
Keyboard Shortcuts (PDF, 3.5 MB)
CorelDRAW and Corel PHOTO-PAINT user guides
For CorelDRAW Graphics Suite subscription and perpetual licenses (2018 to 2024), languages include English, Português do brasil, 简体中文, 繁體中文, Čeština, Deutsch, Español, Français, Italiano, 日本語, Polski, Русский
What’s New in CorelDRAW Graphics Suite
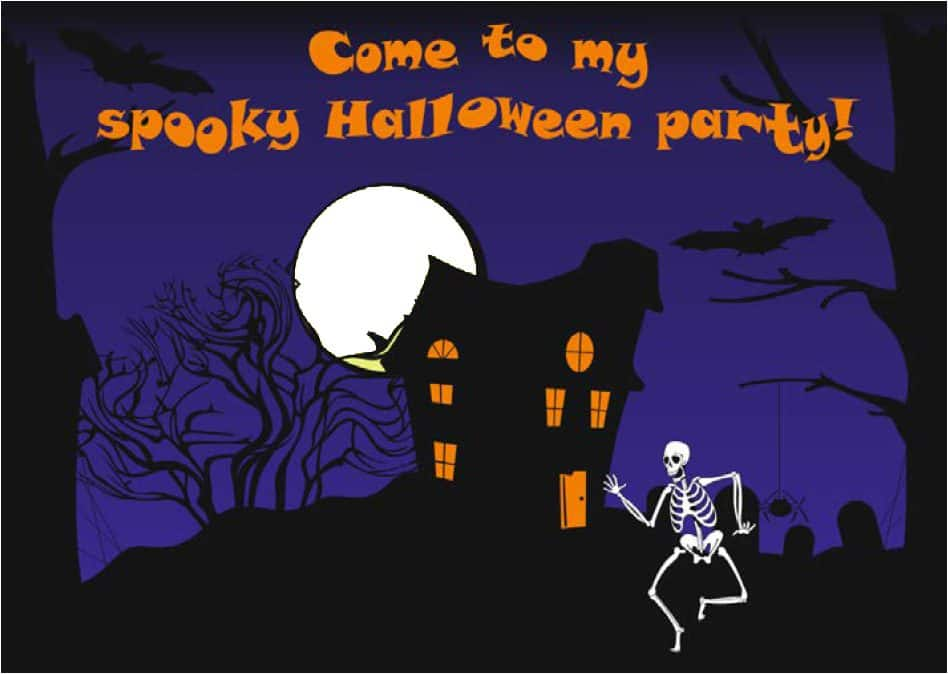
In this written tutorial, you will learn how to make a Halloween card in CorelDRAW. We’ll walk you through each step of the design, showing you some neat tricks that you can apply to create your own homemade, spooky card. This is a great project that you can do with your kids!
We will be using a lot of the free designs available in CorelDRAW Graphic Suite so we won’t have to draw everything on the page. Let’s get started!
Click on any of the images below to view full-size.
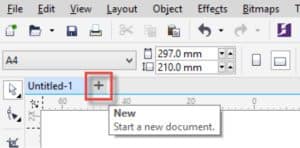
Start by opening a new document in CorelDRAW by clicking on the ‘+’ tab.
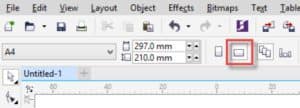
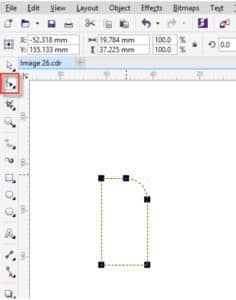
With your new document open, make sure you are in Landscape mode by clicking on this button:
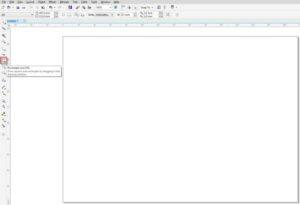
We are now going to create a rectangle as big as our page. To do this, just double-click on the Rectangle tool in the Toolbox (F6).
Now we are going to fill our rectangle with a fountain fill where one color will blend into another.
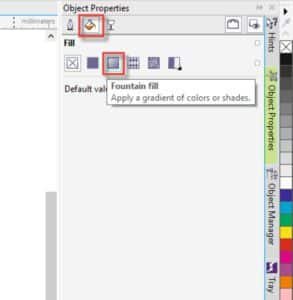
Click on the Object Properties docker tab on the right. Then click on the Fill icon. On the Fill panel, click on Fountain Fill.
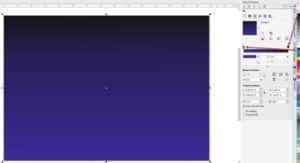
We are now going to drag black and a dark blue from our Color Palette, over to the color nodes to create a nice night sky effect.
Now the really fun part begins!
We are going to collect some spooky designs using some of the fantastic contents from the Content Exchange. To do this we need to open up Corel CONNECT.
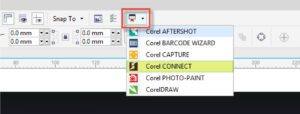
Open up Corel CONNECT by clicking here in the Application Launcher:
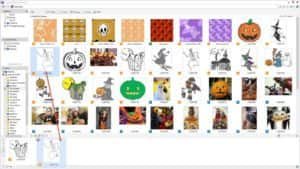
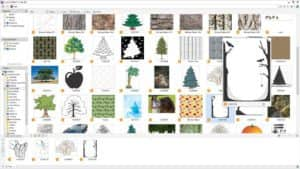
In Corel CONNECT we are now going to look for spooky stuff! Start by typing the word ‘Halloween’ in the search box at the top of the window. Then click on the Search icon.

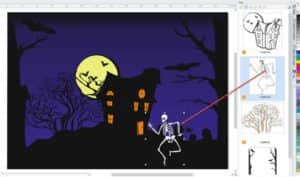
Lots of spooky images will appear. Drag down anything you want to use to the collection tray at the bottom of the window. Here, I’ve dragged down a spooky house and a skeleton down to my tray.
Now change the search word at the top to ‘tree’. If you don’t see anything you like and want to see more from the collection, just click on the ‘More from Content Exchange’ link in the display panel.
I now drag down some trees to my collection tray, including the spooky one with bats and spiders’ webs.
We are now ready to assemble everything in our CorelDRAW document.
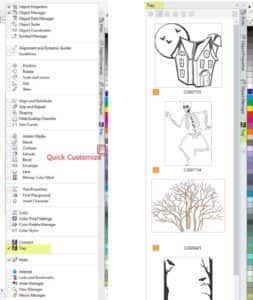
Open the Tray docker by clicking on the Quick Customize button and selecting the tray.
But before we start dragging our cliparts on to our page, we are first going to draw a hill to put our house and tree on to.
Take the Freehand tool from the toolbox and draw a hill shape at the bottom of the page. Don’t worry if you go over the sides as we can use the Crop tool to trim any overhangs later on.

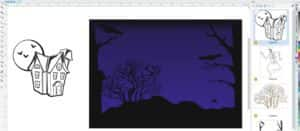
Fill your shape with black and use the Crop tool to drag from corner to corner of the page. Double-click inside to trim. You should now have something like this:

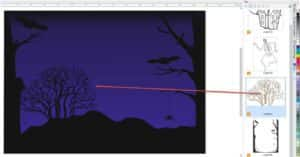
Now we’ll add the clipart from Corel CONNECT.
Start by dragging over the clipart with the trees, bats and spiders’ web from the tray to the page. Use the resizing handles to make the design fit the page.

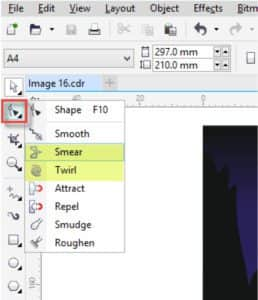
Now drag over the tree. With the tree still selected, click on the black color swatch in the Color Palette to turn the tree black.
To make our tree even spookier, we can use the Smear and Twirl tools from the toolbox to twist our branches into strange shapes. Give it a go!
This is what my tree now looks like after twirling and smearing:

Now we are going to do the trickiest part of the tutorial, creating our spook house. Drag the house clipart over to the desktop, next to the page.
Now, with the house selected, right-click on the white color swatch to create white outlines.
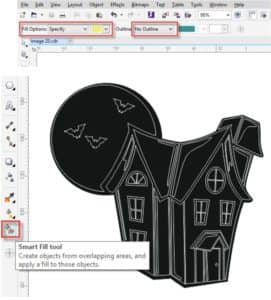
Then left-click on the black swatch to fill the house with black. Your house should now look like this:

We are now going to use the Smart Fill tool to fill in the moon and the windows of the house.
Select the Smart Fill tool from the Toolbox and in the Property bar, choose No outline. Choose Specify for the Fill Color and choose a nice pale yellow color.
Now click inside the moon area and voila!
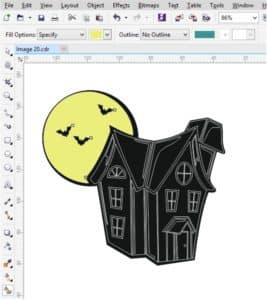
Change the Fill Color of the Smart Fill tool to orange and now fill in the windows and the door.
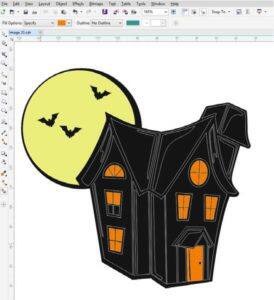
The last step is to select the house again and right-click on the No Color swatch on the Color Palette (the swatch at the very top of the Color Palette with a cross through it), to remove the white outlines again. Our house should now look like this:

Let’s drag our house onto our page now. If the moon is covering the tree, select the tree and holding down the CTRL-key, press PGUP on your keyboard until the tree is in front of the moon.

Let’s add some gravestones! Draw a rectangle on the page using the Rectangle tool.
Select the Shape tool from the Toolbox and holding down the CTRL-key, round off the top two corners of the rectangle by dragging the top two corner handles.
Fill your grave stone with black and place on your page.

If you want to add more grave stones, hit ‘+’ on your keyboard to create a copy, move this in to place and then click once more to get the rotation handles to give the stones a bit of a twist. Something like this…

Let’s now drag our skeleton over from the Tray docker.
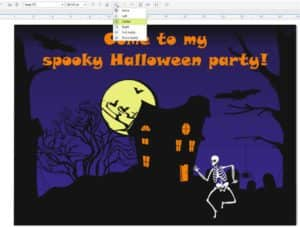
All we need to do now is to add some spooky text to our card. Select the Text tool from the Toolbox and type something like “Come to my spooky Halloween party!”
Choose a cool font from the Font drop down list to create the right effect. Color your text orange.
If you’re writing two lines of text, click on the Alignment icon in the Property bar and choose Center to align the text nicely.
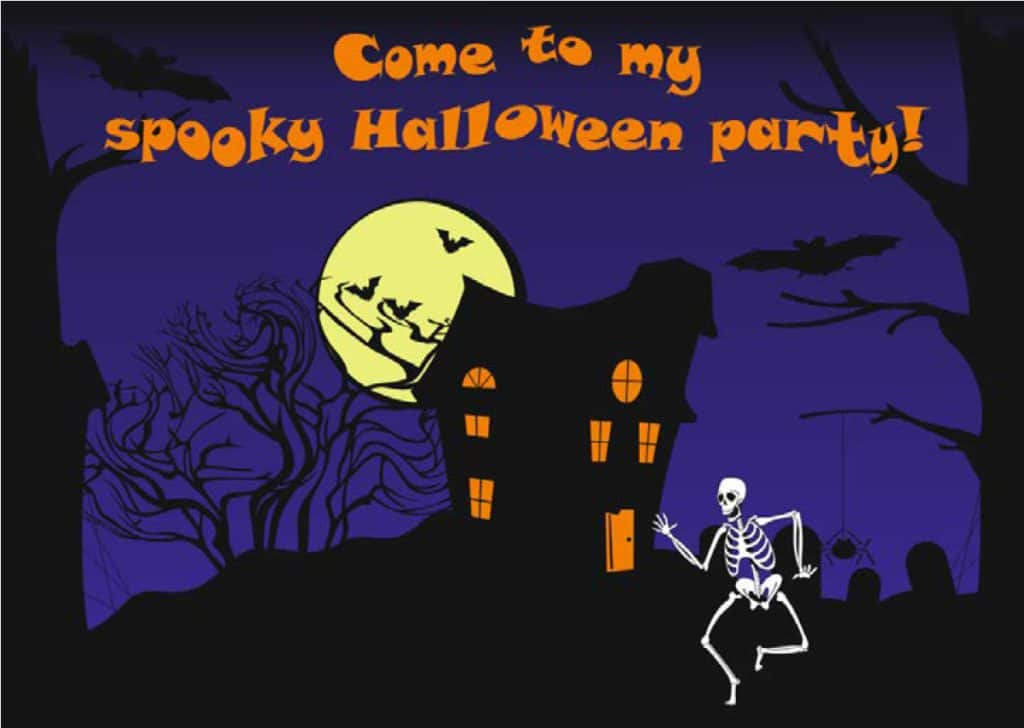
To finish off our card, I’m going to convert our text to curves (Object > Convert to Curves) and use the Smear and Twirl tools from the Toolbox again to make the text look creepier.
All we have to do now is click on File > Save, give our card a name and we’re done! Happy Halloween!
 CorelDRAW Graphics Suite
 Ultimate Vector Bundle Vol. 1
 CorelDRAW Standard 2021
 Ultimate Vector Bundle Vol. 2
 Corel Vector
Start your FREE 15-day trial and embark on a design journey with powerful tools for vector illustration, layout, photo editing, typography, and collaboration.

Reader Interactions