
In this tutorial, we’ll show you how to use masks to isolate objects or specific parts of your image so you can selectively edit and apply effects while protecting the unmasked areas from being altered.
Thanks for watching! We hope you found this tutorial helpful. You will find a written version of this tutorial below, and a printable PDF copy to download on the Download resources tab above.
Start your FREE 15-day trial and embark on a design journey with powerful tools for vector illustration, layout, photo editing, typography, and collaboration.
Download these free resources:
Written tutorial for Windows (PDF, 797 KB)
Written tutorial for Mac (PDF, 628 KB)
CorelDRAW Graphics Suite resources
Quick Start Guide (PDF, 2 MB)
Keyboard Shortcuts (PDF, 3.5 MB)
CorelDRAW and Corel PHOTO-PAINT user guides
For CorelDRAW Graphics Suite subscription and perpetual licenses (2018 to 2024), languages include English, Português do brasil, 简体中文, 繁體中文, Čeština, Deutsch, Español, Français, Italiano, 日本語, Polski, Русский
CorelDRAW Community
CorelDRAW learning center
Facebook
X (formerly Twitter)
YouTube
Introduction to PHOTO-PAINT
What’s new in CorelDRAW Graphics Suite
 CorelDRAW Graphics Suite
 Ultimate Vector Bundle Vol. 1
 CorelDRAW Standard 2021
 Ultimate Vector Bundle Vol. 2
 Corel Vector
Using masks in Corel PHOTO-PAINT™
Masks in PHOTO-PAINT work similarly to placing a stencil over a piece of paper. Masks enable you to isolate areas for editing, while protecting the remaining areas from any changes. There are several mask-creating options, including the Smart Selection Mask tool which was introduced in PHOTO-PAINT 2020.
Click on any of the images below to view full-size.
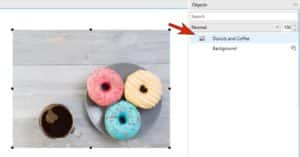
For our first example, we’ll start with a photo of some doughnuts. The photo is the selected object.
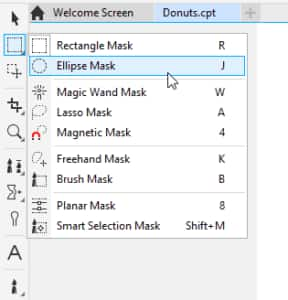
On the left toolbar, open the Mask tool group flyout and choose the Ellipse Mask tool.
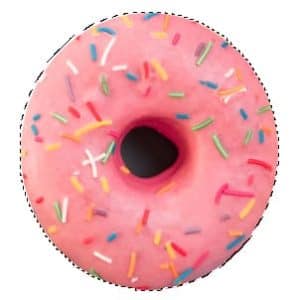
Drag to place the mask shape approximately along the outline of one of the doughnuts. The moving dashed border is the mask marquee.

The mask isn’t perfectly located, so we will use the Mask Transform tool to make adjustments. The controls in the property bar for this tool include Position and Size, Rotate, Scale, and more.
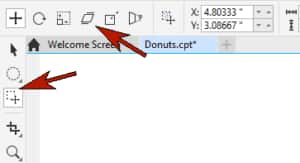
We’ll use the Position and Size control to resize and reposition as needed to fit the mask to the doughnut.
By default, what’s inside the mask is what you can now keep or edit. When you choose Mask > Mask Overlay, the red overlay marks what you can’t access while the mask is active.

Choose Mask > Invert Mask to reverse what’s inside the mask, and now it’s the doughnut that can’t be edited.

If we press Ctrl + X, everything inside the mask is cut and only the doughnut remains.
Another mask is needed along the doughnut hole, which isn’t perfectly round. We will use the Lasso Mask tool, carefully tracing around the hole’s edges, and double-clicking when finished.
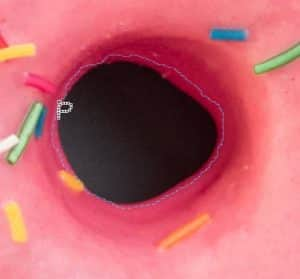
Press Ctrl + X to cut out this part of the photo.
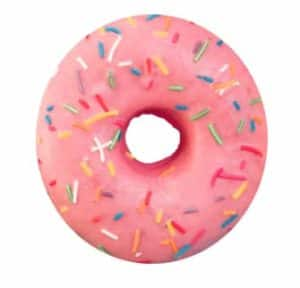
Now the doughnut can be used as an object in another document. Use Ctrl + C to copy it, Ctrl + V to paste, then use the Pick tool to resize and move as needed.

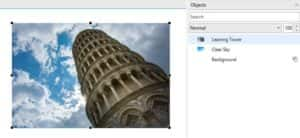
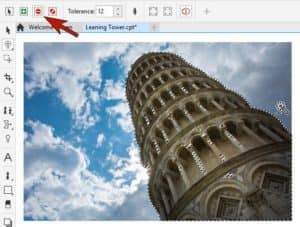
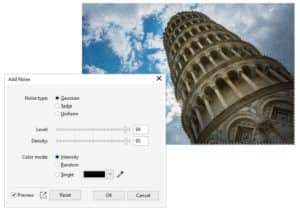
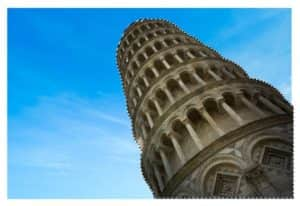
Our second example is a photo of the Leaning Tower of Pisa, placed above a photo of a clear sky. The tower photo is selected.
There are a few ways to mask just the tower. You can try the Magic Wand Mask tool in Normal mode, with a medium Tolerance of around 50, and drag the mouse to include the pixels you want in the mask. This leaves some areas that need to be removed from the mask, as well as added.
You can lower the Tolerance and switch to Subtractive mode, then click in the background to exclude those pixels from the mask.
Then switch to Additive mode and click the bits along the tower that had been excluded before.
This method works well to mask the tower, but in PHOTO-PAINT 2020 we have a faster and easier way to get the same result.
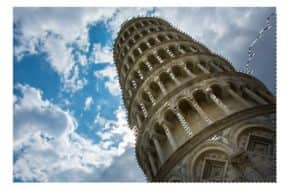
We’ll use Mask > Remove Mask to start over, this time using the new Smart Selection Mask tool.
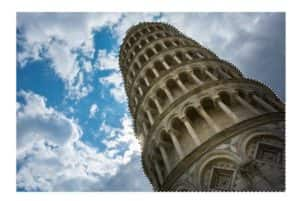
In Normal mode, drag the mouse within the tower.
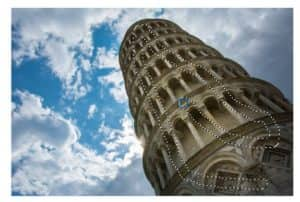
When you release the mouse, the mask expands to include the entire tower but none of the background. This is because the new Smart Selection Mask tool includes an edge-detection algorithm, as well as machine learning models to identify and include colors in a selection.
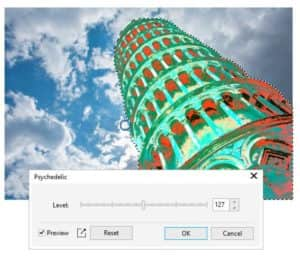
The mask includes only the tower, so if you apply an effect, such as Effects > Color Transform > Psychedelic, the effect is applied only within the mask.
Or you can invert the mask (go to Mask > Invert Mask). This places the sky inside the mask, to which you can add a different effect such as Noise.
Or, with the inverted mask of the sky still active, press Delete to remove all pixels inside the mask. This allows the photo below, with the clear sky, to show through.
Finally, our last example shows a beautiful way of using masks to create a composite image. To start, we have used the Visibility icon in the Objects docker to hide all objects except for the background photo of a snow fox.
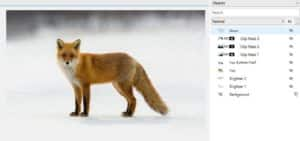
The two Brighten objects lighten the background. The Fox object is a copy of the fox itself, which was created with the Smart Selection Mask tool.
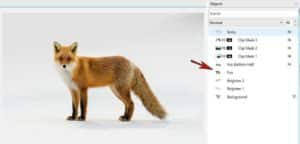
The Fox Bottom Half is another clipped object, blended with the background image of pine trees.
Then come three clip masks, each using a different part of the fox, and blended in different ways with the pine tree image.

Learning how to use masks will open up a new world of creative options for your PHOTO-PAINT projects.
Start your FREE 15-day trial and embark on a design journey with powerful tools for vector illustration, layout, photo editing, typography, and collaboration.
