
A custom gift tag is great way to add a personal touch to your gifts, and in this tutorial you’ll see just how easy making gift tags can be. We’ll show you how to set up your PaintShop Pro document for printing on a template, plus how to add a background, border, design elements, and text. Download the free creative elements from the Download resources tab above and get started today!
To learn more about the tools used in this project:
How to use the Pick tool
How to use the Eyedropper
How to use the Flood Fill tool
How to use the Text tool
Thanks for watching! You will find a written version of this tutorial below, and a printable PDF copy to download on the Download resources tab above.
Download your FREE 30-day trial and make every shot your best shot with PaintShop Pro, your all-in-one photo editing and design software.
Written tutorial (PDF, 827 KB)
VectorStock design elements (Zip file, 10.6 MB)
PaintShop Pro resources
Keyboard shortcuts (PDF, 173 KB)
PaintShop Pro User Guides
Partner and User websites
PaintShop Pro User Forum
Scrapbook Campus (Tips and tricks, workshops, master classes, and more)
Creation Cassel (Scripts, picture tubes, and other PaintShop Pro tools, plus weekly freebies)
PaintShop Pro Maniacs (Facebook group)
PaintShop Pro (Facebook group)
What’s new in PaintShop Pro
Holiday projects
Artistic tools and projects
Featured products
 PaintShop Pro 2023 Ultimate
 AI HDR Studio 3.0
 PaintShop Pro 2023
 Vision FX 2.0
Making gift tags in PaintShop Pro
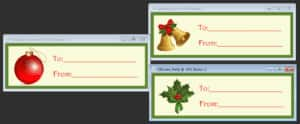
In this tutorial, we’ll share some ideas for making gift tags in PaintShop Pro. The example we are using is holiday-themed but you could use this process for any kind of tags or labels you’d like to create.
Document setup
Before you begin, you should consider the options for printing your gift tags. You can use a printing service or print them at home using regular paper or sheets of tags or stickers you’ve purchased. The document size will be based on your printing method. Our example is based on an Avery template that has fourteen 4.19” x 1.33” labels per page. At the end of the tutorial, we’ll see how to add the gift tags you create to the print template.
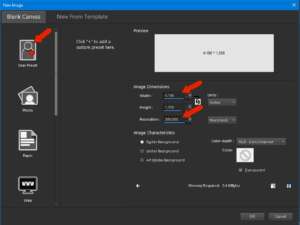
Open PaintShop Pro and go to File > New to create a new document. In the New Image window:
- Set the Units to Inches and keep the Resolution at 300 pixels/inch.
- Set the Image Dimensions to match your tag dimensions, in this case 4.19” x 1.33”.
Make sure you have the Materials palette and Layers palette open. If they are not open, you can enable them from the Palettes menu.
We will be using some design elements to create our gift tags. These files are available to download from the Download Resources tab at the top of the tutorial page. They were provided by our friends at VectorStock.
Go to File > Open and browse to the location where you have saved the file of design elements, or another file that you want to use, and bring it in off to the side.
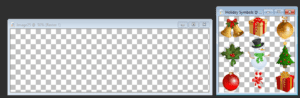
NOTE: to display multiple images side-by-side in the PaintShop Pro window, go to the Window menu and make sure Tabbed Documents is NOT selected.
Adding a background and border
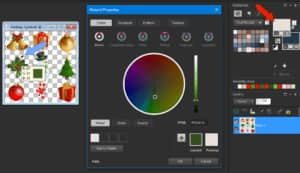
We want our label to have a uniform border. In the Materials palette, click the Foreground color swatch, and define a new color in the Material Properties window, or use the eyedropper to sample a color such as the green of a holly leaf.
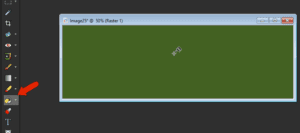
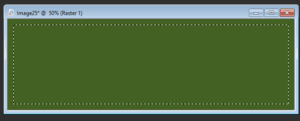
After clicking OK in the Materials Properties window, the color you set appears in the palette. Then with the Flood Fill tool, click the tag image to fill it with that color.
We now want to create an inner rectangle, offset inward from the image border. Press Ctrl + A to select the filled layer, then go to Selections > Modify > Contract. Enable Preview on Image and set the Number of pixels to 25 (or whatever you want your border width to be) then click OK. You will now see a selection marquee around the inner rectangle.
With the selection still active, choose a Foreground color in the Materials palette and click with the Flood Fill tool inside the inner rectangle to fill it with the color.
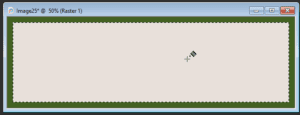
To remove the selection marquee around the inner rectangle, press Ctrl +D.
Adding decorative elements
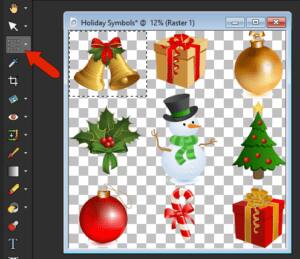
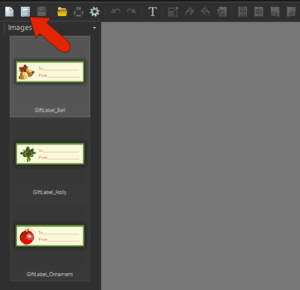
Our next step is to add some Christmas elements to the gift tags. If you are using the free VectorStock designs mentioned earlier, you will see that there are a number of different file formats included in the download file. We have extracted each item and saved as an individual PNG file with transparent background. To use a transparent PNG, open it in PaintShop Pro, copy and paste onto your gift tag, and use the Pick tool to resize and reposition.
VectorStock has many other royalty-free designs that you can use, however these files usually only have one PNG file with all the elements on it. So here is how you can extract individual design elements if necessary:
- Open the PNG file in PaintShop Pro.
- Choose one of the Selection tools from the Tools toolbar.
- Draw a selection marquee around the symbol you want to use and go to Edit > Copy (or Ctrl + C).
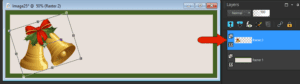
- Switch back to your gift tag file and go to Edit > Paste as New Layer (or Ctrl + V) to paste the design element.
The design element will be on its own layer, and you can adjust it by using the Pick tool to resize, reposition and/or rotate.
Adding Text
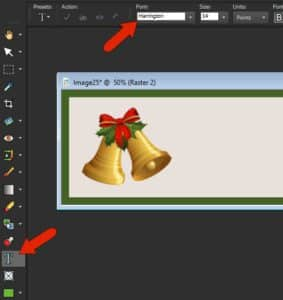
We’ll also add a simple “To / From” text to the right of the symbol. Activate the Text tool and choose a font from the Font drop-list on the Tool Options palette.
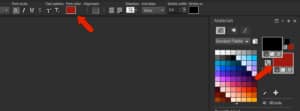
To set the font color, right-click on a swatch in the Materials palette, or use the eyedropper to sample a color from the design elements, for example the red from the bow.
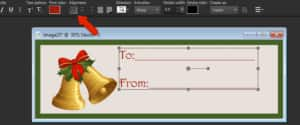
To start the text, click near the top and start writing, pressing Enter for line breaks, keeping the text left-justified, and double-click when finished.
Now you can move the text and resize if needed.
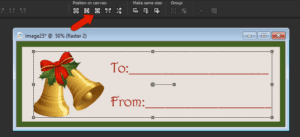
To center both the text and the graphic, switch to the Pick tool. Since the text is already selected, hold down the Shift key and select the design element also. On the Tool Options palette click the Align Vertically Center in Canvas icon under Position on canvas.
Making more gift tags
Now the gift tag is finished so we will go to File > Save As and save it in PSPIMAGE format to preserve the layers. At this point we could go on to print it if we wanted a sheet with just one design. But for a little variety, we’re going to create two more gift tags with different graphics.
First, we need to create copies of the gift tag file. You could use File > Save Copy As and save the same file multiple times under different names. Alternatively, go to Window > Duplicate or press Shift + D to duplicate the file. In this example, we are just going to make 2 copies.
If you chose to make copies using File > Save Copy As, open the copies and for each one right-click in the Layers palette and delete the layer with the design element. Use the same copy-paste steps as before to add a different graphic on the new tags, using the Pick tool to resize, reposition and/or rotate if necessary.
Printing the gift tags
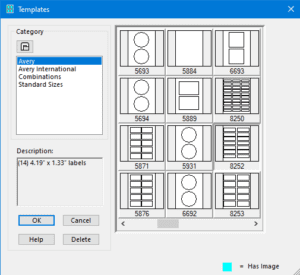
Once you have all the gift tags complete, it’s time to print. As mentioned at the beginning of the tutorial, we’re using a label template by Avery, which you can find by choosing File > Print Layout, then clicking Open Template.
Under Category select Avery and choose the template you want. In our example, we are using #8252, which contains space for 14 labels.
NOTE: you can browse through the available templates in the Print Layout section before you start designing your gift tags. If you click on a thumbnail image of a template, you can see the dimensions in the Description section so you will know what file size to start with.
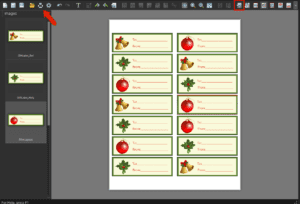
Once you have chosen your template, click OK to exit the Templates window. In the Print Layout window, you will see your gift tag files on the left side under Images, and the blank template on the right.
To add a gift tag into the blank template, you can simply drag and drop it into a blank tag area on the template.
TIP: If you are only using one gift tag design, click the Fill Template with Image icon along the top to place your design in all template spots at once.
Once all the gift tags have been added to the template, click the Print icon and you’re done!
Download your FREE 30-day trial and make every shot your best shot with PaintShop Pro, your all-in-one photo editing and design software.
