
Learn how to create five different types of masks from scratch, including Hide All, Show All, Hide Selection, Show Selection or From Image mask options. Each of the five options results in a different effect when combining these masks with photos. Watch this tutorial to learn how easy it is to manipulate your photo and its surroundings with the flexibility of New Mask Layer options.
Thanks for watching! You will find a written version of this tutorial below, and a printable PDF copy to download on the Download resources tab above.
Download your FREE 30-day trial and make every shot your best shot with PaintShop Pro, your all-in-one photo editing and design software.
Download these free resources:
Written tutorial (PDF, 859 KB)
Sample images (Zip, 1.5 MB)
PaintShop Pro resources
Keyboard shortcuts (PDF, 173 KB)
PaintShop Pro User Guides
Partner and User websites
PaintShop Pro User Forum
Scrapbook Campus (Tips and tricks, workshops, master classes, and more)
Creation Cassel (Scripts, picture tubes, and other PaintShop Pro tools, plus weekly freebies)
PaintShop Pro Maniacs (Facebook group)
PaintShop Pro (Facebook group)
What’s new in PaintShop Pro
Working with masks
PaintShop Pro tools
Featured products
 PaintShop Pro 2023 Ultimate
 AI HDR Studio 3.0
 PaintShop Pro 2023
 Vision FX 2.0
The New Mask Layer options in PaintShop Pro enable you to apply a variety of masks to your photos. This tutorial will demonstrate how to use Hide All and Show All, Hide Selection and Show Selection, and From Image. Some of these techniques are used to create masks from scratch, and others create masks from other images.
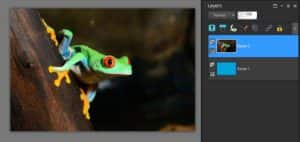
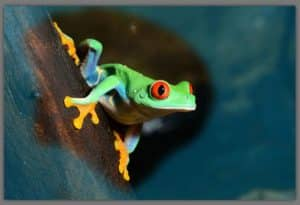
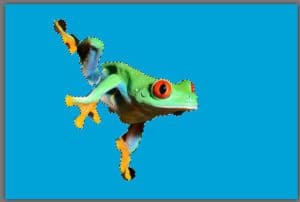
Start with the frog photo, and place a solid-filled raster layer below the photo layer. Make the photo layer active, so that each mask will be applied to that layer.
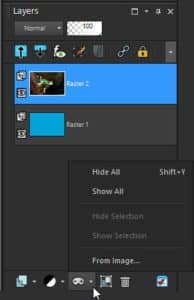
Click the New Mask Layer in the Layers palette, to see the various options. These same options are also available in the Layers > New Mask Layer menu.
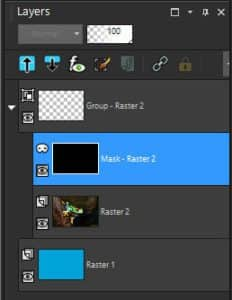
Hide All and Show All are rather straightforward. Start by creating a Hide All mask – a black mask is added above the photo, blocking the entire photo.
Activate the Paint Brush, switch the color to white, and drag to paint over what you want to show. If your brush has a low hardness, you’ll get blurring around the edges.
Undo the paint and mask, and apply a Show All mask. This mask is, of course, white, and you can paint with black over what you want to cover.
Or, instead of black, try a gray color and do some partial blocking.
Undo the mask again.
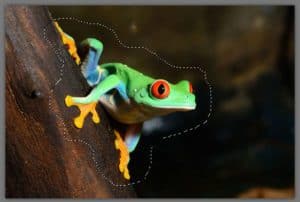
The next two options are Hide Selection and Show Selection, which are relevant when something is selected. Activate the Freehand Selection tool, and trace around the frog.
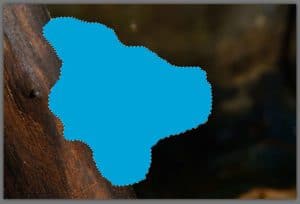
Choose Hide Selection, and the selected area becomes blocked. Now you could place part of another photo in the blocked area.
Undo.
Show selection does the opposite, blocking everything except what’s inside. For a more exact selection, try the Smart Selection Brush. With mode set to Add, and a medium tolerance, click around the frog to eventually select the whole thing.
Then choose Show Selection, and only the frog remains. The rest of the image could be used for things like captions or other creatures.
Undo again.
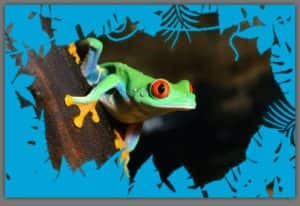
The last New Mask option is From Image. All that’s need in order to use From Image is to have the mask image open while you’re working. Open the border image in addition to the frog.
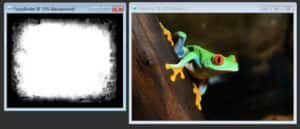
With the frog image selected and the photo layer still active, choose From Image. Select the border image as the source, and use the default Source Luminance option.

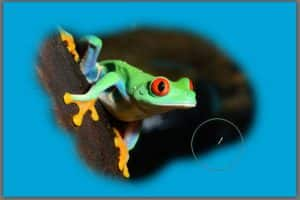
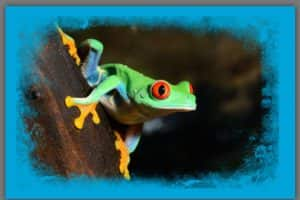
After applying, here is the result: the outer parts of the photo are blocked, with some bits of partial transparency closer in. The mask image stretches or contracts to fit its photo, so be careful to choose an image that has about the same aspect ratio as your photo.
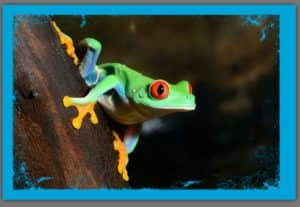
Undo again, and this time try From Image with the Any non-zero value option. This means that no shades of gray from the mask image will be applied; all pixels will be converted to either black or white. So there’s no partial transparency when the mask is applied.
Undo again.
To demonstrate the Source opacity option, open the jungle border image to use as the mask.
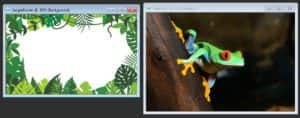
To change the jungle image’s white background to become transparent, activate Background Eraser. Set Sampling to Once, and set Limits to Contiguous.

Click on any white pixel, and drag around the rest of the image to erase all of the white.
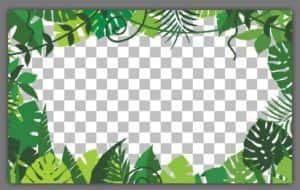
Back to the frog image, first apply this image using Source Luminance. If you apply the frame image as is, the transparent parts of the frame image will be blocked on the photo, which will block the frog. So click Invert mask data.
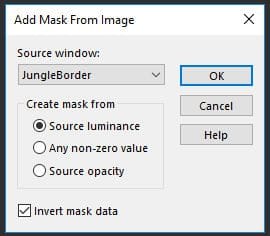
This is the result: the transparent parts of the frame image remain on the photo, and the leaves are blocked according to the grayscale equivalents of the various colors.
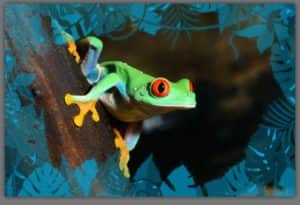
Now undo and apply the same image using Source Opacity. The result is that transparent areas fully remain on the photo, and any opaque part of the frame, including all of the leaves of all colors, are blocked.
Mask layers can be adjusted like any other layer. Undo all masks and open the leafy texture image in addition to the frog.
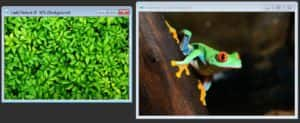
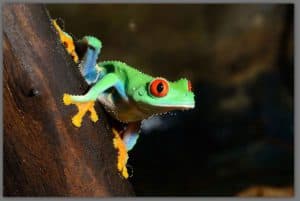
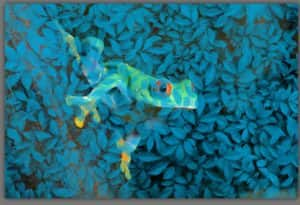
When applying the leaves to the frog as a mask, use Source Luminance, and keep the mask data inverted so that the lighter areas of the leaves will become blocked. This produces a blue-leaf effect throughout, and the frog appears to be peeking through the leaves.
To adjust the mask, first select its layer. Reduce its opacity to bring out more of the photo.
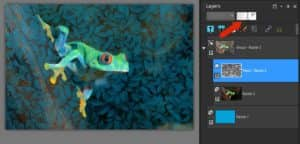
Bring the opacity back up, and with the mask layer still selected, try some of the options in the Adjust menu. Anything that works on grayscale images will have an effect.
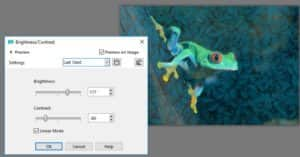
For example, try Adjust > Brightness and Contrast > Brightness/Contrast. Moving both sliders makes significant changes.
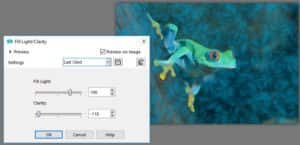
Or try Fill Light and Clarity, to mute the leaves a bit.
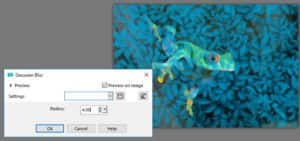
Applying Adjust > Blur > Gaussian blur can make the leaves more fuzzy.
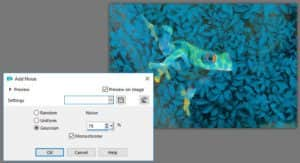
Or add some noise (Adjust > Add/Remove Noise) for a pixelated effect.
Download your FREE 30-day trial and make every shot your best shot with PaintShop Pro, your all-in-one photo editing and design software.
