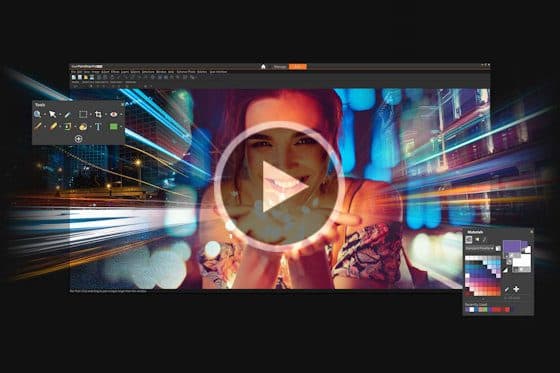
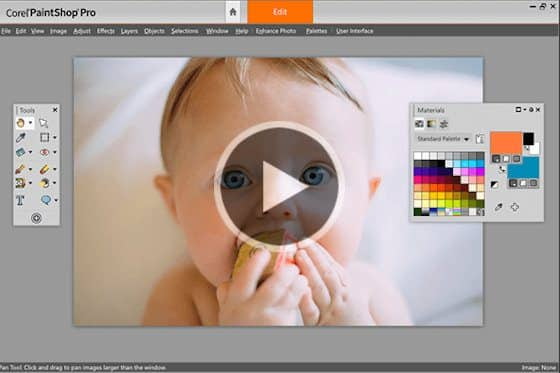
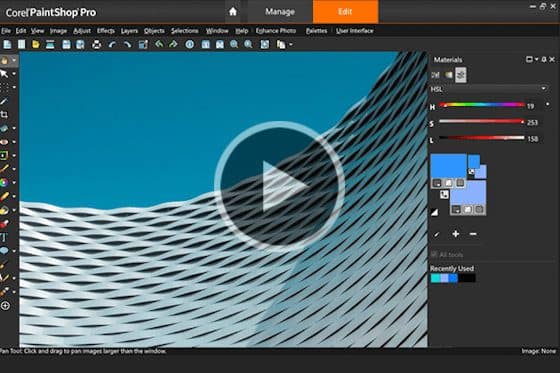
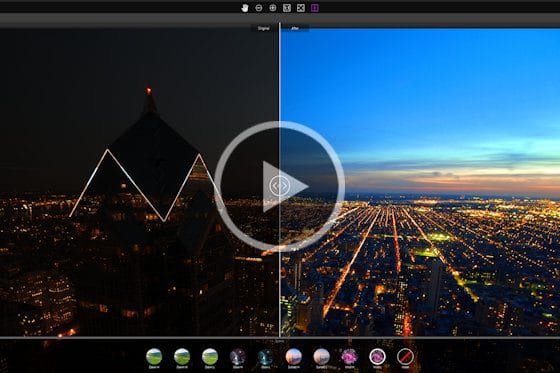
PaintShop Pro offers different workspaces for you to choose from, depending on your skill level and the tasks you want to do. In this tutorial, we’ll explore the Photography workspace, which is designed for touch and Ultra HD 4K devices. It has a Split View feature for a side-by-side comparison of your original image and your most recent edits, and a sleek and instinctive environment that allows you to focus exclusively on quick photo edits — perfect for new users to learn and master in no time!
Not sure which PaintShop Pro workspace is right for you? Check out our overview of all workspaces.
Download your FREE 30-day trial and make every shot your best shot with PaintShop Pro 2023, your all-in-one photo editing and design software.
What’s new in PaintShop Pro
Getting started in PaintShop Pro
PaintShop Pro tools
Featured products
 PaintShop Pro 2023 Ultimate
 AI HDR Studio 3.0
 PaintShop Pro 2023
 Vision FX

Overview of PaintShop Pro Workspaces

The Essentials workspace

The Complete workspace

The Sea-to-Sky workspace
Download your FREE 30-day trial and make every shot your best shot with PaintShop Pro 2023, your all-in-one photo editing and design software.


Comments (4)
Reader Interactions
Comments
i bought this and cannot find the tools to remove objects or add objects or erase etc
Hi Jim,
Please go to File > Workspace and select the Complete workspace to see the full collection of tools. Both the Object Remover and Eraser can be found in the toolbar along the left of the interface. For more information on specific tools we have this collection of tutorials PaintShop Pro Tools.
Hope this helps!
The Discovery Center team
Can I have my tools listed on the left side plus my photography workspace open at the same time? If so, how??
Hi Pam,
Unfortunately the Photography workspace is not customizable so it’s not possible to add the tools from other workspaces. To access the toolbox you would need to be using the Complete or Essentials workspace.
Best regards,
The Discovery Center team